 GoSign Web User Manual
Introduction
GoSign Web is the GoSign WEB application that allows users to create and manage signature and approval processes and to sign their documents online.
Our application is for all companies and professionals who need to sign contracts every day, invoices, offers and other important documents, both for internal and external use.
Thanks to our platform, with few simple clicks you can sign or request the signature of documents from other users, share signed practices via email, and manage the files digitally.
It is the first solution that combines the potential of digital signature and an operating model fully consistent with current regulations with a UX in line with current trends. Thanks to GoSign Web all documents are available in digital format.
Within the application, it is possible to:
Create a Signature Process: upload one or more documents, define the recipients and the type of signature required for each, decide the rules of the process (such as deadline, document class, etc.), place the signatures, and manage everything in real-time from the section "My practices" once the documents have been signed;
Sign online: upload one or more documents, decide the signature format (.pdf, .p7m, etc.), enter the signature actions on the document, and, if desired, the recipient to send the signed document to.
In addition to the core functions mentioned above, GoSign also allows the use of advanced features, available depending on the purchase profile:
In GoSign Web it is possible to use all types of digital signature:
GoSign Web, according to the needs of its users, offers different account options: Free Profile, Business Profile and Enterprise Profile.
Regardless of the working profile, GoSign allows you to sign with the following digital signatures:
All users can register their free account, from InfoCert.it site or GoSign Desktop using InfoCert credentials already active on other services (eg Certified Email, PEC) or create a new account.
With the free account, it is possible to:
The Business option for professionals allows you to get documents signed by your customers faster and manage internal approvals wherever you are, directly online.
With this type of account, which can be activated from eCommerce or via an intermediary platform, there is an administrator account that has the ability to add other users, in addition to all the GoSign features.
In addition to those provided by the free profile, the main functions of this profile are:
This option is targeted at large companies; in fact, it allows you to sign and share documents directly online, both with customers and suppliers, and manage authorizations and internal practices.
The Enterprise user can access all Enterprise features, including:
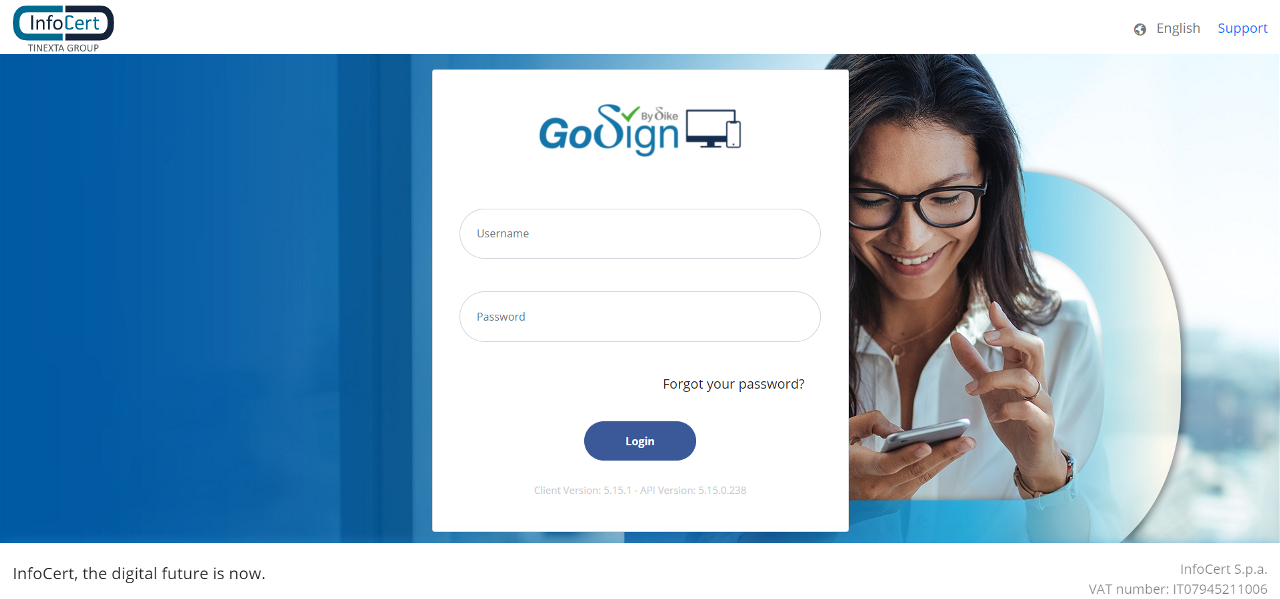
To access the GoSign Web portal, there are several alternatives depending on the type of profile:
This user can access both the web application directly and via desktop software.

If you are logging in for the first time, before logging into the GoSign Web portal, you will need to set up your personal informations. The mandatory ones are:
Once you have filled in the fields, click CONFIRM to continue.
The user who has an Enterprise profile can access GoSign through https://gosign.infocert.it/auth/login.
All the features offered are visible on the GoSign Web Home Page.
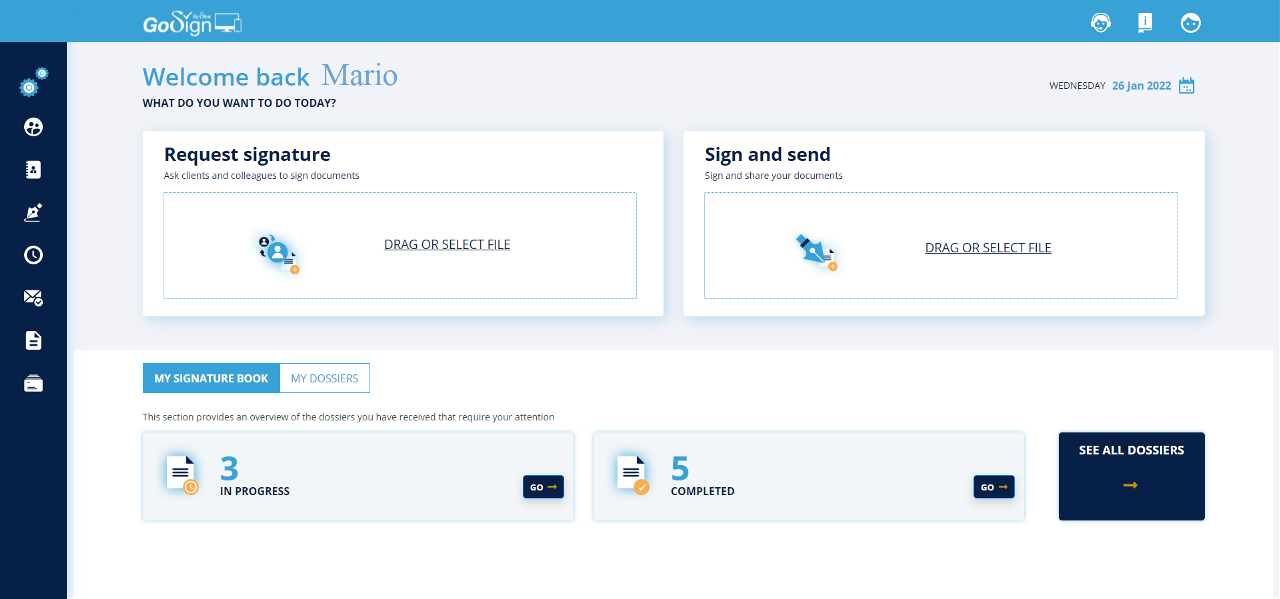
At the top right, there are 3 icons for account management and user assistance.

The 3 signature functions are presented at the top of the screen:
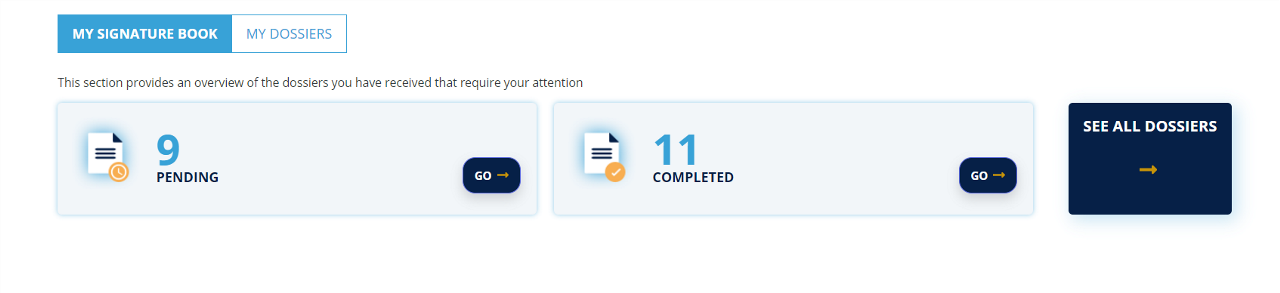
In the lower part of the screen, there is a report of the status of the signatures: for example the signatures that have yet to receive a signature from a customer, and the completed files and/or signatures.
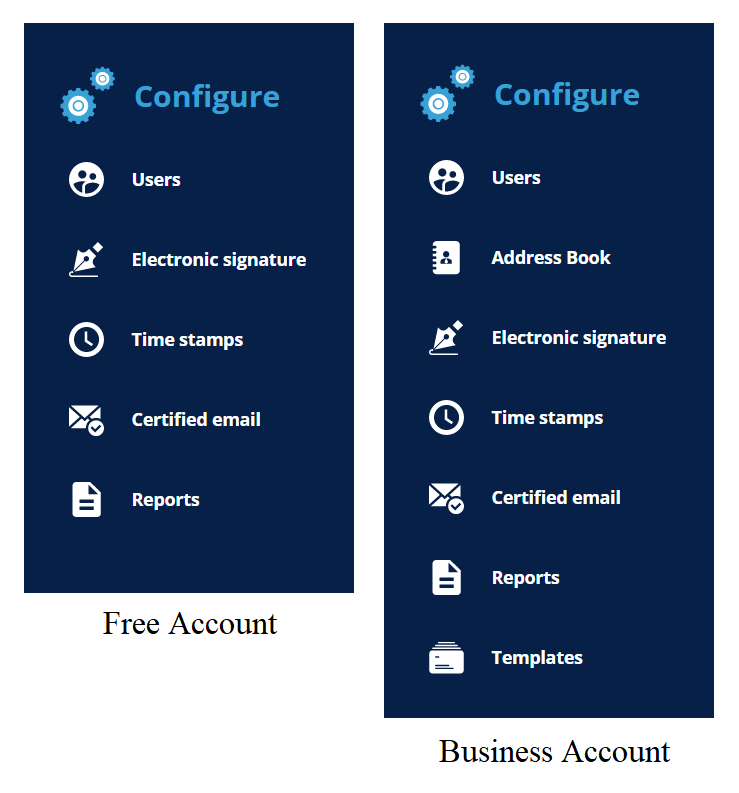
On the left of the home page there is the CONFIGURE menu (indicated by the gear icon); clicking on the icon opens the menu, in which it is possible to configure a series of services that the user has available, according to the type of profile purchased.
The TABs common to all GoSign profiles are:
In the case of a Business account, the configurations of "Address Book” and “Templates” are also available.
The Users section is found in the "CONFIGURE" menu.
The Users section displays the entire list of users who can use GoSign Web, in full functionality.
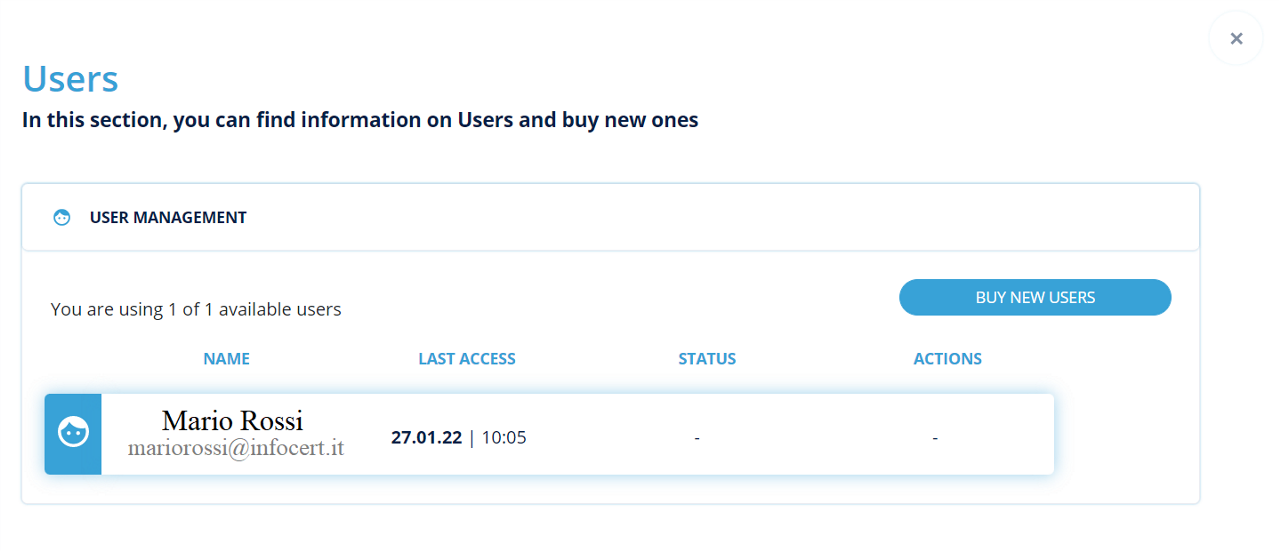
The information relating to users are:
If you need to add new users, just click on BUY NEW USERS; in this way, you will be redirected to the InfoCert Store to continue with the purchase.
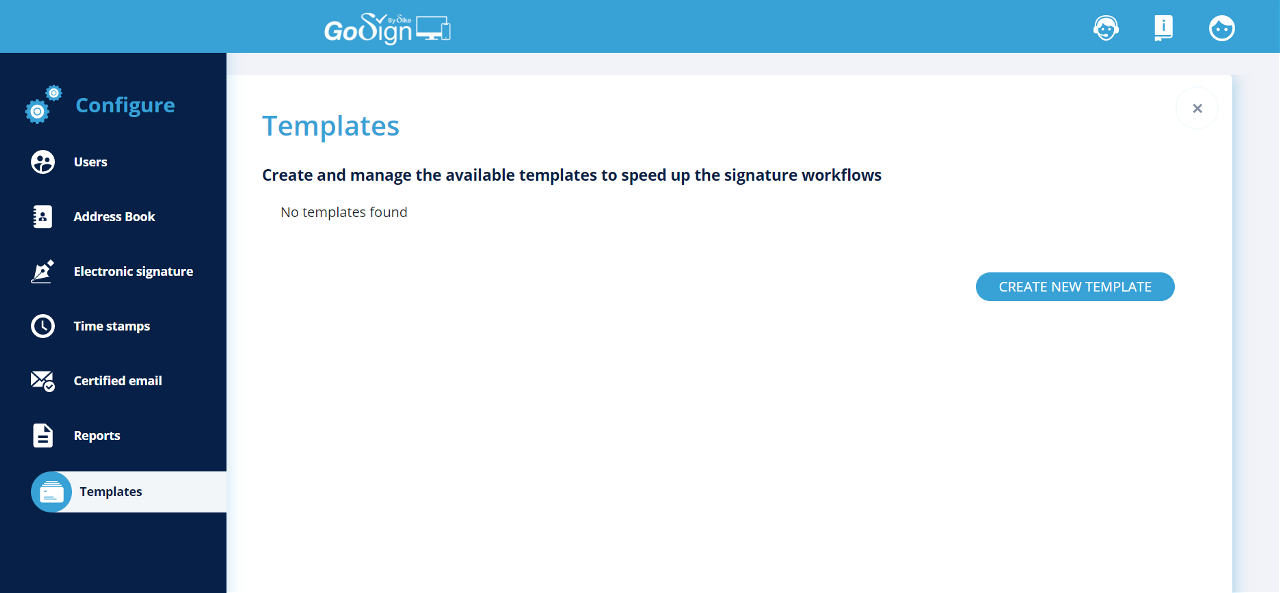
The "Templates" function will be available in the configuration menu, which allows you to access a mask through which to create a new model / template.
By clicking on the Create a new template button, it will be possible to simplify the signature processes by setting:
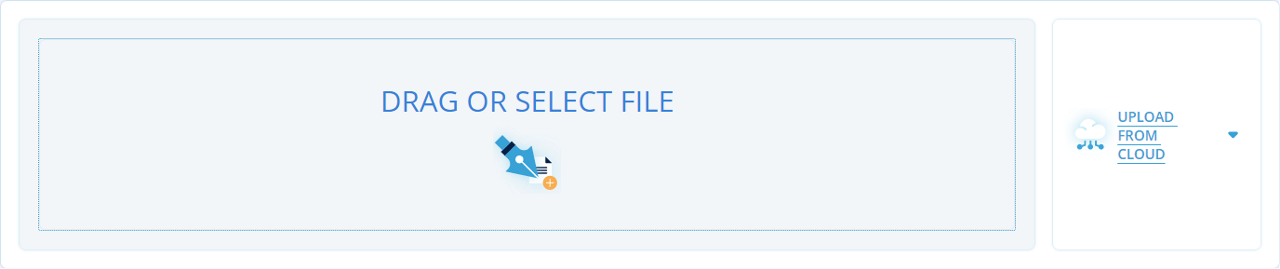
You can choose whether or not to upload documents (by choosing to click on "I don't want to upload the documents now"). In both cases, you can always define the name of the dossier and the deadline.
The selection of recipients is also not mandatory; if the recipients are selected, it will be necessary to choose the actions we want them to finalize:
If you have decided to attach a document, you will be redirected to the mask useful for placing the tags on the documents; once positioned, you can proceed to save the model.
Use of the template
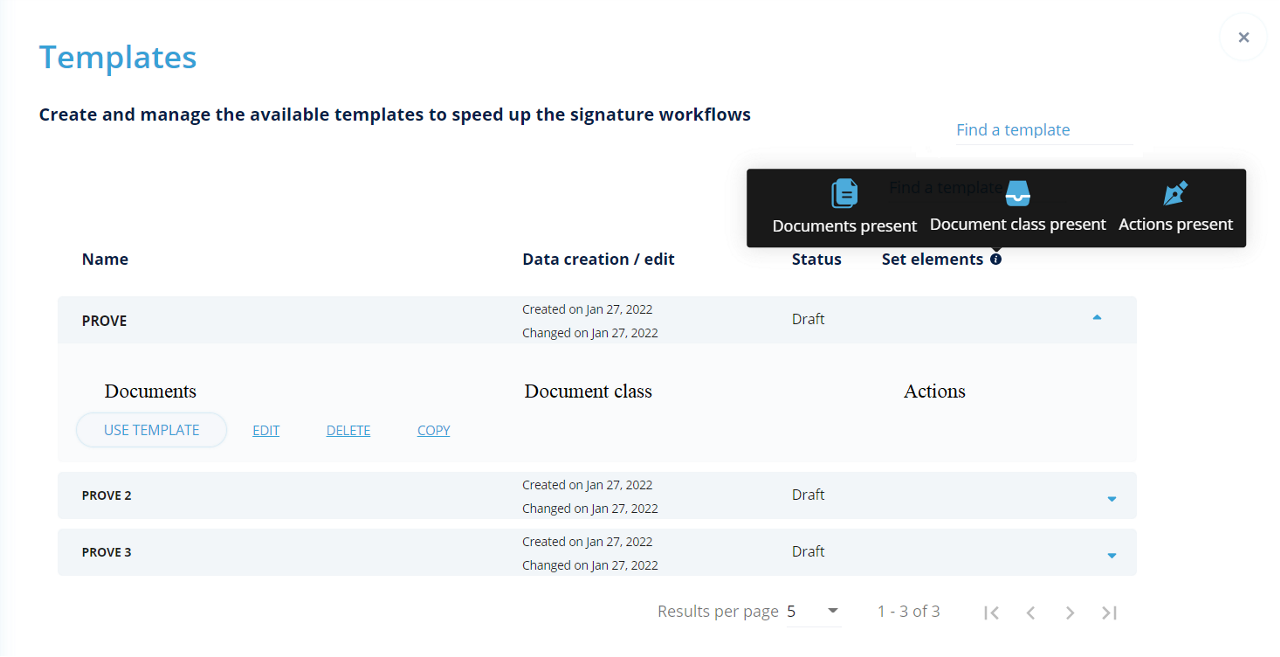
The template can be used by selecting it in the appropriate section of the side menu, or, in the Request signature process using the "USE TEMPLATE" function.
In both cases (USE TEMPLATE from the side menu or REQUEST SIGNATURE), after selecting and confirming a template to use, you are redirected to the practice creation mask, which will create a practice in DRAFT, with all the preset data taken from the model. The dossier, in the creation phase from the model, will therefore be completely customizable by the user who is composing it (the model does not constrain customizations).
If a dossier in draft has been created starting from a template, the system will show the initial template and any inconsistencies in the process: the validation of the dossier follows the rules already in place on the page REQUEST SIGNATURE. Once sent, it will no longer be possible to track the information relating to the starting template.
Finally, you can decide whether to modify or delete the template; the two operations of MODIFY and DELETE once confirmed, are irreversible.
This icon is visible in the functions Sign and Send, Request Signature, and In presence signature. It is indicated by an icon representing an address book; with this feature, you can search for a contact in a faster and more organized way.

The address book opens as a popup showing the complete list of the organization's contacts with their respective Names and e-mails; by clicking on the star icon, there is the possibility to add contacts to favorites.
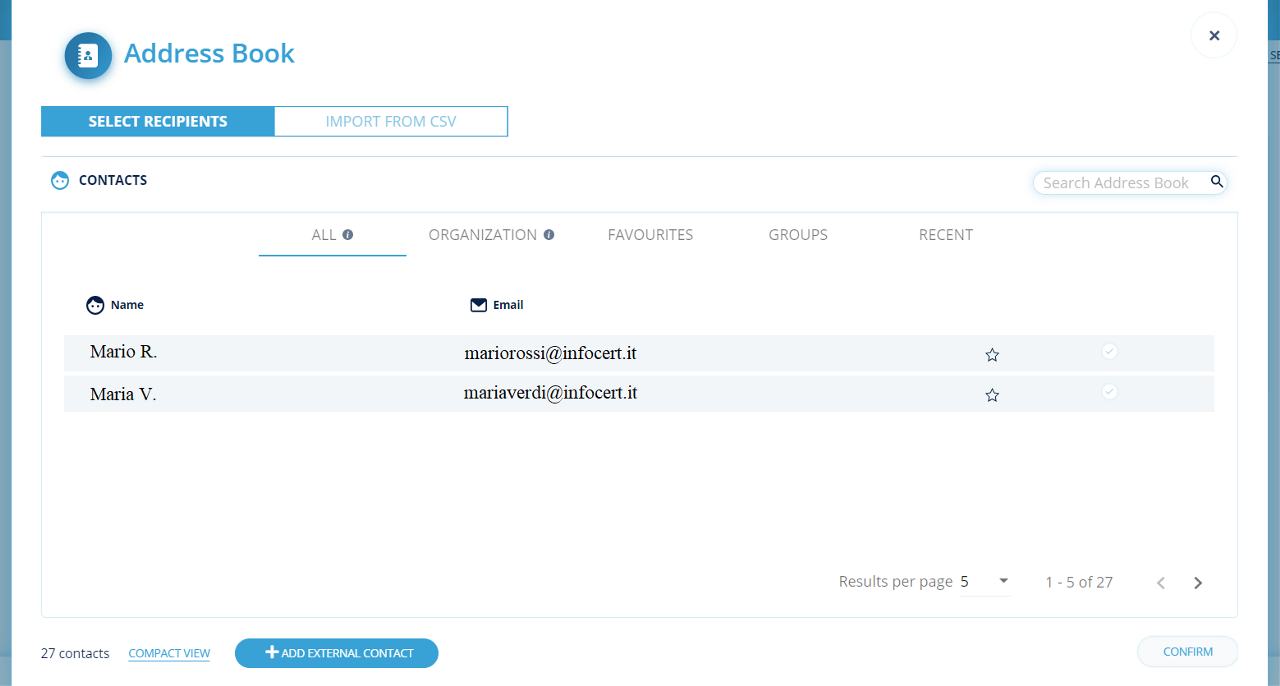
To add one or more contacts as recipients of the email that will contain the document to work on, it is necessary to click on the line where's the contact, highlight it, and click on CONFIRM.
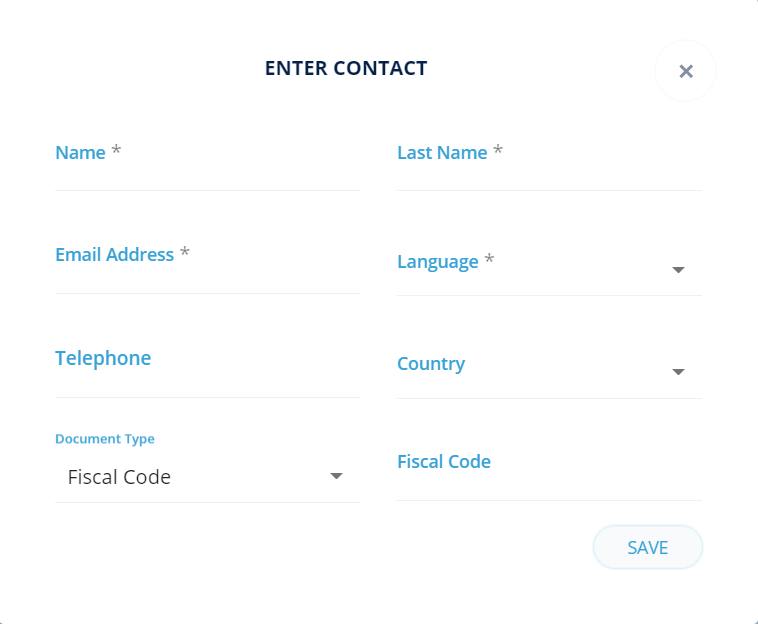
To add a new contact, at the bottom left, it is necessary to click on "Add external contact": some mandatory data will be requested, name, last name, email address, language (language in which the contact will receive communications from GoSign), telephone, others optional, such as country, type of document and tax code.
There are 3 other screens to view your contacts: Favorites, Groups and Recent.

Groups: contain two or more contacts together. In this way, it is possible to select a certain number of contacts who have something in common with a single selection, without having to search for each individual contact (for example the Marketing department group includes all the contacts that work in Marketing).
Recent: varies over time, depending on the contacts that were used last.
To find a contact more quickly there is a search box in which you need to type either the name and/or surname or the email of the contact you are looking for
To add a new contact, just click on the ADD CONTACT button. The form for entering a new contact requires you to enter mandatory datas:
It's also possible to add some optionals informations.
Once entered, click on SAVE to confirm the creation of the new contact.
Your Signatures section is within the CONFIGURE menu. This section is marked with the signature icon.
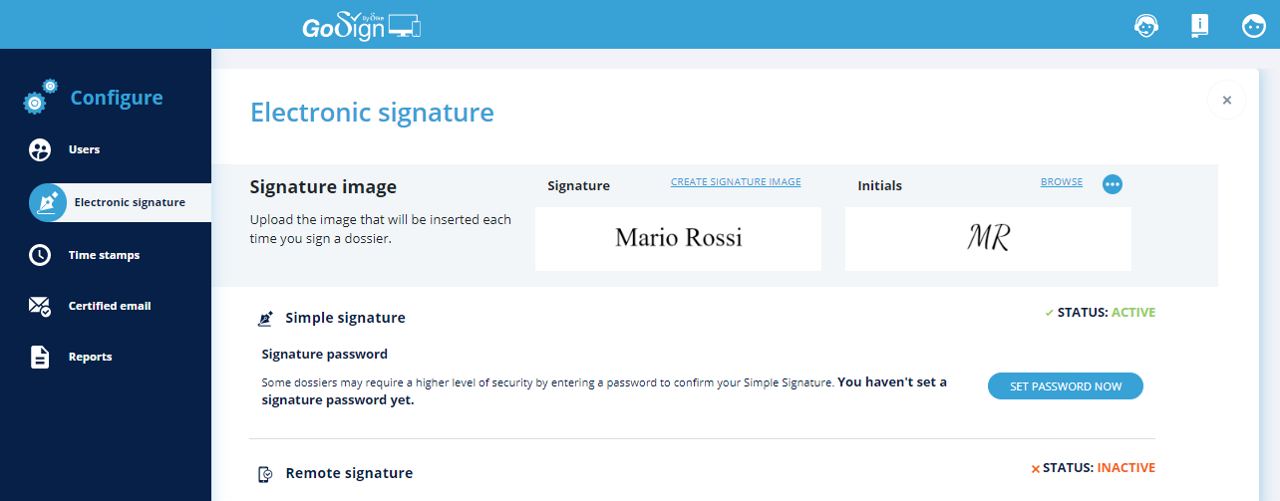
In the upper part of the section, there is the Signature image, where there are two input boxes that will contain graphic representation displayed on the documents once signed.

By clicking on Create Signature Image you can:
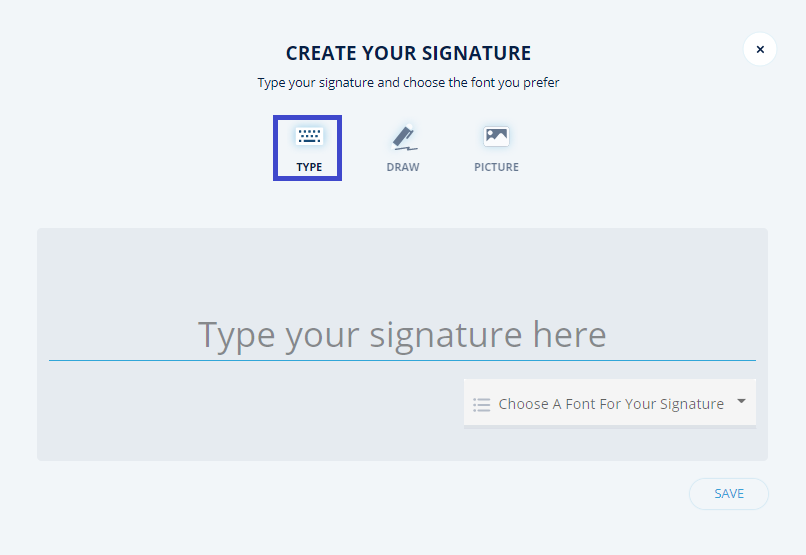
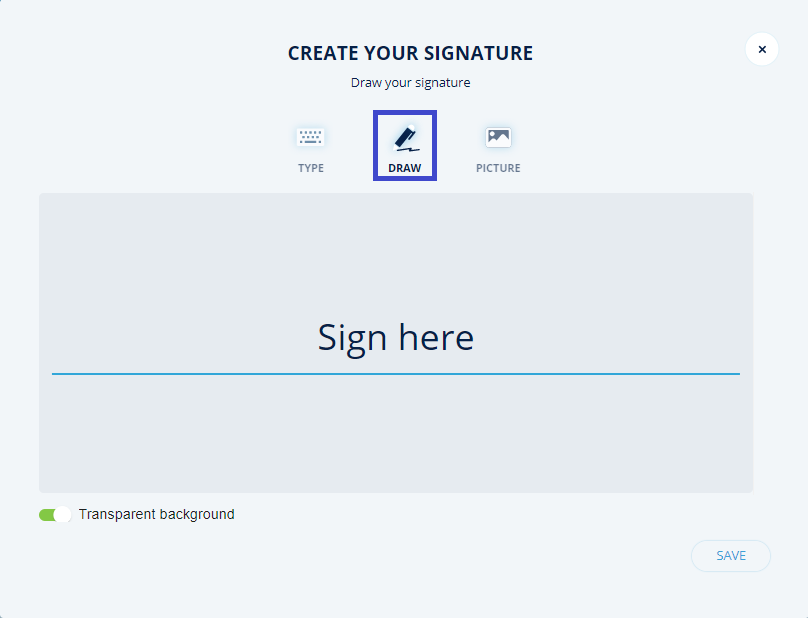

Once you have chosen the type of signature, you will need to click on the Save button to confirm the operation.
GoSign Web allows to insert your initials.
The initials can be loaded by clicking on BROWSE, or it is possible to auto-generate them by clicking on the 3 dots icon and writing the initials.

It is possible to set the simple signature with password to guarantee an additional level of security when confirming the signature; by clicking on Set password now, you can proceed to set the chosen password.
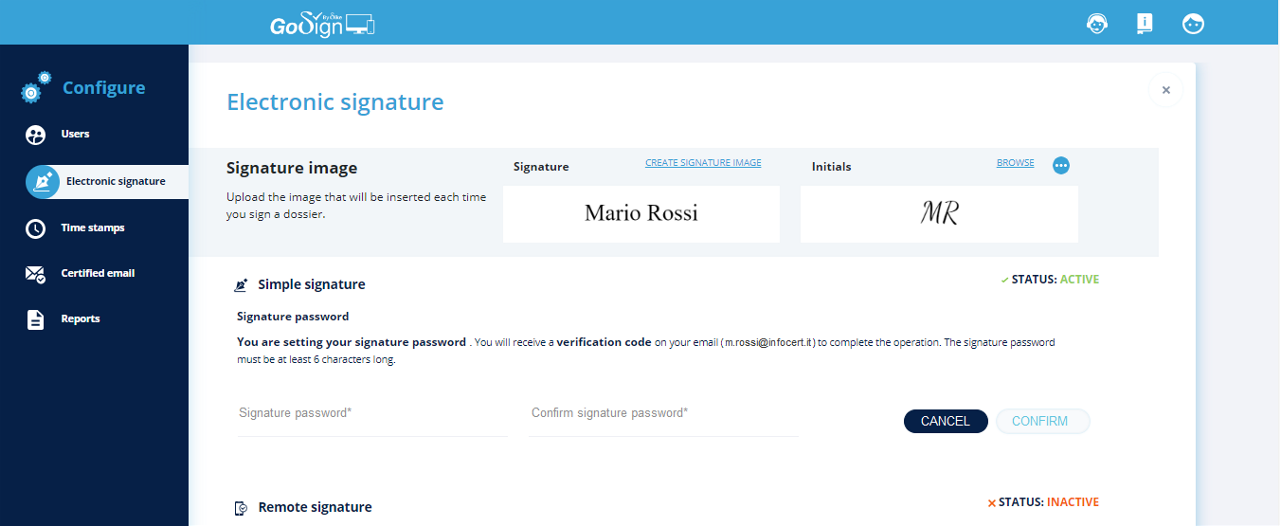
When the password has been set, the verification code received by email must be entered in the provided space.
The simple signature with password will be active and ready to be used.

Under the SIMPLE SIGNATURE section, there is a section for configuring the remote signature certificate.
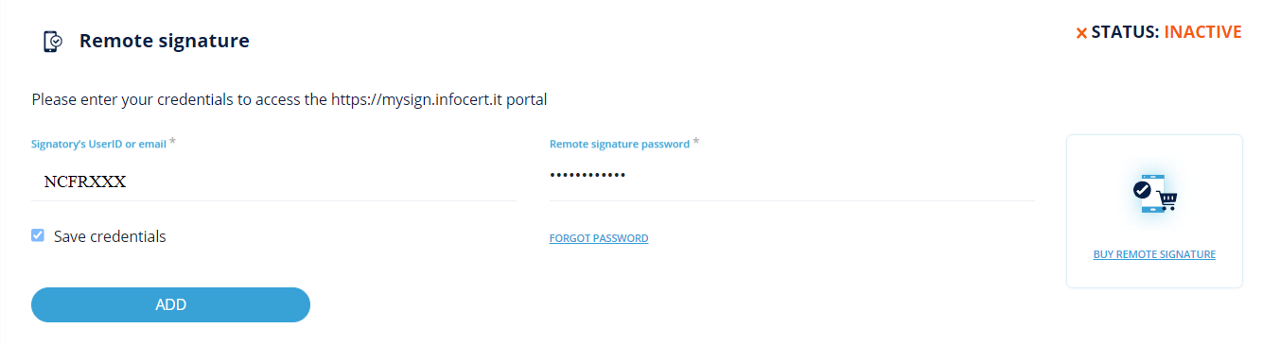
Within this area it is possible to enter:
The email or the username of the signatory, which is related to the account that purchased the service (this credentials are issued to the user by InfoCert at the time of the certificate request, it can be found on the copy of the Registration Request delivered on that occasion);
The Password (which corresponds to the password used to access the portal dedicated to holders of a remote certificate, My Sign, and must be customized when activating the certificate).
Once you have entered your credentials on the Add button, it will be open a confirmation pop-up, where you will be asked to enter the remote signature PIN and the OTP code (which you will receive on the telephone number associated with the remote signature certificate).
Once all the codes have been entered to activate the certificate, click on PROCESS.
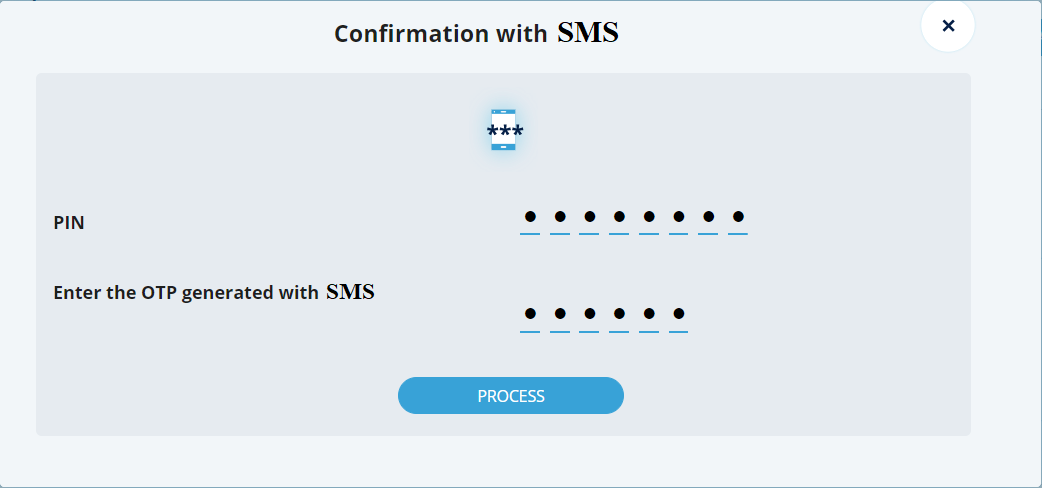
In the same panel, you can remove a remote signature by clicking on the trash icon.
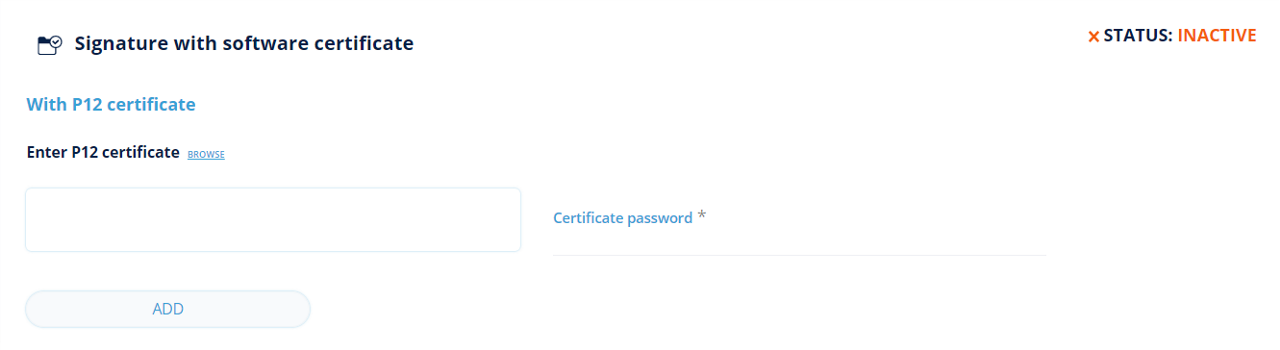
The last section is used for configuring the Signature with software certificate.
To upload the certificate, click on BROWSE and recall the p12 certificate file in the software. Once uploaded, you will be prompted for the password to activate the certificate. To proceed with the configuration, click on ADD.
Once the certificate has been uploaded, you can see the path where the certificate was saved and a trash icon that allows you to delete it.
The Time Stamps section is found in the CONFIGURE menu. This section is marked with the time stamps icon.
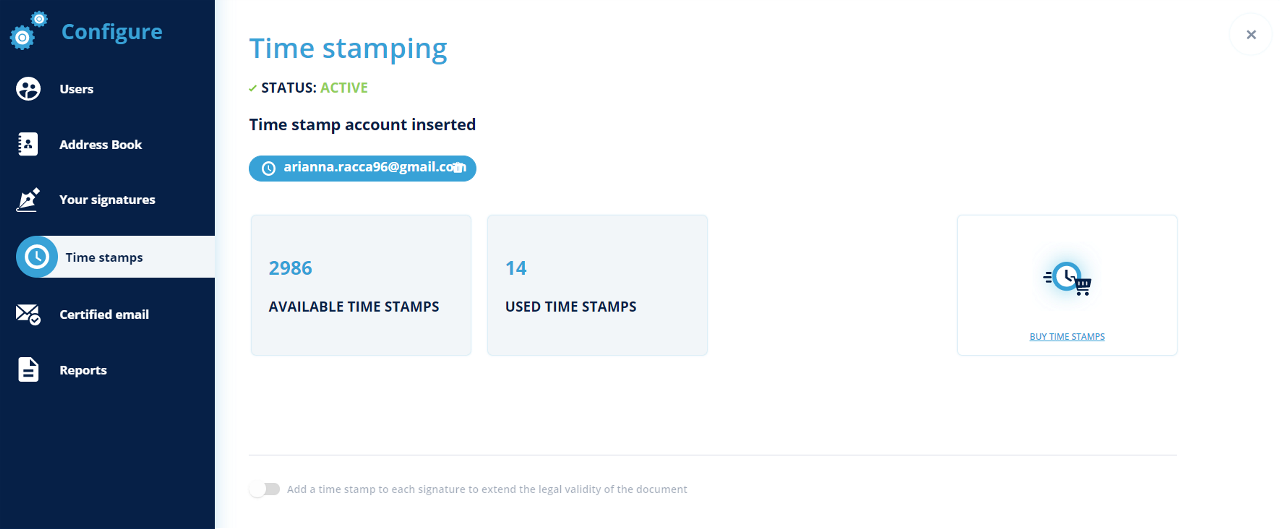
Time Stamps are necessary if you want to prove - or validate - the existence of a document on a certain date.
To configure the time stamps account on GoSign Web, you are asked to enter: User name (provided by InfoCert services at the time of purchase) and Password
During the configuration, it is possible to activate the option by which a time stamp is added to each signature to extend the legal validity of the document.
Once you have entered your credentials to configure the account, just click on ADD.
Once configured, it is displayed the status of the time stamps for that account (AVAILABLE TIME STAMP and USED TIME STAMPS).
If you want to add another time stamps, just click on the cart icon, to be redirected to the InfoCert Store.
The Certified Email (PEC) section is found in the CONFIGURE menu. This section is marked with an email icon.
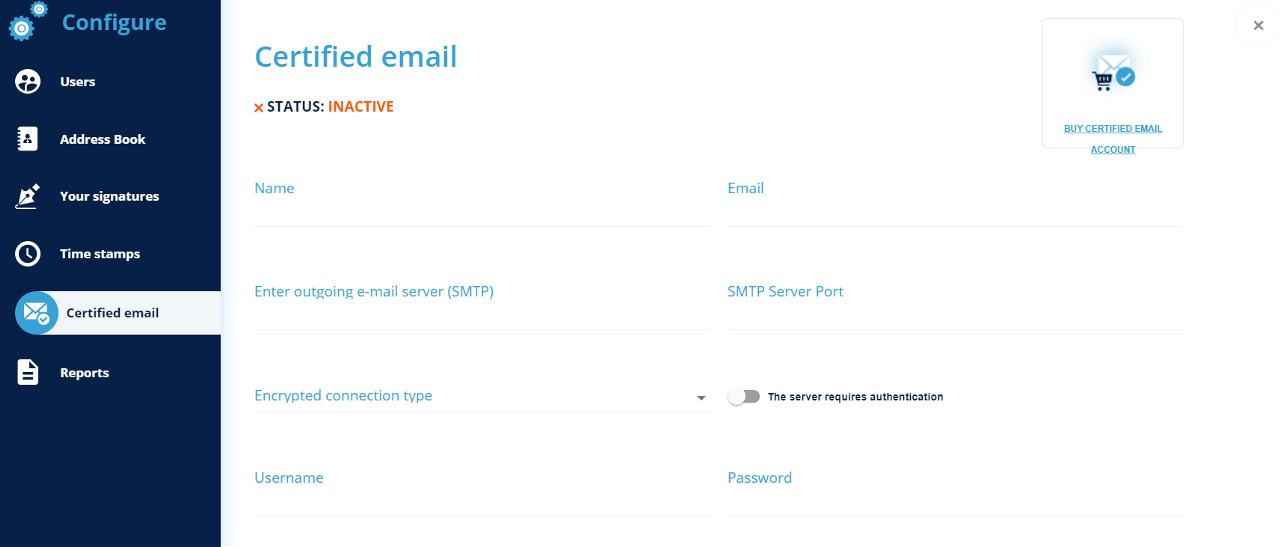
InfoCert offers a Certified Email (PEC) service (it is recommended to have a Certified Email with InfoCert).
To configure the PEC you need to enter:
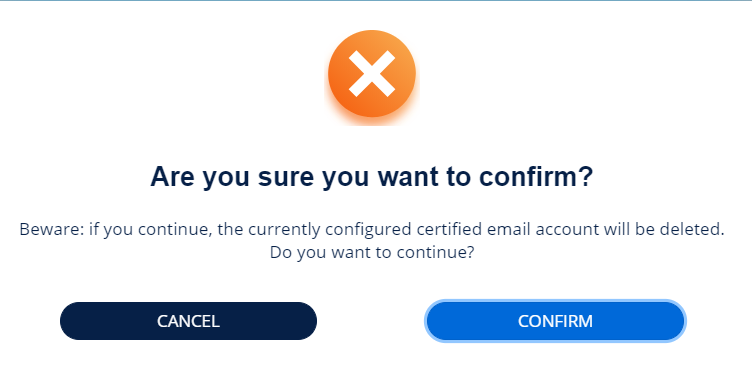
In the Certified Email section, it is also possible to delete the account, by clicking on the CERTIFIED EMAIL INFORMATION link.
If you do not have a Certified Email available, just click on "Buy Certified Email Account", to view all the offers and proposals of InfoCert.
The Report section is found in the CONFIGURE menu. This section is marked with a document icon.
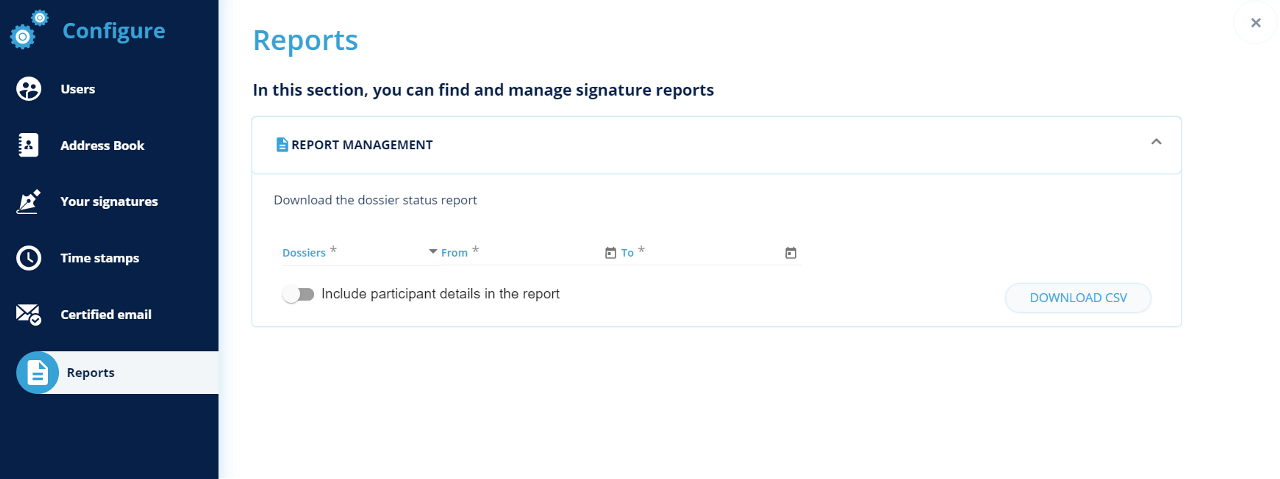
In this section, it is possible to download all the details relating to the practices that meet the parameters that are set.
The parameters are:
It is also possible to include all the details of the participants who collaborated in that dossier.
By clicking on DOWNLOAD CSV, will be downloaded an EXCEL file.
At the top of the home page there are three icons representing "User Assistance", "more information about InfoCert's products/services", and "Personal settings".

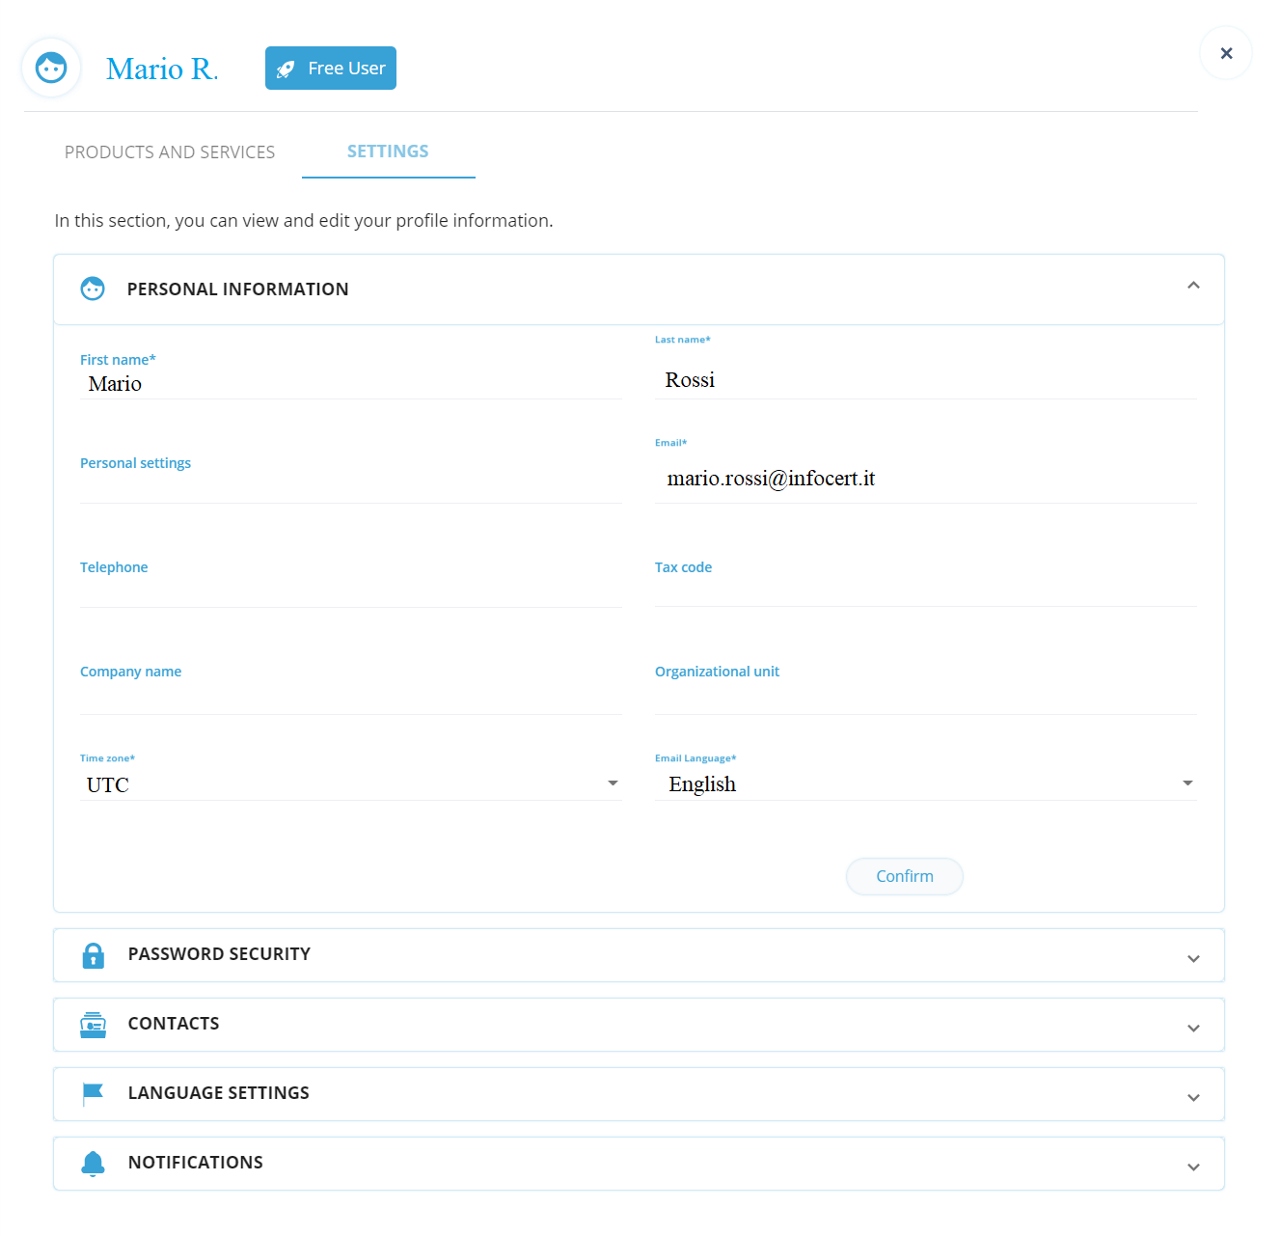
There's the possibility for the user to modify some data relating to his account, through the "Personal Settings".
By clicking on the face icon it will be visible a drop-down menu with the options Settings and Logout, concerning the information relating to the account and some GoSign Web configurations.
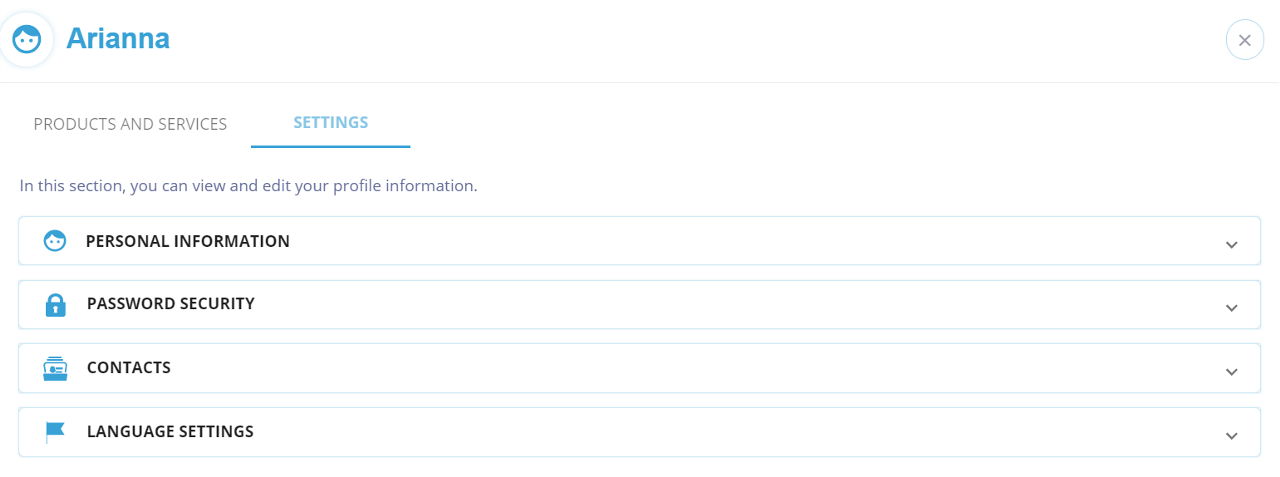
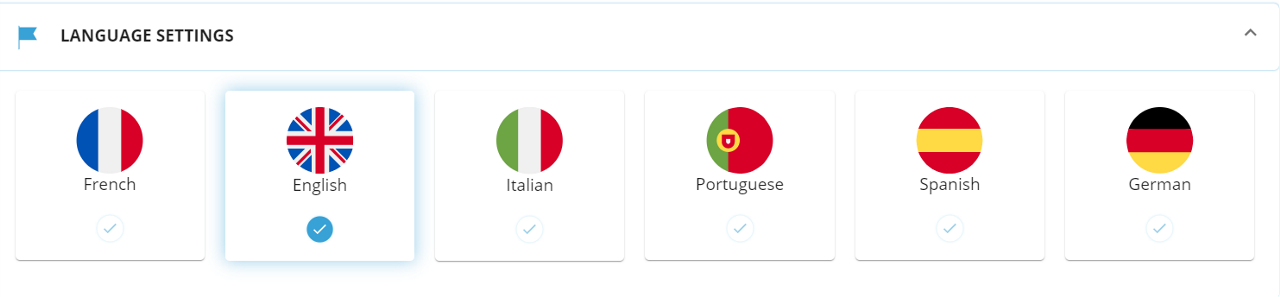
In this section the user can change his personal data, the email linked to the account, the language in which he wants to write the emails (there are 6 different languages: French, English, Italian, , Portuguese, Spanish, German), and the Time zone, that is the time zone that you want to apply while applying time stamps.

If you are working with an administrator account you will have the option to reset the password and see all the security information for password recovery.
On the other hand, if you are working with an account managed by an administrator, it will be available a link that gives information on password recovery.

The Contacts section displays all the sent and received requests for adding new contacts.

GoSign Web can be translated into 6 different languages, this allows ease of use even for international users.
By clicking on Products and Services then, you can view all the products offered by InfoCert and the dedicated offers.
If the user needs further explanations on how GoSign Web works, by clicking on the face icon with the microphone, you will be redirected to the browser page.
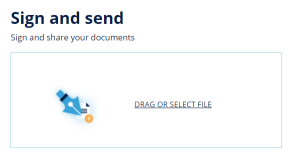
The Sign and Send function allows you to sign documents and send them to other users who need to sign that document, or to the end-user (e.g. a customer waiting for a contract, etc.).
WARNING: the "Sign and Send function" allows only the user who uploaded the file to sign it. If it is necessary to build a signature process that involves multiple users, it is necessary to use the "request signature".
Upload Documents
To upload a document, simply click on the function icon on the home page.
With GoSign Web you have the possibility to upload any type of file (.pdf, .doc, .xls, .jpg, documents in .p7m format) and it is possible to upload multiple documents at the same time.
Additional Settings
Once the document (or documents) has been uploaded, by default is set a dossier number; the deadline or the date by which the practice must be concluded (by clicking on the calender icon you can set the date) the trash icon allows you to remove the document; the eye icon gives you the possibility to view the loaded document.
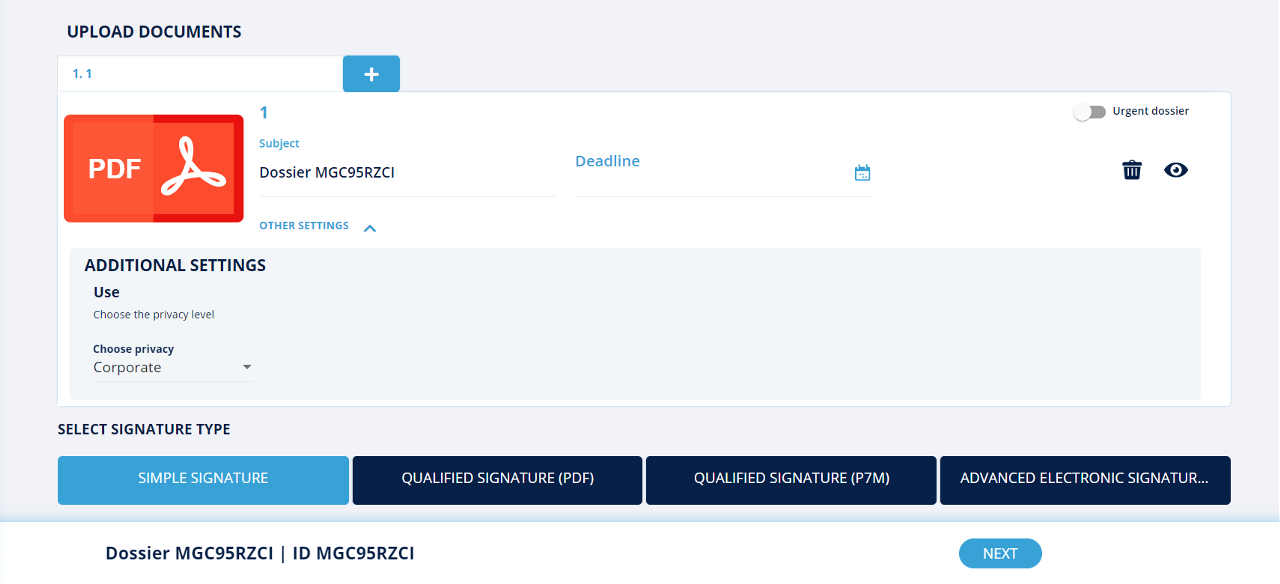
To add further priority to the dossier, you need to activate the Urgent dossier box.
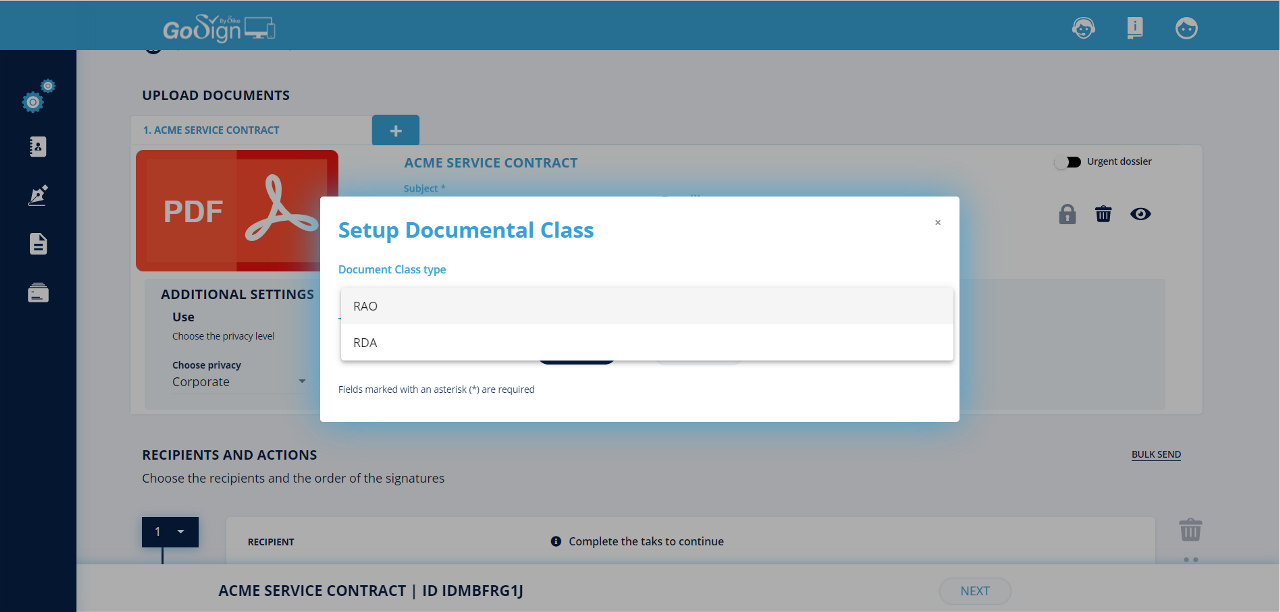
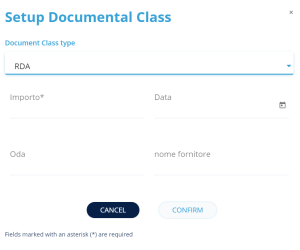
By clicking on Additional settings, you change some parameters:
In the last case, the user company can choose the type of document class from: Customer Offer, RAO, RDA.
By clicking on RDA (Purchase Request) → The user must enter some information such as: amount (mandatory), date, order number, name of the supplier.
Select Signature Type
There are four signatures that can be affixed to the files; however, the only ones that have a legal value are the PDF Digital Signature and the P7M Digital Signature.
If the file is a document with the .p7m extension, the only possible option is the P7M Digital Signature.
To select the type of signature, simply click on one of the boxes below.

Recipient selection
To set the recipients who will receive the signed documents, you have two options.
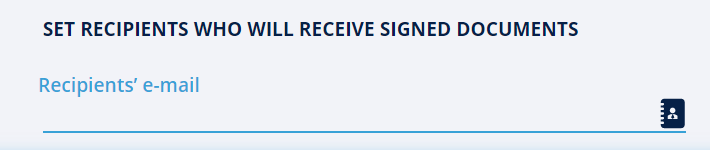
Type the email within the box;
By clicking on the address book, where you can choose the recipients with a click.
You can delete a recipient by clicking on "x". To proceed with the dossier, click on NEXT.

On the right side of the screen, there's a preview of the document.
It is possible to change the display mode by clicking on the first icon on the left; zoom on the document; print the document; search within the document.
If there are several documents, to switch from one document to another, click on the tab that contains the name of the document you want to see.
On the left of the document preview, placing the icon on the document preview itself, you can choose between those actions:
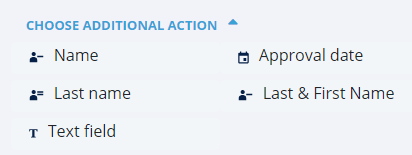
If deemed necessary, it is possible to add additional information on the document, by double-clicking on it, such as: Name, Surname, Text field (to be filled), Date of approval.
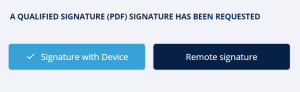
n the case of a PDF digital signature, P7M digital signature, it is necessary to specify which type of signature must be affixed to the file: you can choose between Signature with Device or Remote Signature.
With the remote signature, the operation will be successfully completed by entering the remote signature PIN (previously set) and OTP code (received as a notification on the GoSign Free app).
With the Signature with Device option, you need to make sure that the device is correctly connected to the laptop and enter the PIN to authorize the signature.
In case of signing with P12 certificate, you need to specify if you want to sign with:
Once you have chosen the type of signature, to continue, click on the NEXT button.
The next screen will confirm whether or not the operation is complete.
The function Request signature allows you to send documents to multiple recipients, to request their signature on the documents included in the file.
To upload a document, click on the function "Request signature" on the home page.
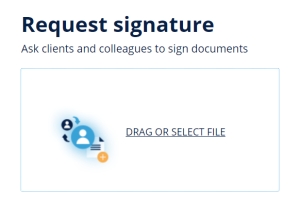
With GoSign Web you have the possibility to upload any type of file (.pdf, .doc, .xls, .jpg, documents in .p7m format) and it is possible to upload multiple documents at the same time.
Once the document (or documents) has been uploaded, by default is set a dossier number; the deadline or the date by which the practice must be concluded (by clicking on the calender icon you can set the date) the trash icon allows you to remove the document; the eye icon gives you the possibility to view the loaded document.
To add further priority to the dossier, you need to activate the Urgent Dossier box.
By clicking on Additional settings, you change some parameters:
Eg. By clicking on RDA (Purchase request) → The user must enter some information such as amount (mandatory), date, order number, name of the supplier.
Type the email; within the box. By clicking on the address book, where you can choose the recipients with a click.
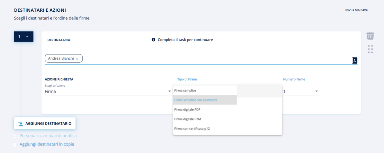
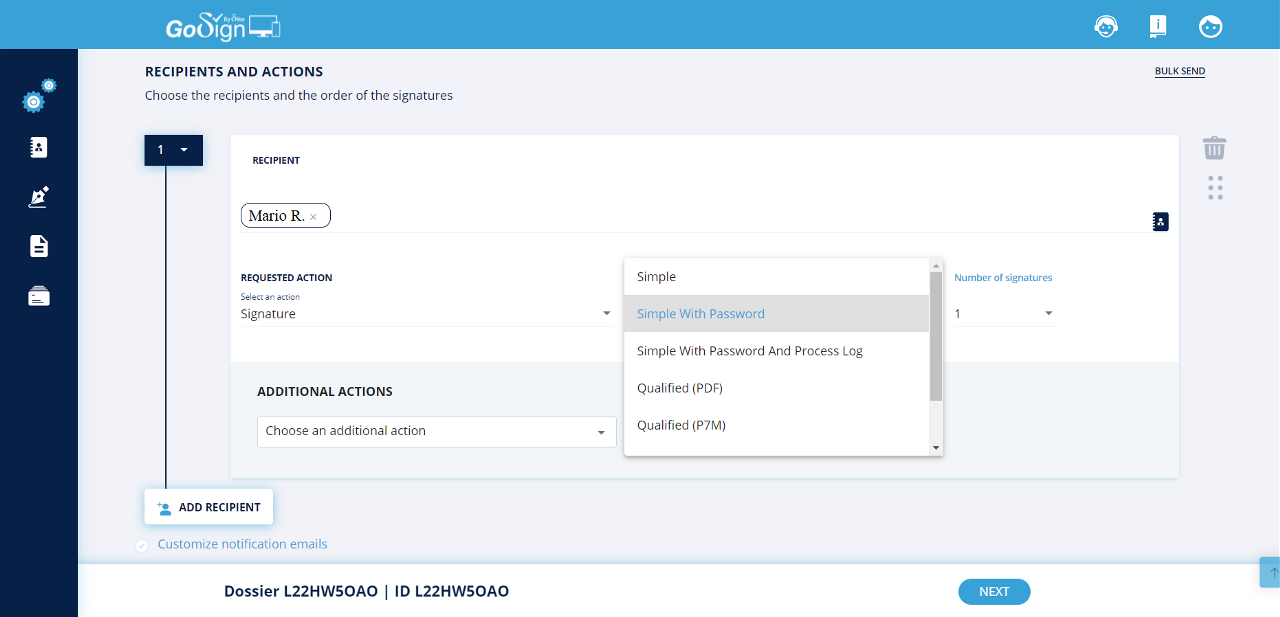
The recipient will be specified, by the applicant of the signature, what action he wants to be carried out on the file (in this case a signature), pre-set the type of signature, and the number of signatures he wants to be affixed.
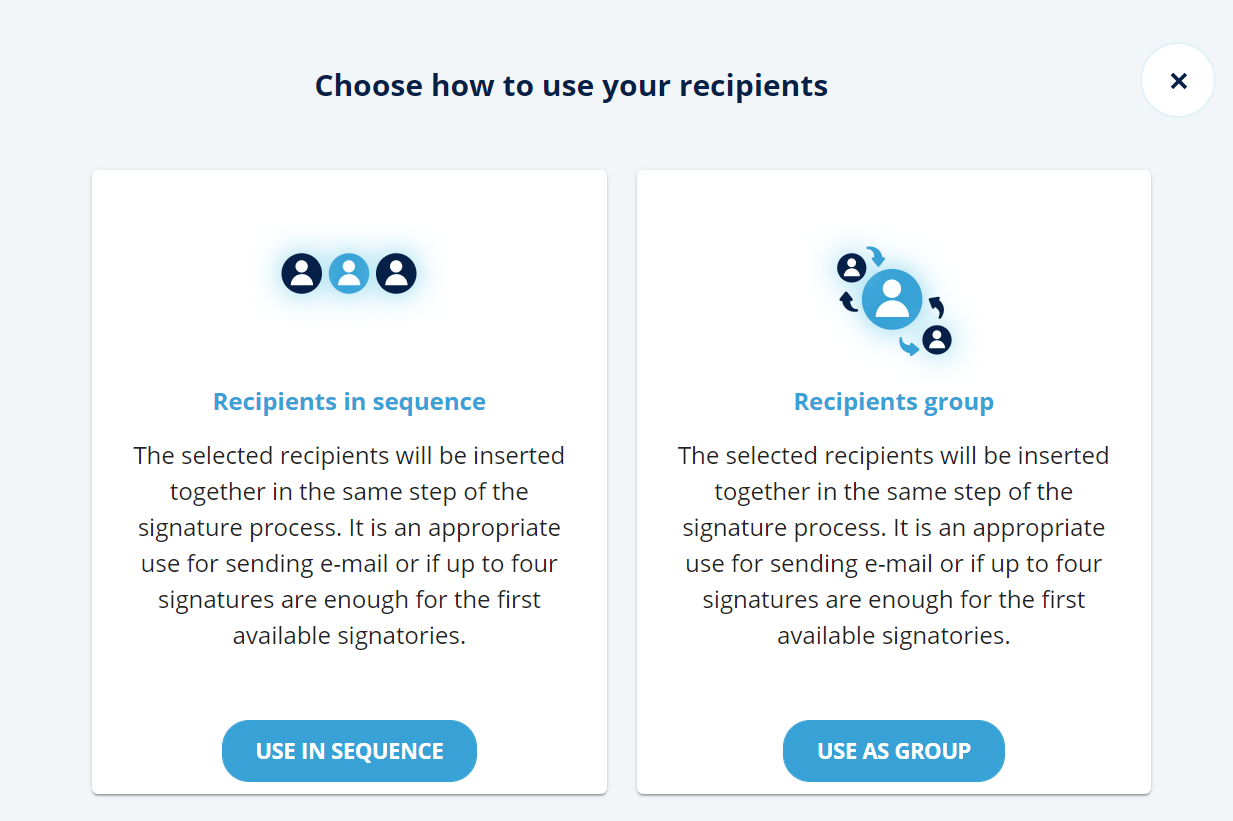
If multiple recipients are selected, you can choose how to use the recipients:
Recipients in sequence → The selected recipients will be inserted together in the same step of the signature process. It is an appropriate use for sending e-mail or if up to four signatures are enough for the first available signatories.
Recipients Group → The selected recipients will be inserted together in the same step of the signature process. It is an appropriate use for sending e-mail or if up to four signatures are enough for the first available signatories.
If configured, for each recipient it is also possible to define additional actions, which must be carried out by the signatory to complete the practice. Those actions are:
Add permission to associate attachments: this function, allows you to request the signatory to attach documents to the file.
Privacy level (available only for enterprise users): a function that allows you to strengthen the security of a document by setting a code to access the file.
By clicking on add recipient, another recipient will be added and you can choose when you will have to apply your signature to the case:
Next recipient → the recipient will receive the file only after the first recipient has signed the document;
Recipient in Parallel → the recipient will receive the file at the same time as the first recipient and it does not matter in which order the signatures are affixed;
Previous recipient → the recipient will receive the file only before the previously configured recipient;
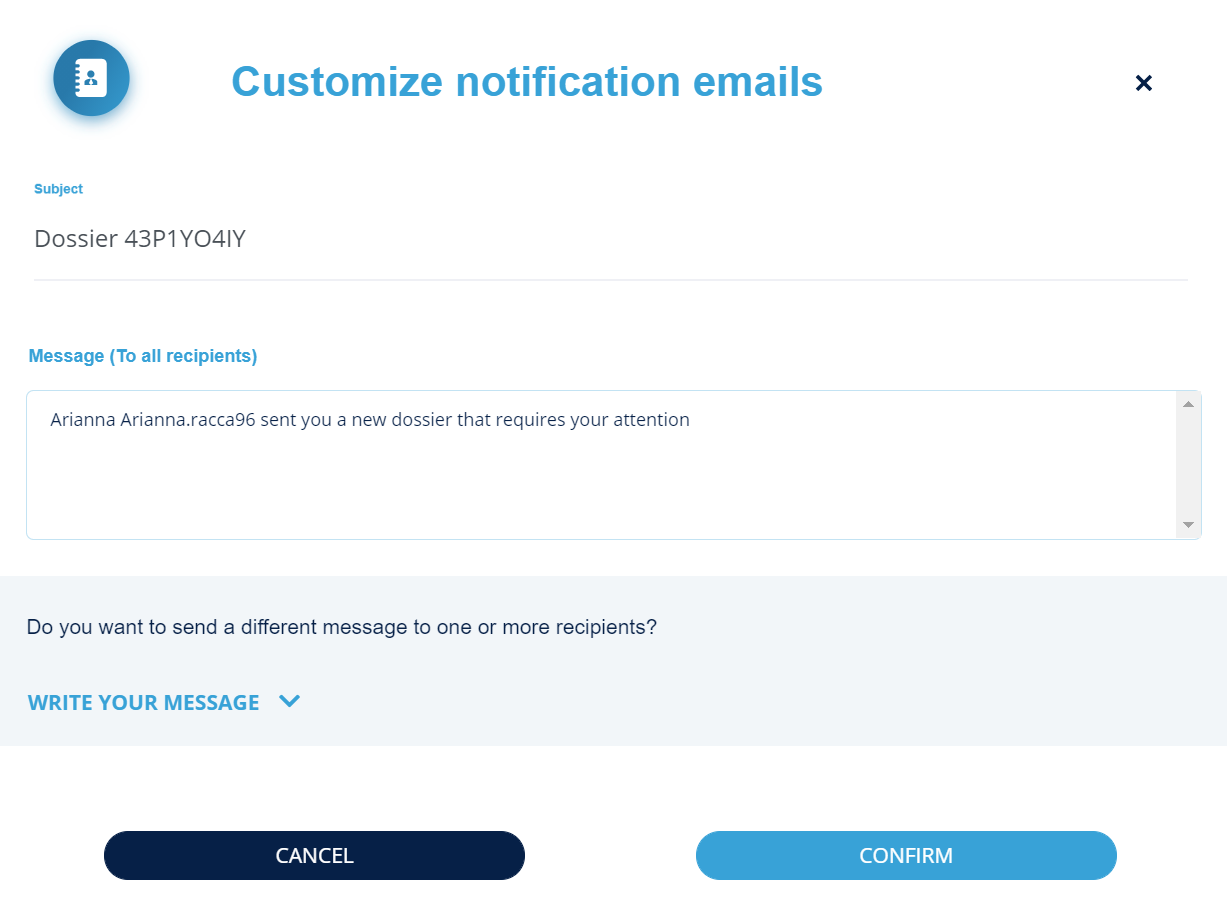
With Customize notification e-mail, you can customize the text of the notification e-mail that recipients will receive.

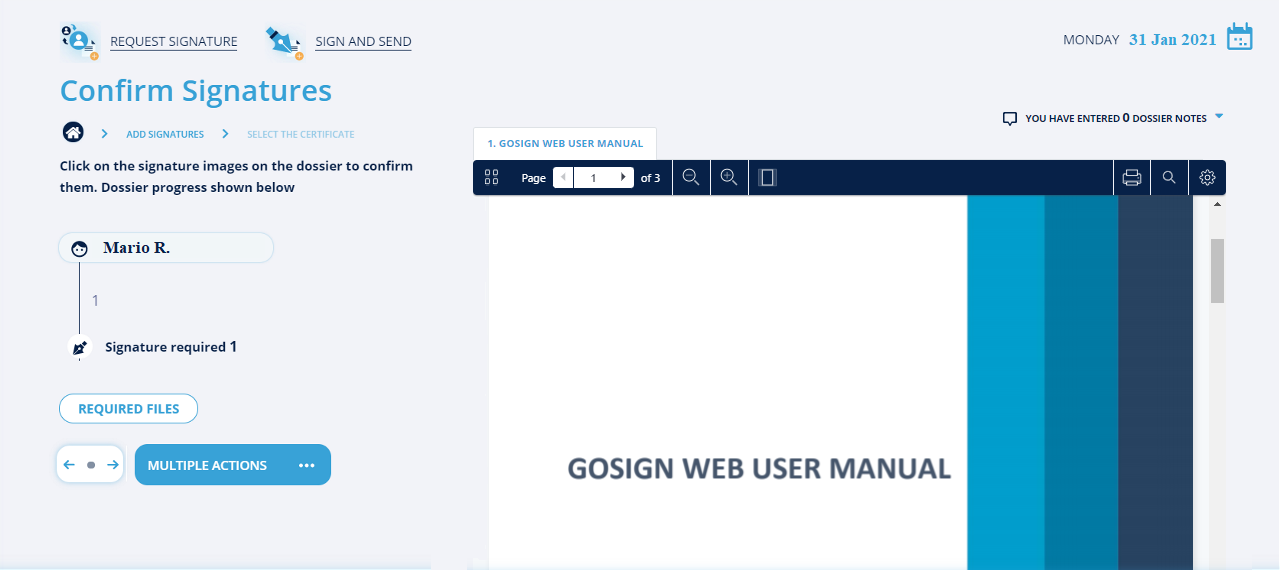
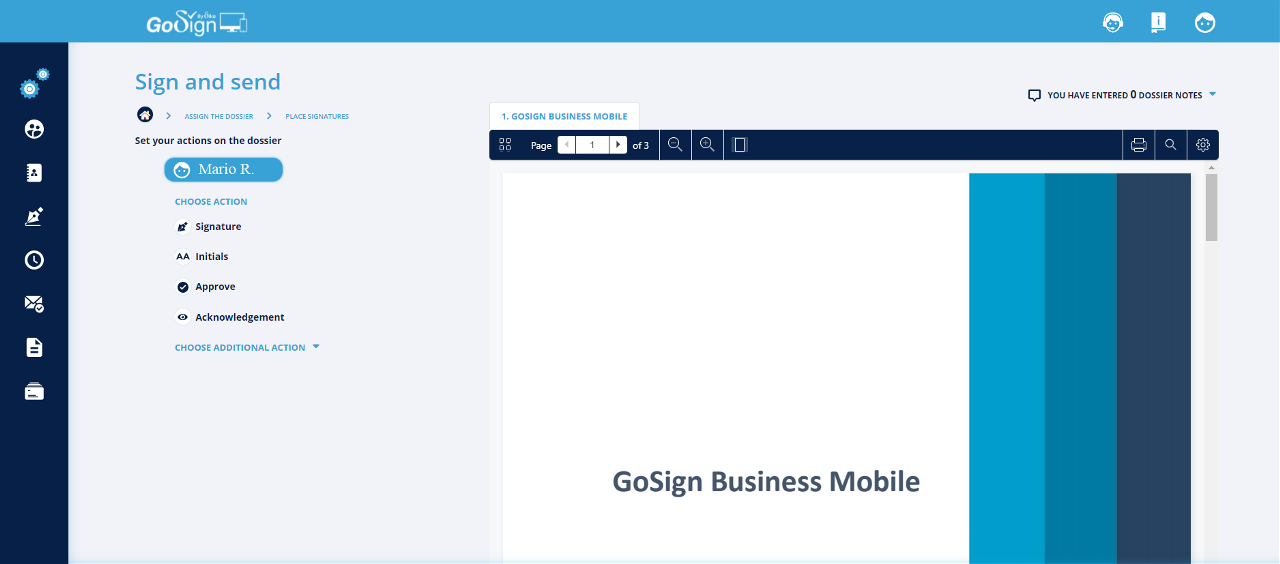
It is possible, by clicking on the recipients, to place the signatures to be requested.
On the right side of the screen, there's a preview of the document.

It is possible to change the display mode by clicking on the first icon on the left; zoom on the document; print the document; search within the document.
If there are several documents, to switch from one document to another, click on the tab that contains the name of the document you want to see
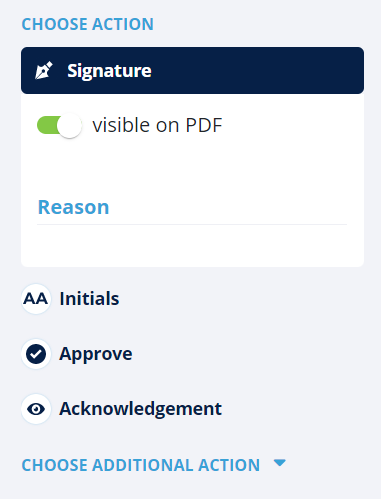
On the left of the document preview, placing the icon on the document preview itself, you can choose between those actions:
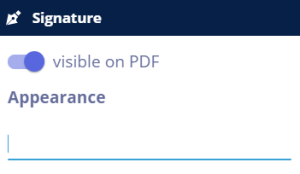
Signature: by clicking on the document preview, you can decide where to place the signatures and to set whether or not you want to make the signature visible. Using the Reason field, the reason for the signature will be set.
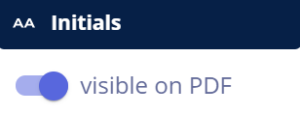
Initials: clicking on the document preview and placing the icon, it will be possible to set if you want to make the initials visible on the document or not;
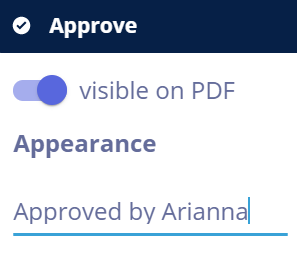
Approve: This icon allows you to indicate that the document has been approved by the recipient of the document;
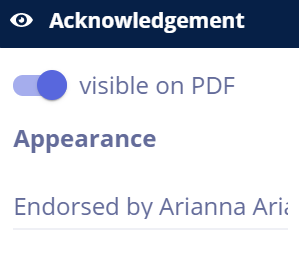
Acknowledgment: this icon allows you to indicate that the document has been viewed by the recipient of the document.
It is possible, to add notes; to add a note you need to click on YOU HAVE ENTERED 0 DOSSIER NOTES. Once all the procedures have been completed, by pressing on NEXT, it will be sent an email to the recipients with the invitation to sign the practice.
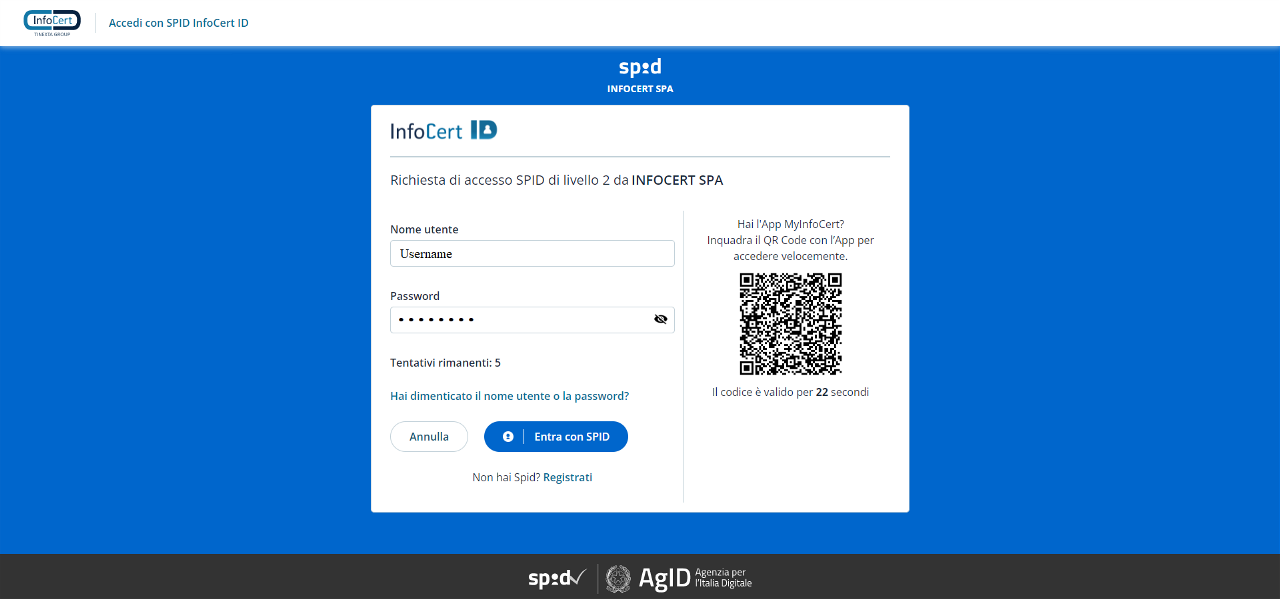
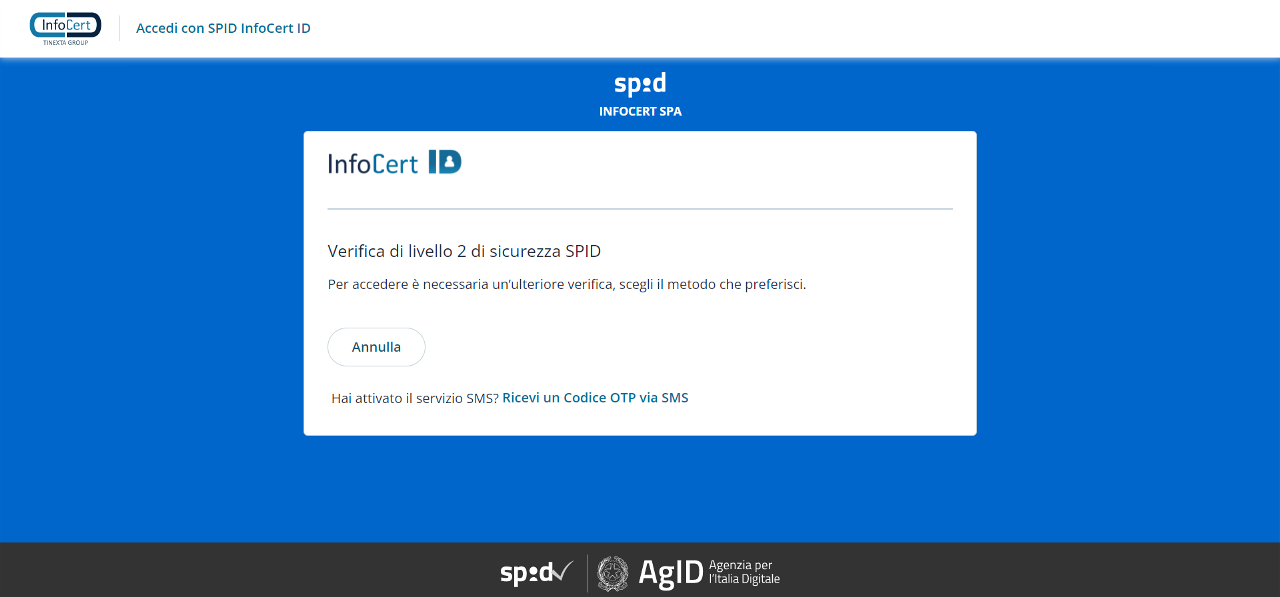
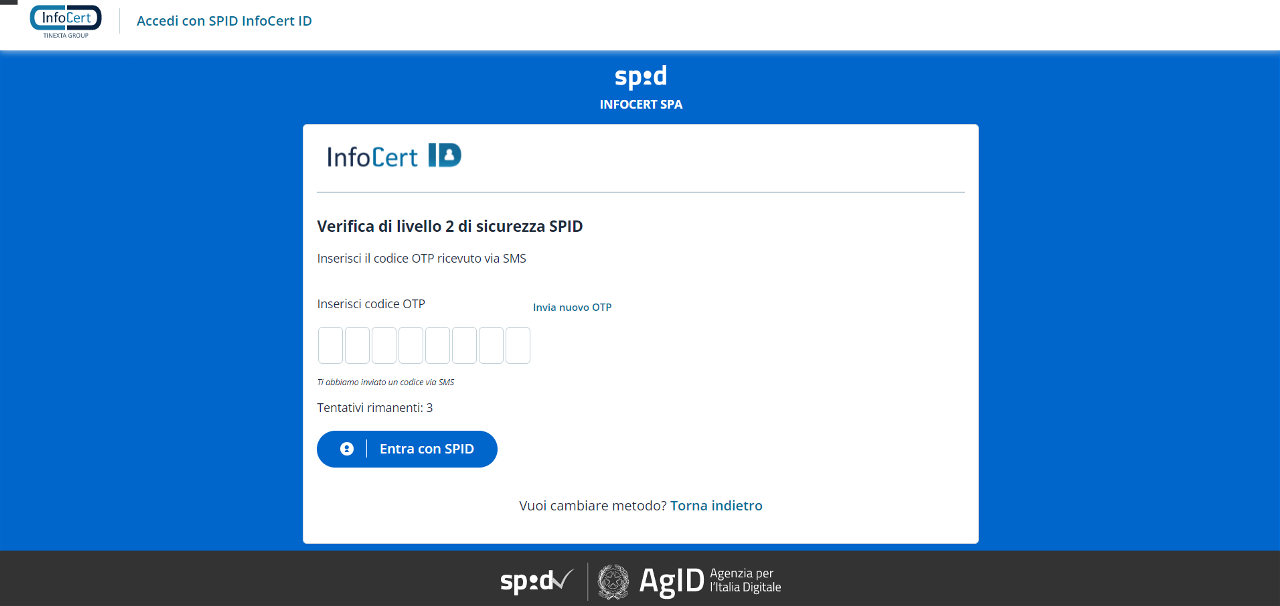
When you use the link contained in the email, you will receive a request to authenticate yourself via an OTP which will be sent via SMS to the telephone number indicated in your personal data. Only by entering the correct OTP will you be able to access the file and take the requested action.
Until one of these options is carried out, the dossier will be counted among the dossiers PENDING; once it has been signed, the dossier is considered COMPLETED.

The cloud storage function allows you to upload documents from Google Drive or Microsoft OneDrive.
To upload one or more documents you need to click on Request signature and then “Upload from cloud”.
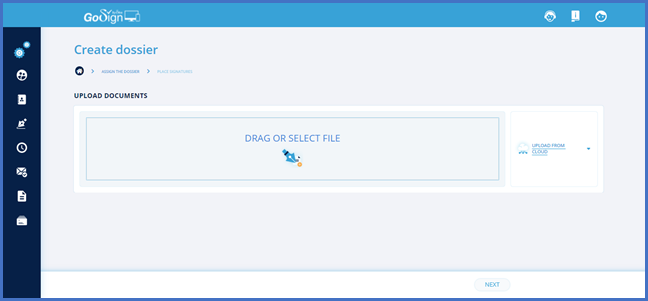
By clicking on the "Upload from the cloud" link you can select Google Drive or Microsoft OneDrive.

By selecting one of the two items in the list, it will be shown an authentication page where you will need to enter the credentials (email and password) of the account you want to configure.
After this phase, the list of documents on the selected cloud storage service is available.
Select the documents and click on "select" to attach them to the file.
At the end of the upload, the documents have been attached to the file.
Uploading of documents via Cloud Storage is the same for “Sign and Send” and “Signature at the counter”.
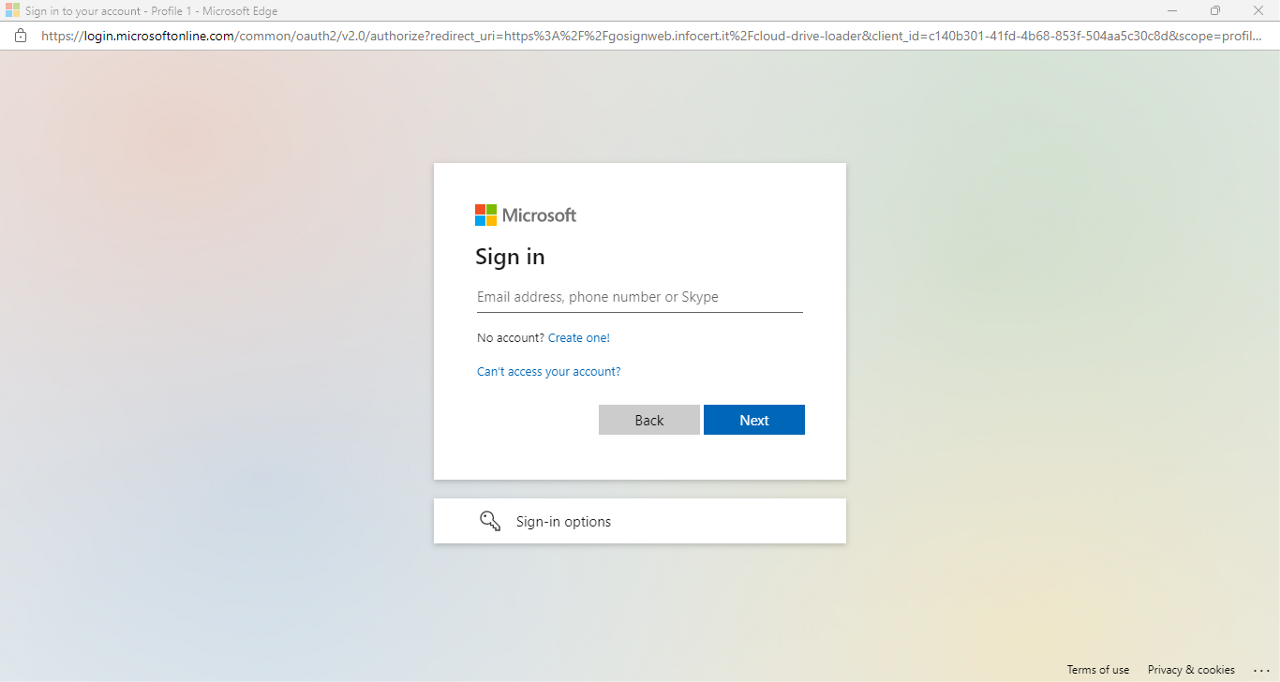
To set up a Microsoft OneDrive account, after clicking on the link indicating "Microsoft one Drive", the service login screen will be displayed.
Enter the email of the account you want to configure and click "Next".
Then, enter the account password and click on "Log in".
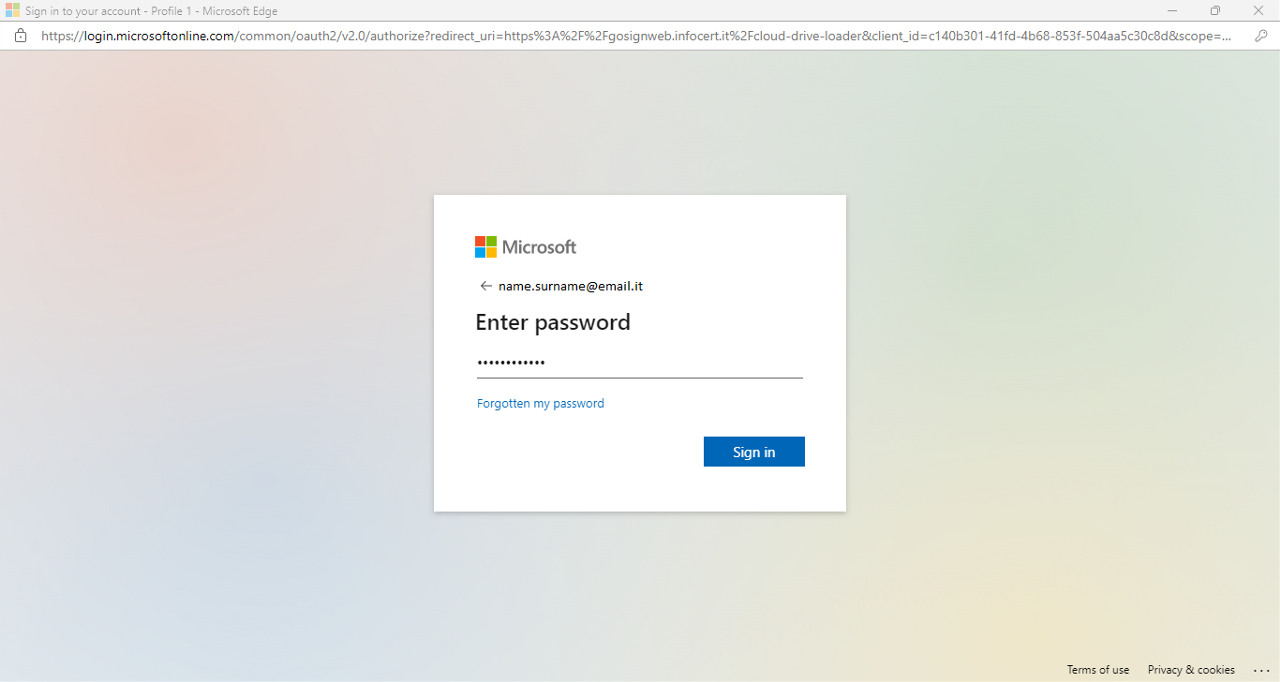
The account is correctly configured and from now on the user can sign their documents by importing them directly from Microsoft OneDrive.
To set up a Microsoft OneDrive account, after clicking on the link indicating "Google Drive", a screen will appear in which you must enter the email, then the password; at the end, your account will be correctly configured and you will be able to upload documents directly from Google Drive.

It is possible to select documents from the cloud, even after starting the dossier process, byclicking on the "+" button.
To upload documents, the operation to be carried out will be the one indicated above.
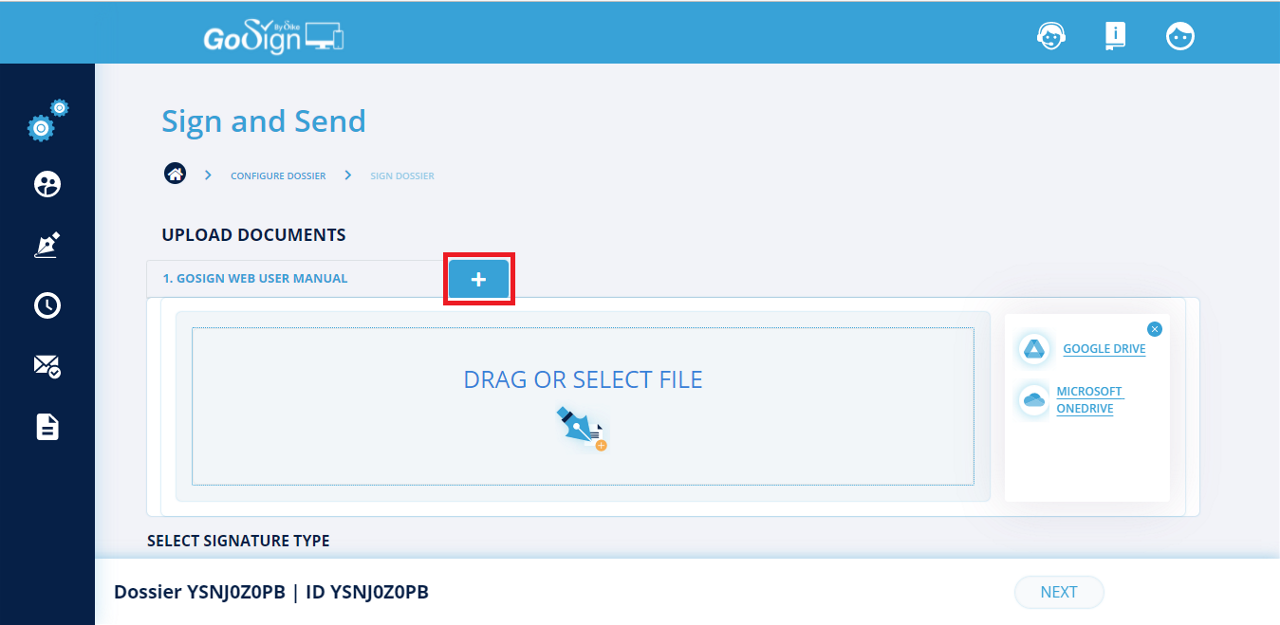
You will need to click on the "Upload from the cloud" link, select Google Drive or Microsoft OneDrive.
Then it will be possible to choose the documents of interest and click on "select" to attach them to the file.
At the end of the document upload operation, the cloud service closes and the documents are attached to the file.
It is possible to continue creating and sending it after completing the process and inserting the necessary requested actions.
You can also apply this procedure in the case of “** Signature and Send ” and “ Signature at the counter **”.
The function allows you to add attachments of any kind to a file to be processed, which can be mandatory or optional and is available only in the Request signature mode.
The "Add permission to associate attachments" feature provides the ability for a user to indicate which documents he wishes to be uploaded and which to make mandatory.
The request to upload one or more attachments is addressed to the assignee of the signature task who must work on the file at the same time.
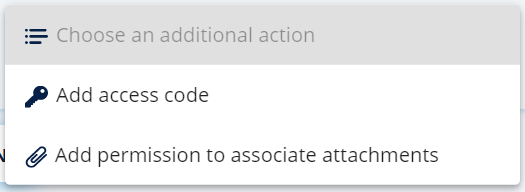
During the creation of the dossier, after having correctly indicated the recipient, the requested action, and the type of signature, the "Additional actions" will be enabled:
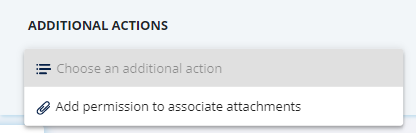
By clicking on "Add permission to associate attachments" it will be open a window that will allow the user who creates the file to:

To confirm the operation, click on "Add"; to cancel click on "Cancel".
After confirming the attachment settings, the user has the option to delete the attachments by clicking on the trash icon next to each attachment:

Attachment settings can only be changed on dossiers that have not yet been worked on or are in progress.
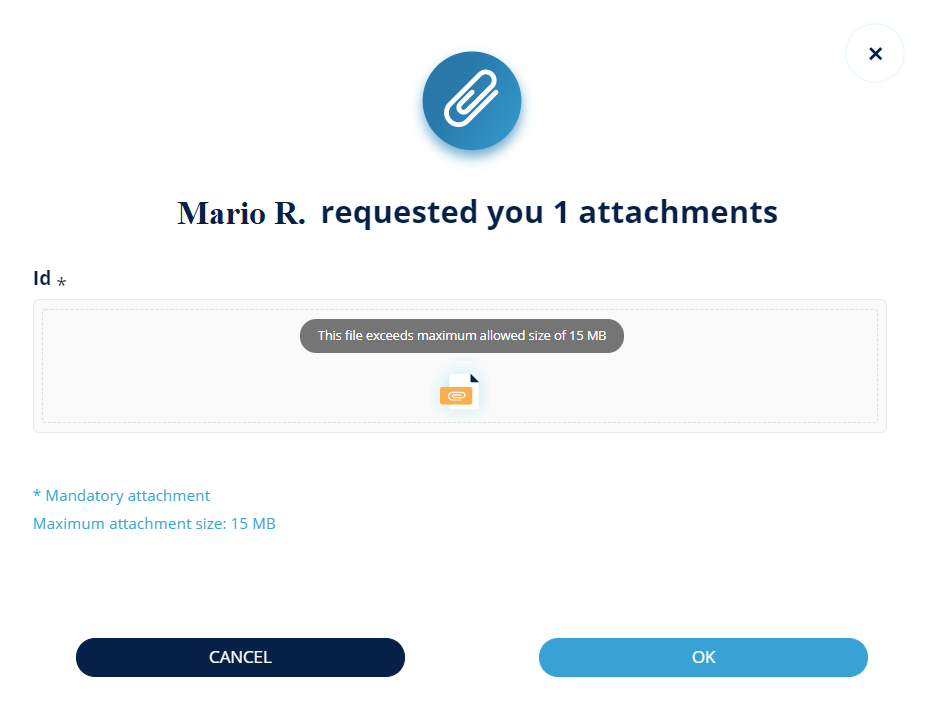
Once the maximum limit of possible attachments per single file has been exceeded (regardless of whether they are mandatory or not), a message will be shown.
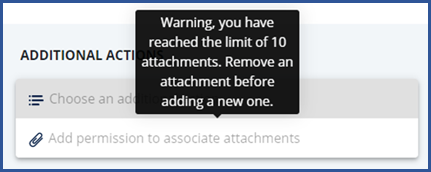
The “Add permission to associate attachments” link will no longer be clickable.
There is also a limitation on the maximum size of the single file.
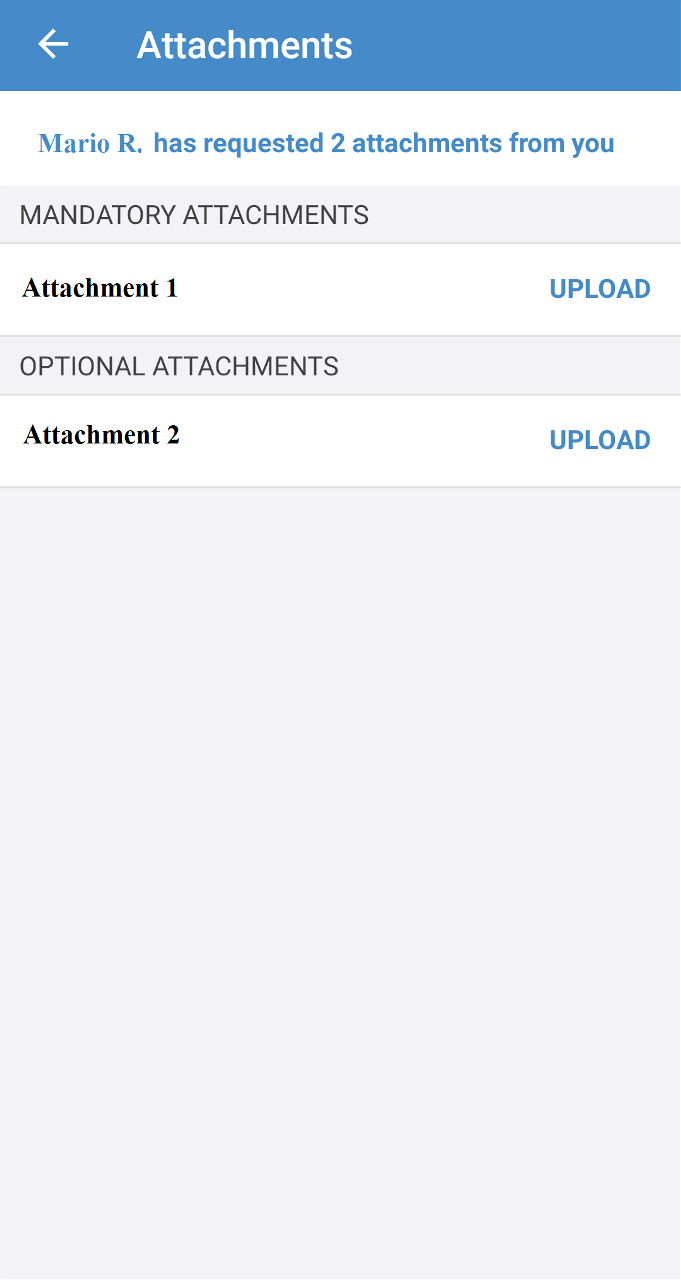
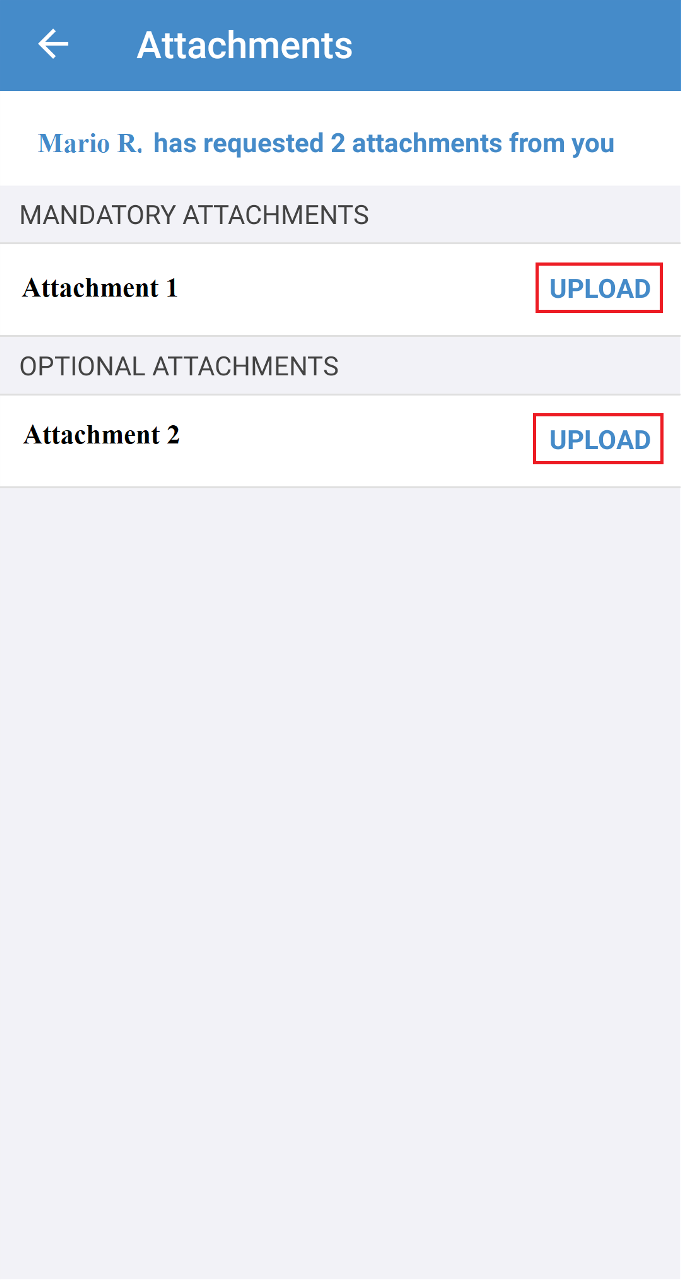
The user who is requested to upload the attached files will have to click on "REQUIRED FILES".
By clicking on this link, you will see the modal that allows the upload of documents:
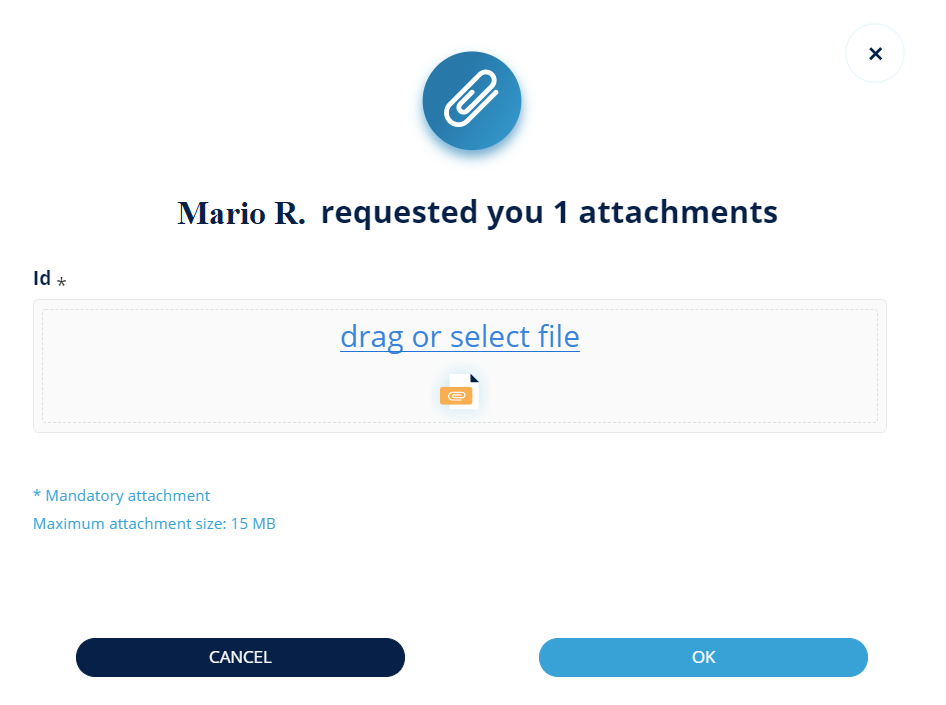
Here, you can see the description for each required attachment and whether it is mandatory or not (indicated with the symbol *).
After uploading the attachments, you will be able to see that the file is oversize.
After uploading the attachments, you will be able to:
Once the attachments have been uploaded, click on "SIGN" to proceed with signing the file.
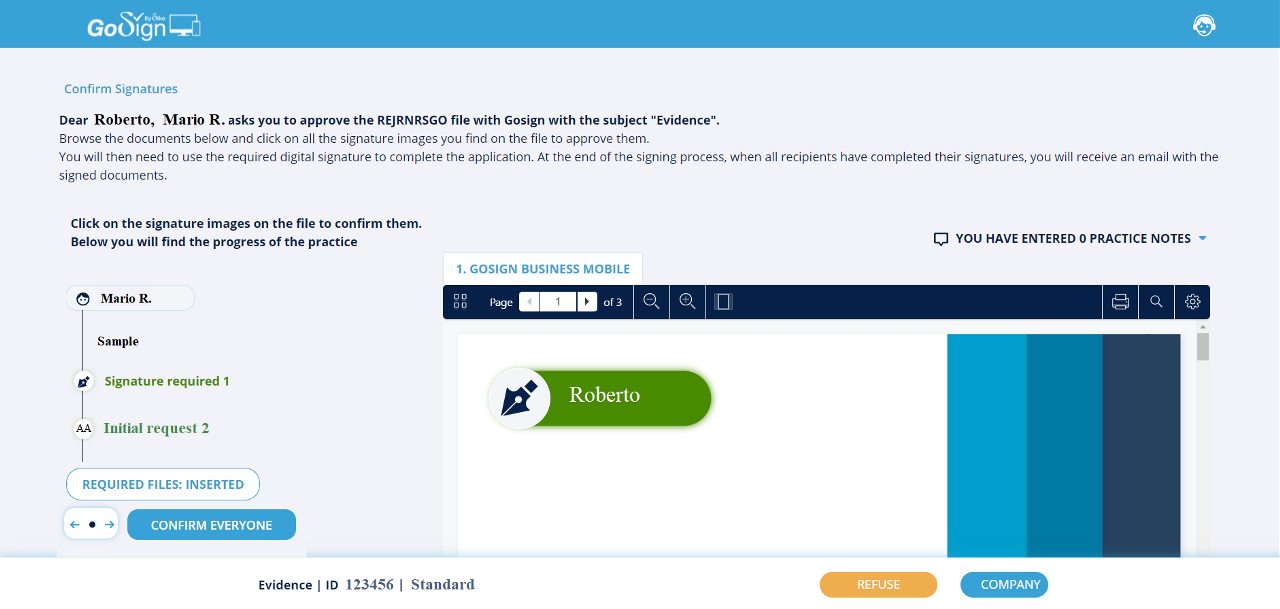
Attention: The "SIGNATURE" button of the practice is enabled only when the documents requested as MANDATORY are loaded.
The user who uses the GoSign Business App from mobile displays the list of dossier and clicks on the one of interest.

Click on "Actions" (below), and display the screen.
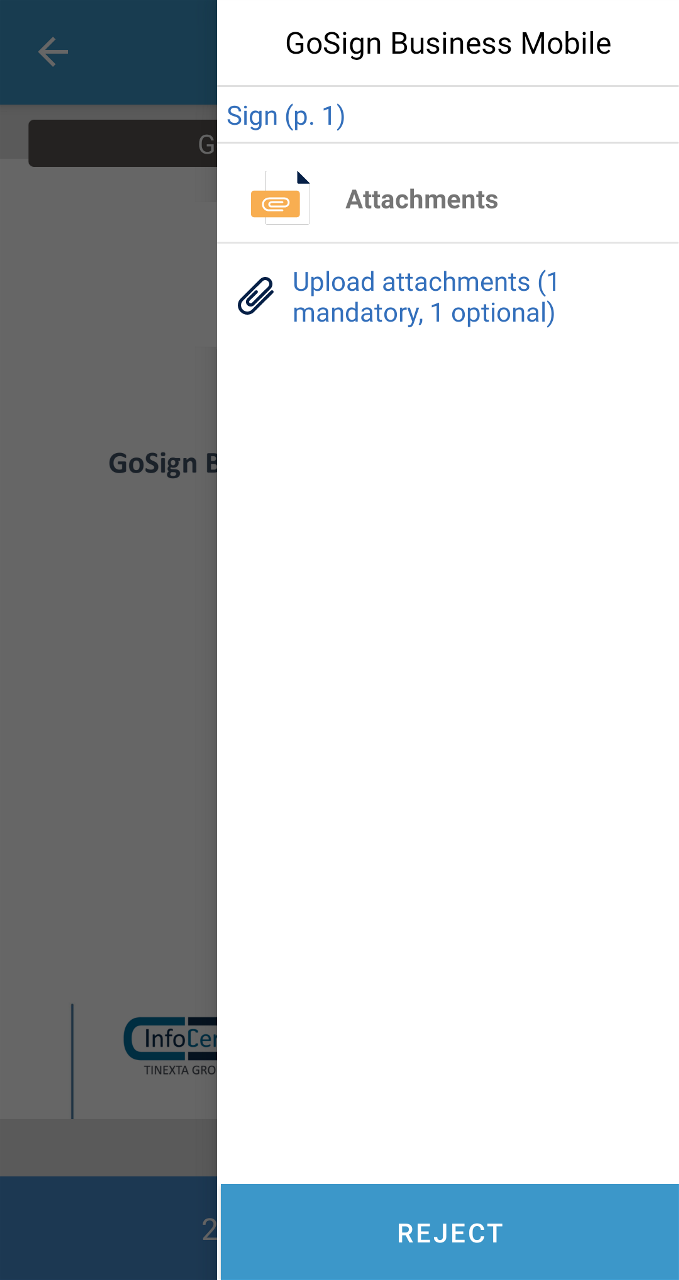
By clicking on "Upload attachments", a new screen is displayed.
Upload the attachments by clicking on "Upload", located next to each required attachment.
Next to each uploaded attachment there is the "Delete" button which gives the possibility to delete the attachment.
Click on "Back", you can complete the processing of the practice as usual.
The function is only available in the REQUEST SIGNATURE mode. It is therefore not available in the SIGN AND SEND and in the modality IN PRESENCE SIGNATURE.
It is possible to request the insertion of attachments only in correspondence with SIGNATURE type tasks, therefore those of SEND EMAIL, PROTOCOLATION, AUTOMATIC SIGNATURE and SIGNATURE OR MODIFICATION are excluded.
You can request up to a maximum of 10 attachments, between mandatory and not, each of which can weigh up to 5 megabytes.
ATTENTION: In order to proceed with the signing of the dossier, it is necessary to upload the required documents in the "Mandatory Attachments" section.
The Access Code feature, available only for enterprise users, allows you to have an additional level of authorization when accessing the file at the time of signing.
It necessarily requires that the signatory, before accessing the case, enters the code.
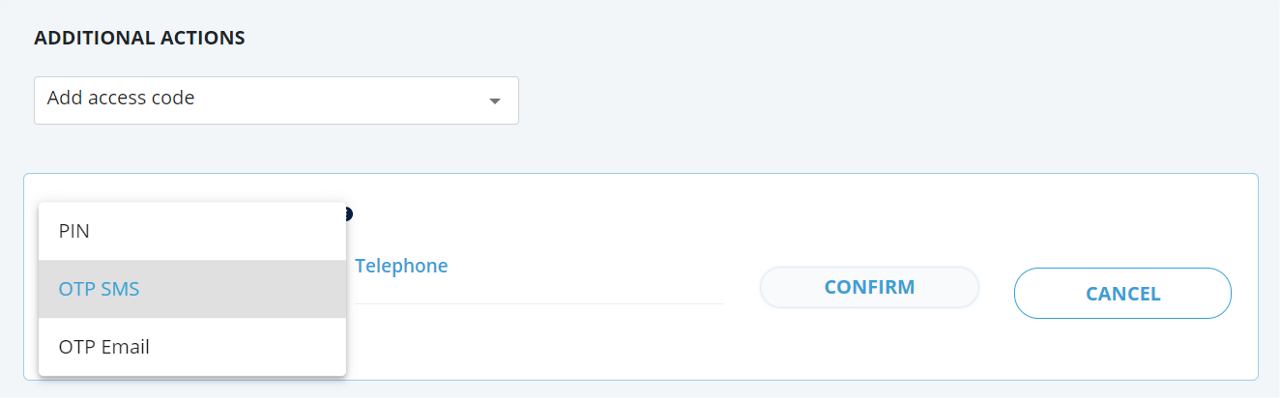
During the creation of the dossier, after having correctly filled in the task with the recipient, requested action, and type of signature, the "Additional actions" will be enabled.
By clicking on "Add access code", the user who creates the dossier, will be enabled to add a type of authorization required from the signatory, before working on the dossier.
There are 3 types of authentication:
ATTENTION:
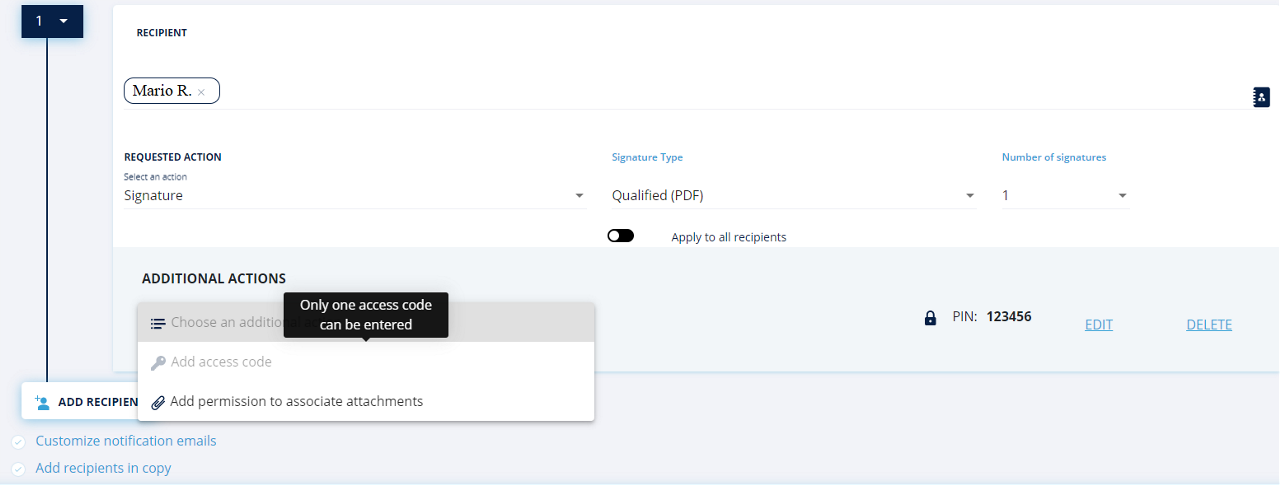
By selecting "PIN", you will be prompted to set a 6-digit numeric code. This code will not be automatically sent by GoSign to the signer and will therefore be borne by the user who creates the file.

By clicking on “DELETE”, the authentication level is deleted.
By clicking on the appropriate "EDIT" link you can change:
To save the changes made, click on the "CONFIRM" button.
To cancel the changes you need to click on the "CANCEL" button.

By selecting "OTP SMS", you will be prompted to set the mobile number to send the OTP to (if it is not possible to automatically retrieve it from the signatory's personal data).

By clicking on “DELETE”, the authentication level will be deleted.
By clicking on "EDIT", you can change:
To save the changes made, click on the "CONFIRM" button.
To cancel the changes you need to click on the "CANCEL" button.
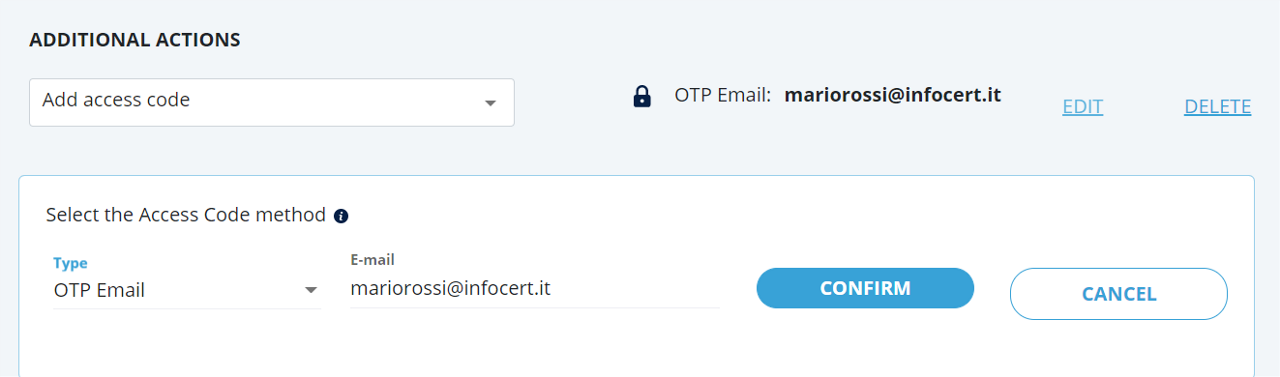
By selecting "OTP EMAIL", the email to send the OTP code will be automatically selected, the email corresponds to that of the assignee of the task.
You can change the email address by clicking on the email field and entering a different one.

Click on confirm, the task will be correctly configured and therefore visible.
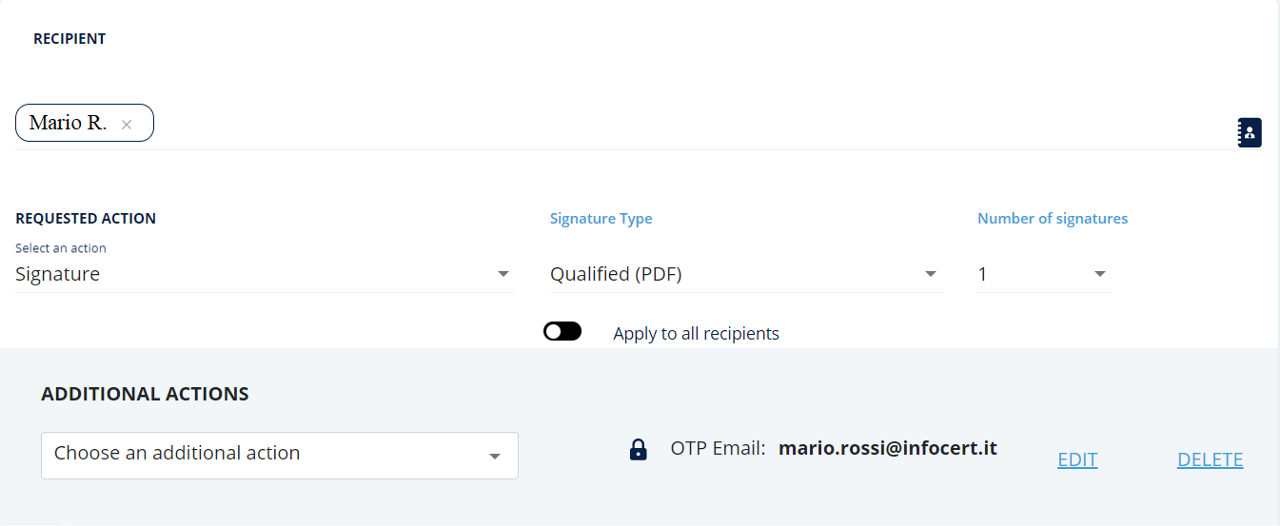
By clicking on “DELETE”, the authentication level is deleted.
By clicking on the appropriate "EDIT" link you can change:
To save the changes made, click on the "CONFIRM" button.
To cancel the changes, click on the "CANCEL" button.
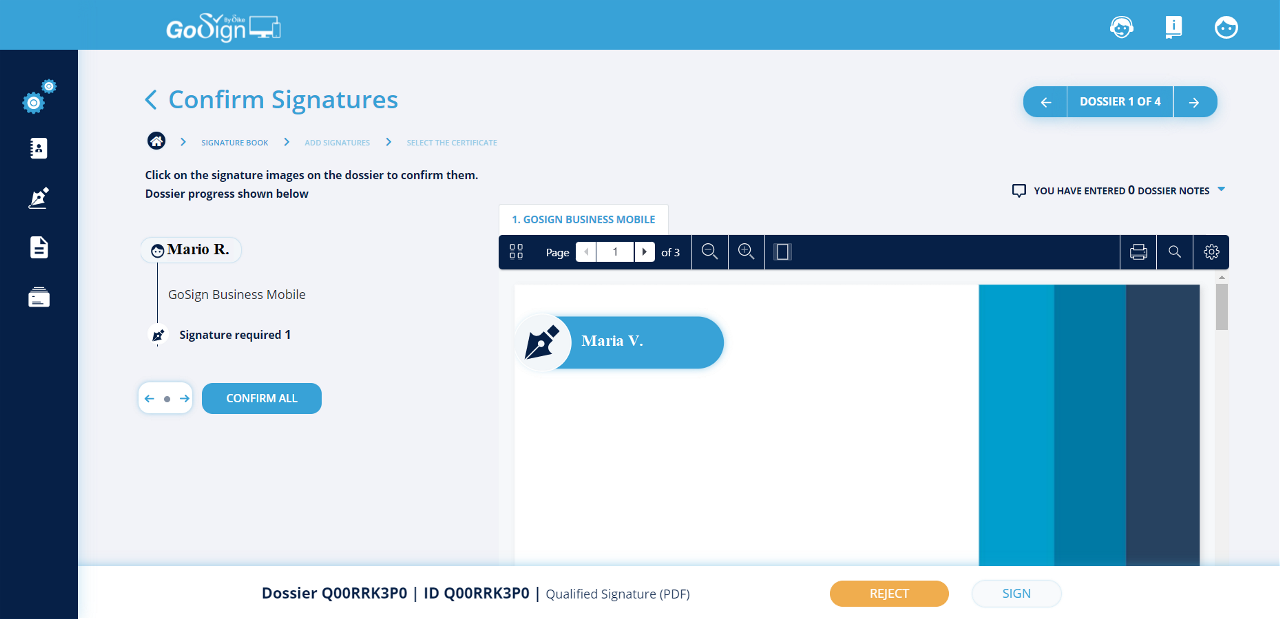
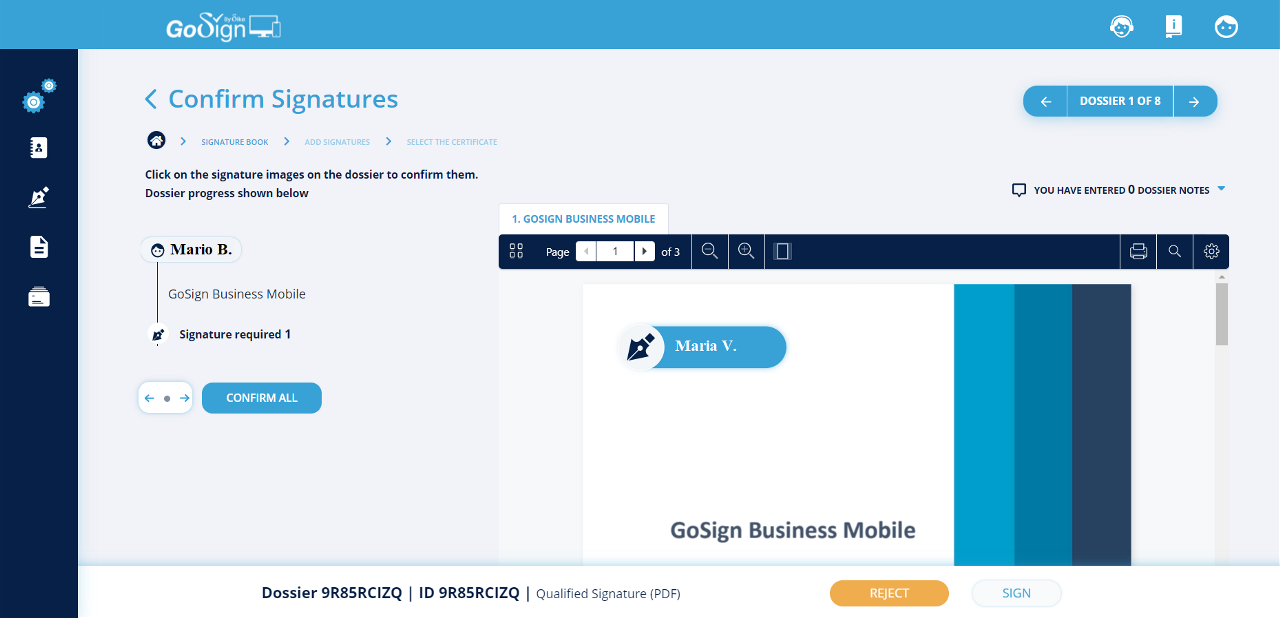
Signing of the Dossier from the GoSign web application
In the list of their dossiers, each of them has a "key" icon, which indicates that the specific signatory, to access the documents of the dossier, must enter the data of the authorization level, required by the person who created the dossier.

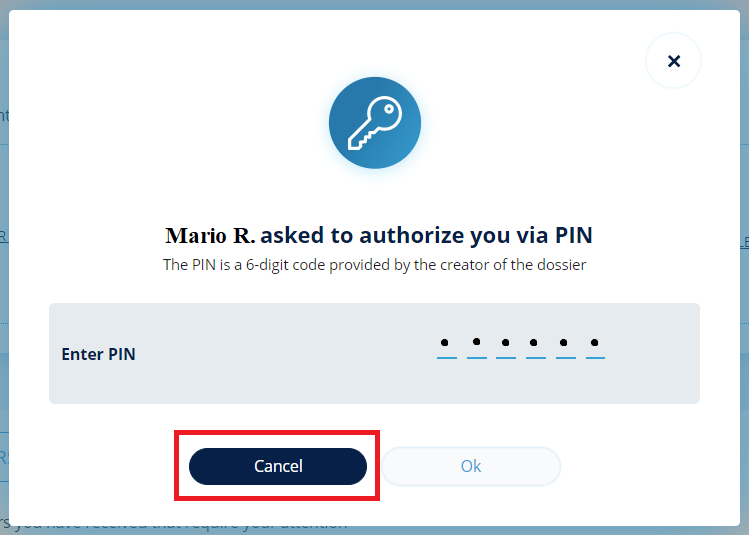
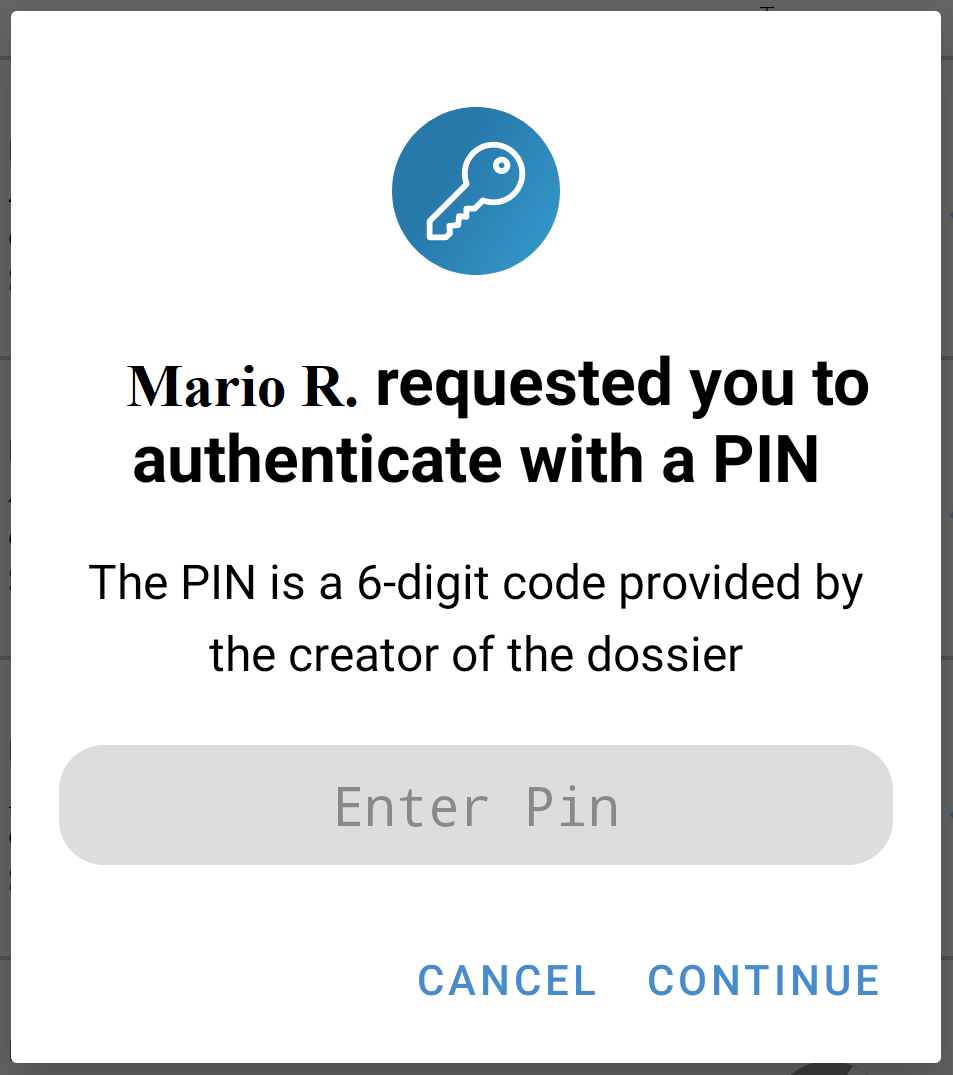
Sign the dossier with PIN
After clicking on the case to open it, it is shown this page.
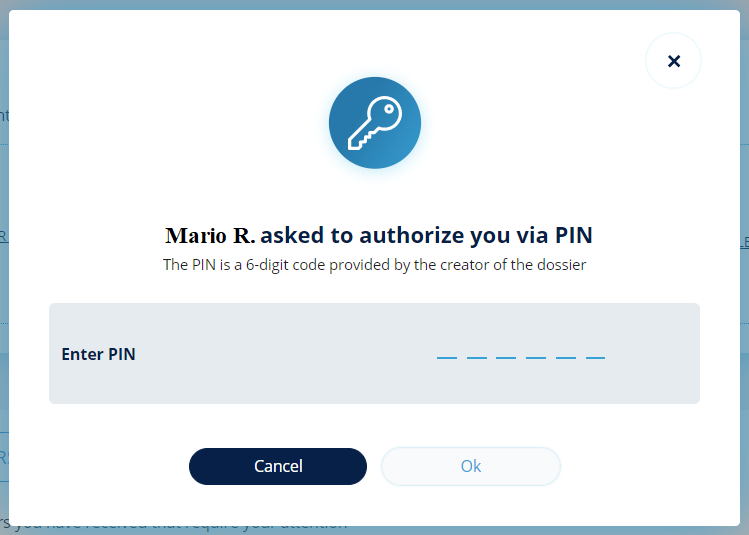
After clicking on the dossier to open it, you can enter the security pin provided by the person who created the case; once inserted, the “OK” button is enabled.

Subsequently, by clicking on “OK”, you will access the documents, where you can proceed in confirming the signature.
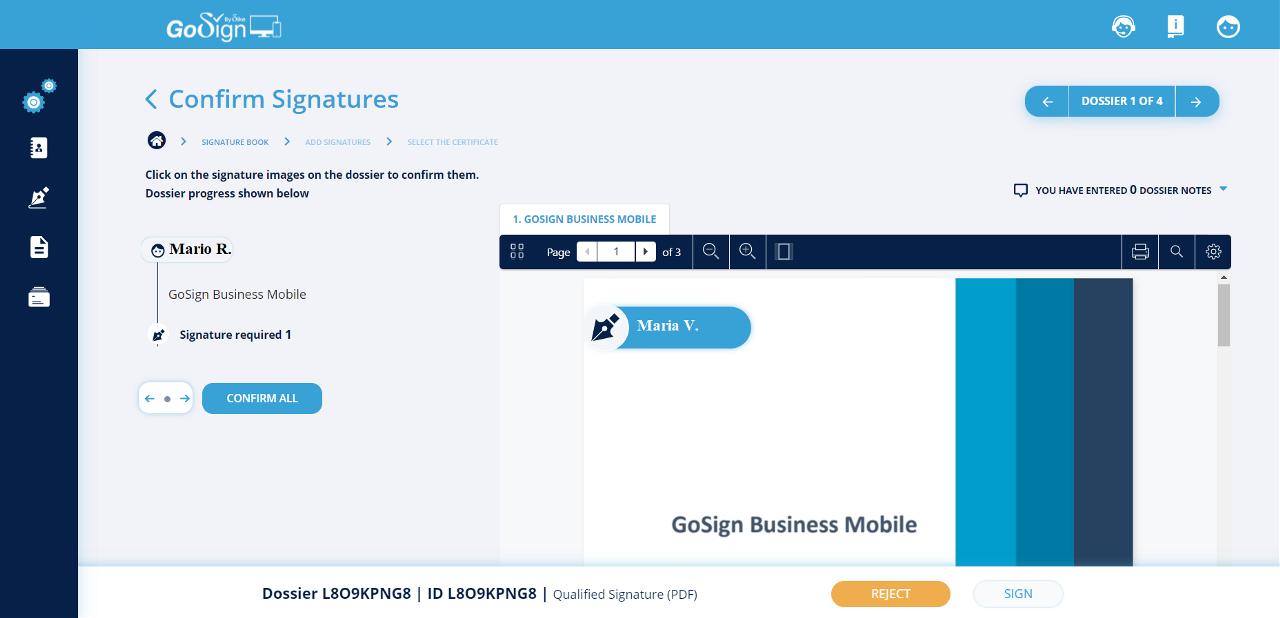
You can cancel the operation at any time by clicking on the "Cancel" button, thus returning to the list of practices.
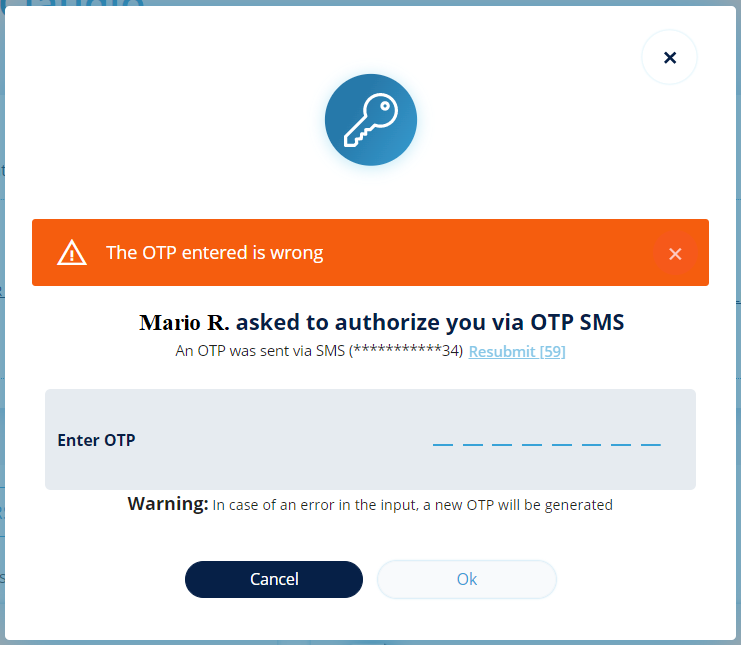
Sign the dossier with OTP SMS
After clicking on the case to open it, it is shown this page.
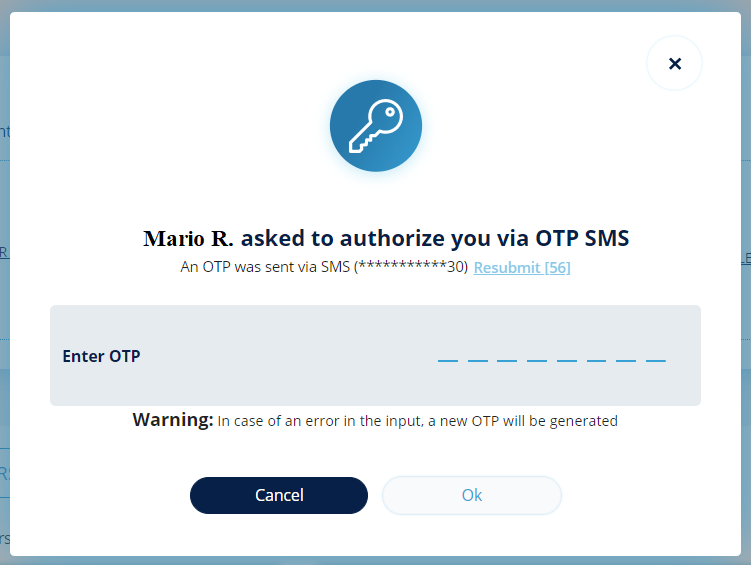
By entering the OTP just received via SMS, the "OK" button is enabled.
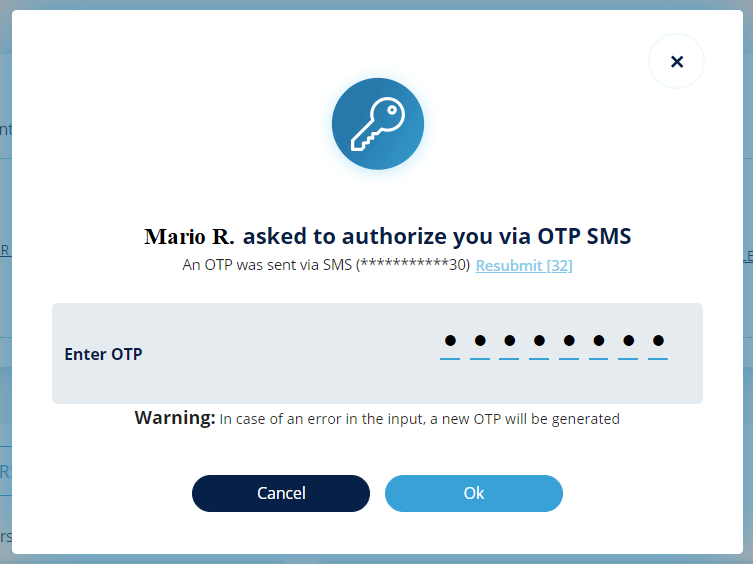
By clicking on "OK" you access the documents of the practice, where you can proceed with the confirmation of the slips and in the signature of the same.
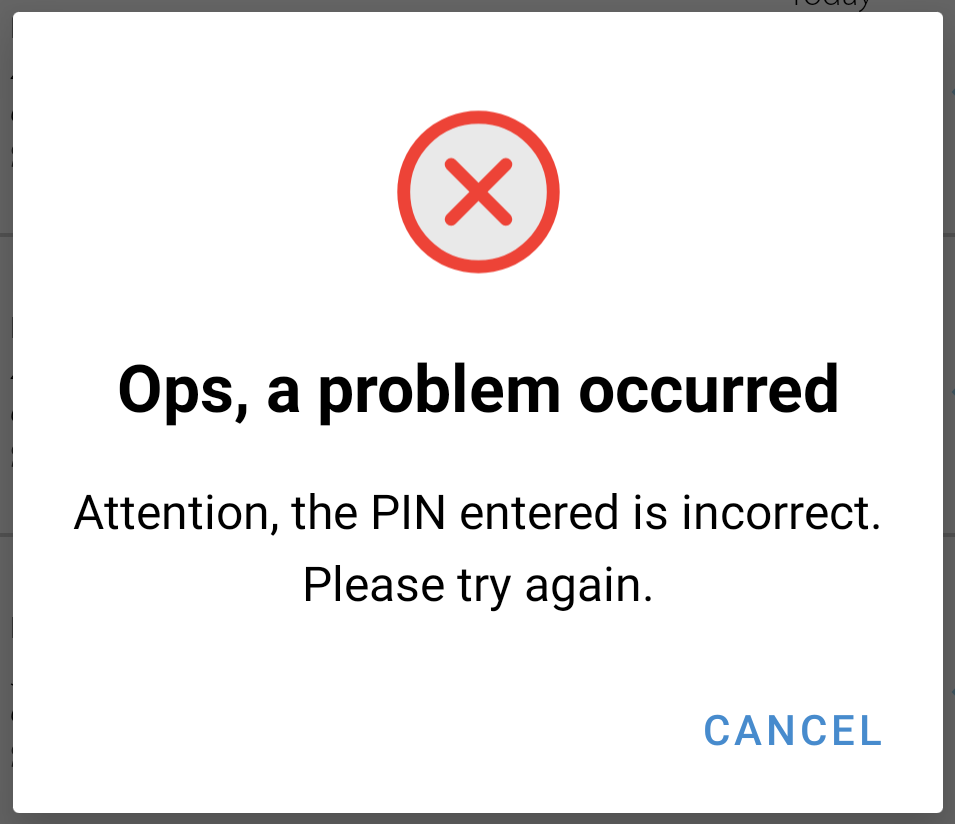
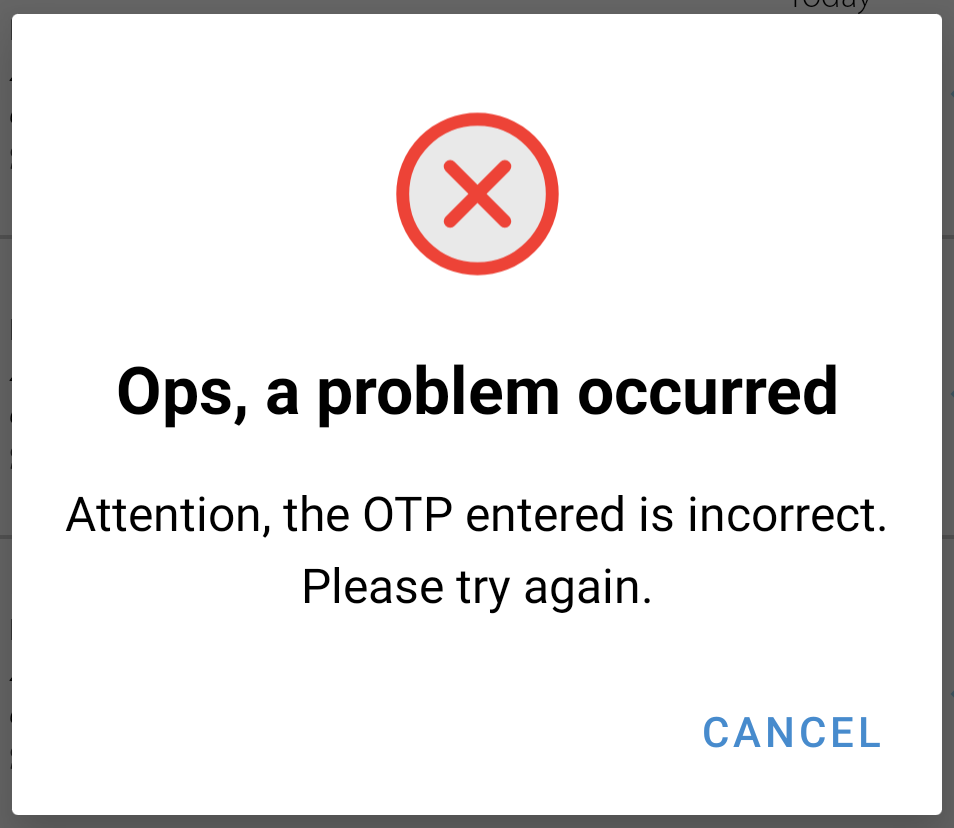
If the signer enters an incorrect OTP, a new OTP is automatically sent via SMS.
The screen will display the error message and will be able to enter the new OTP.
You can cancel the operation, at any time, by clicking on the "Cancel" button, thus returning to the list of practical lists.
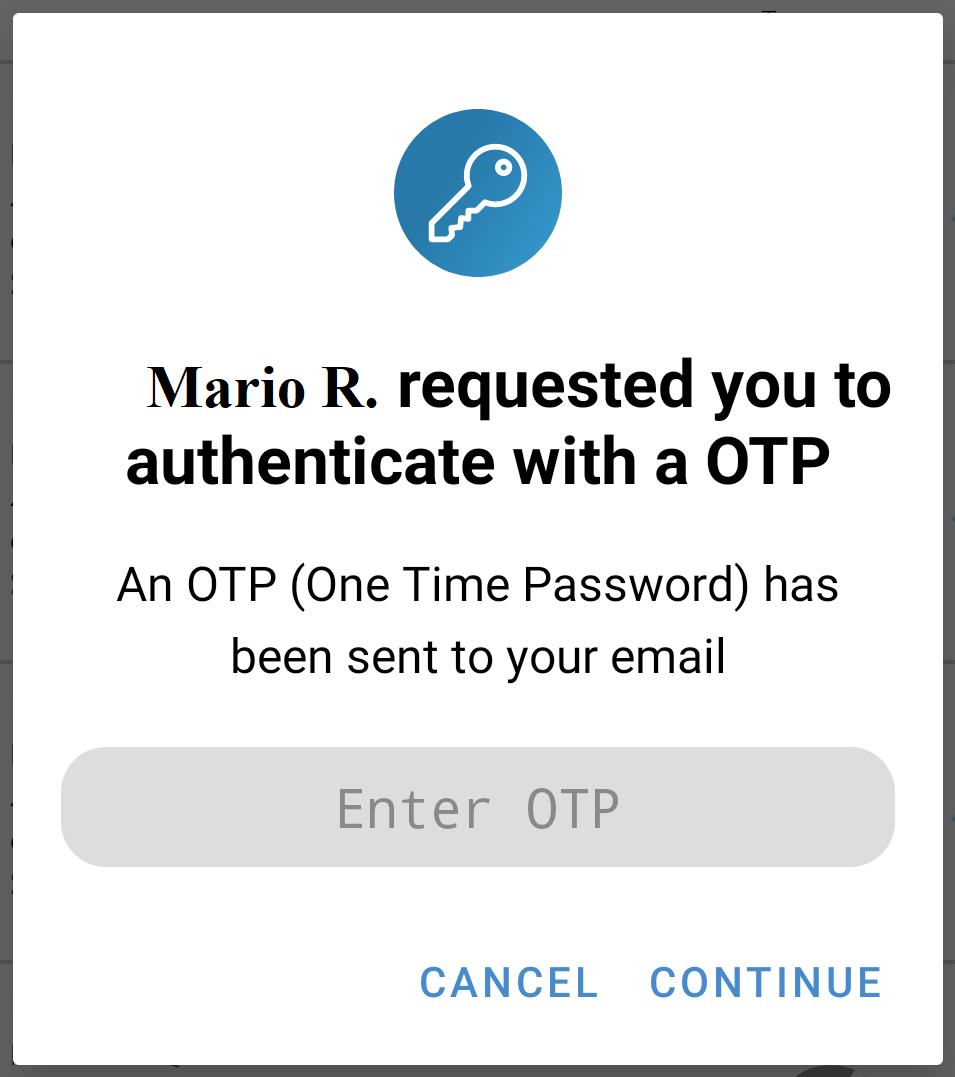
After clicking on the file to open it, it is shown this page.
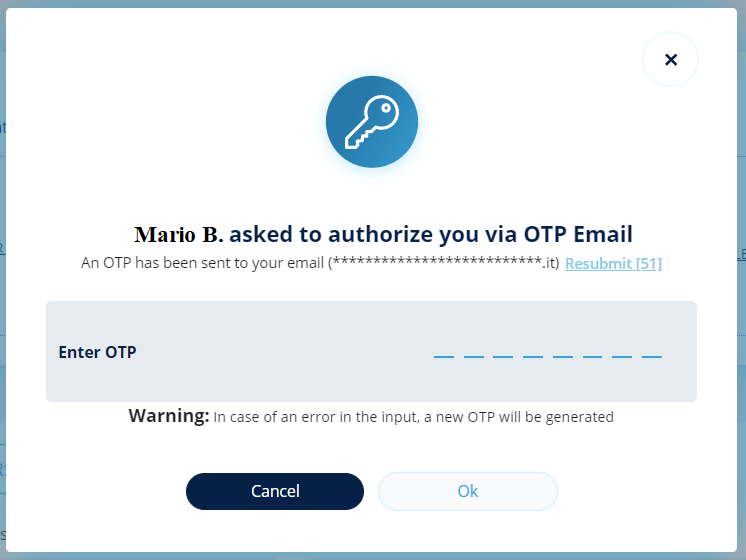
After clicking on the file to open it, you can enter the OTP received via Email; then click on OK.
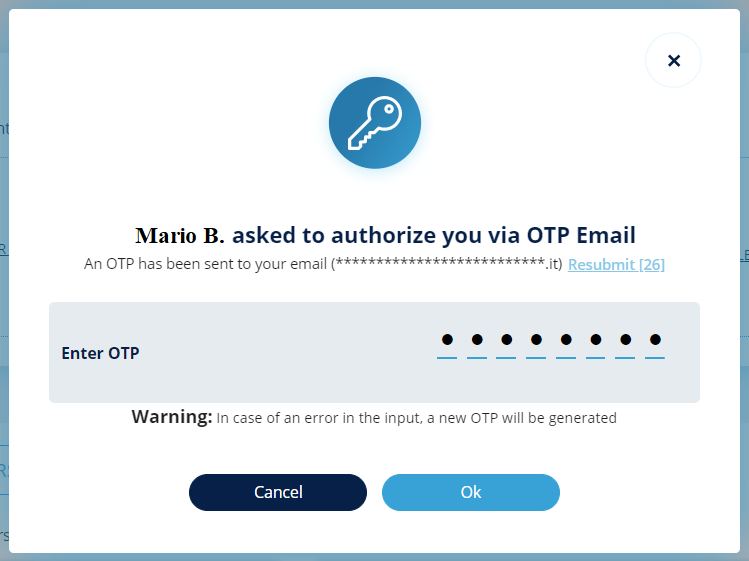
By clicking on “OK”, you will access the documents, where you can proceed in confirming the signature.
If the signer enters an incorrect OTP, a new OTP is automatically sent via Email.
The screen will display the error message and will be able to enter the new OTP.
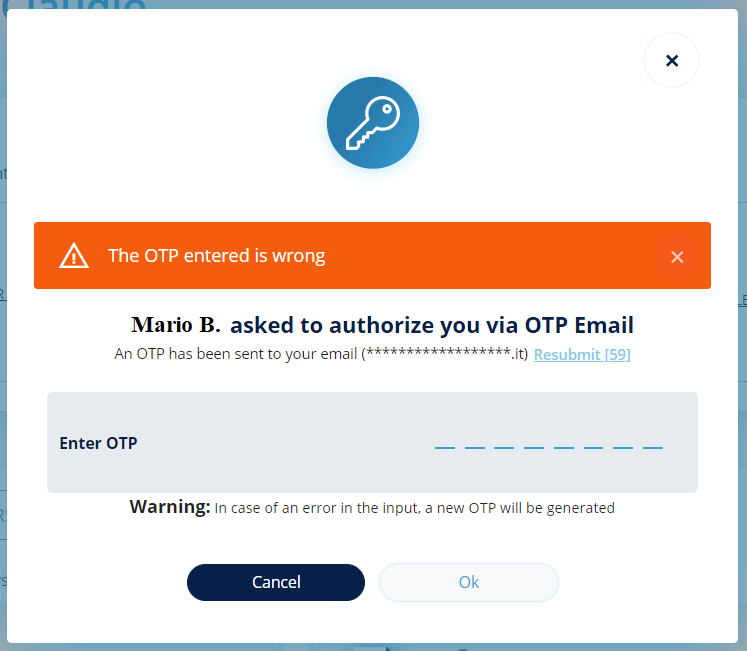
It is possible to cancel the operation at any time by clicking on the "Cancel" button, thus returning to the list of practices list.
The user who logs in from the GoSign Business App from mobile, displays the list of practices and clicks on the one of interest.
Displays the screen for entering the PIN, provided by the person who created the case:
By clicking on the "CANCEL" button you have the option to cancel the operation.
After entering the PIN correctly, view the case documents:
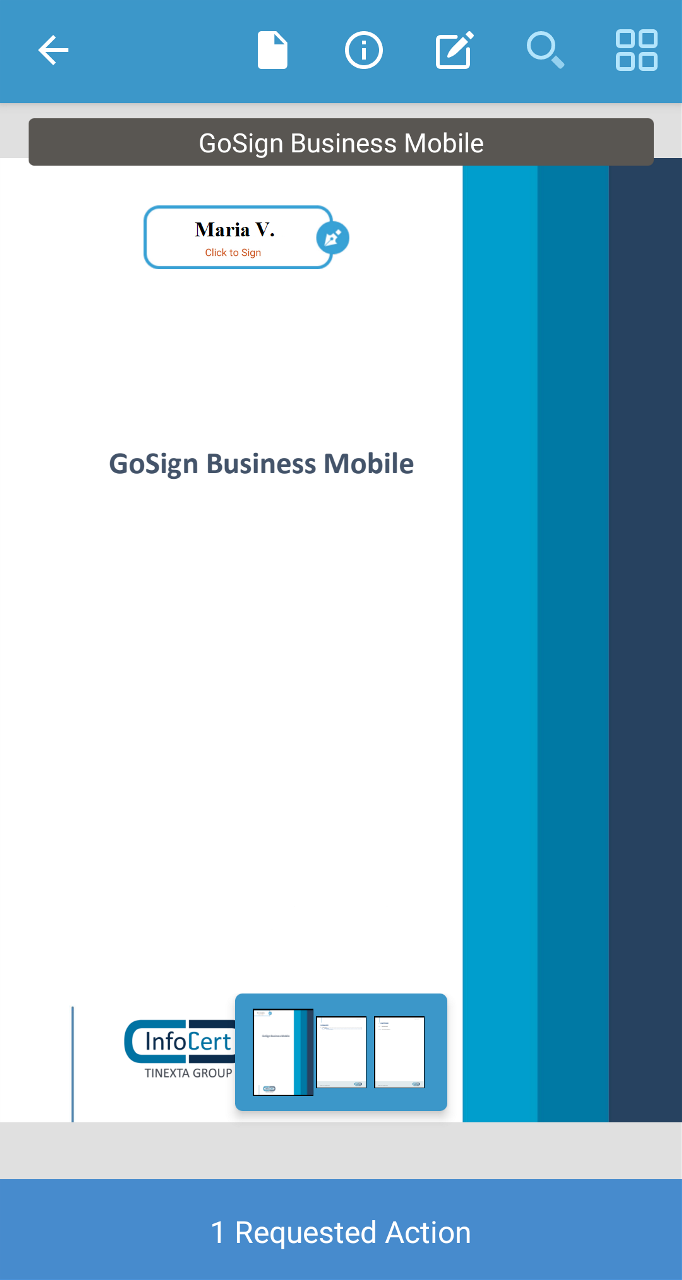
By confirming the required slips, returning to the list of practices, and clicking on Signature, the user will complete the signature process.
By entering an incorrect PIN, the user displays a message:
Closing the message will return to the list of practices.
Signing of the case with OTP SMS from the GS BUSINESS mobile app
The user who logs in from the GS Business App from mobile, displays the list of practices and clicks on the one of interest.
View the screen for entering the OTP, received via SMS:
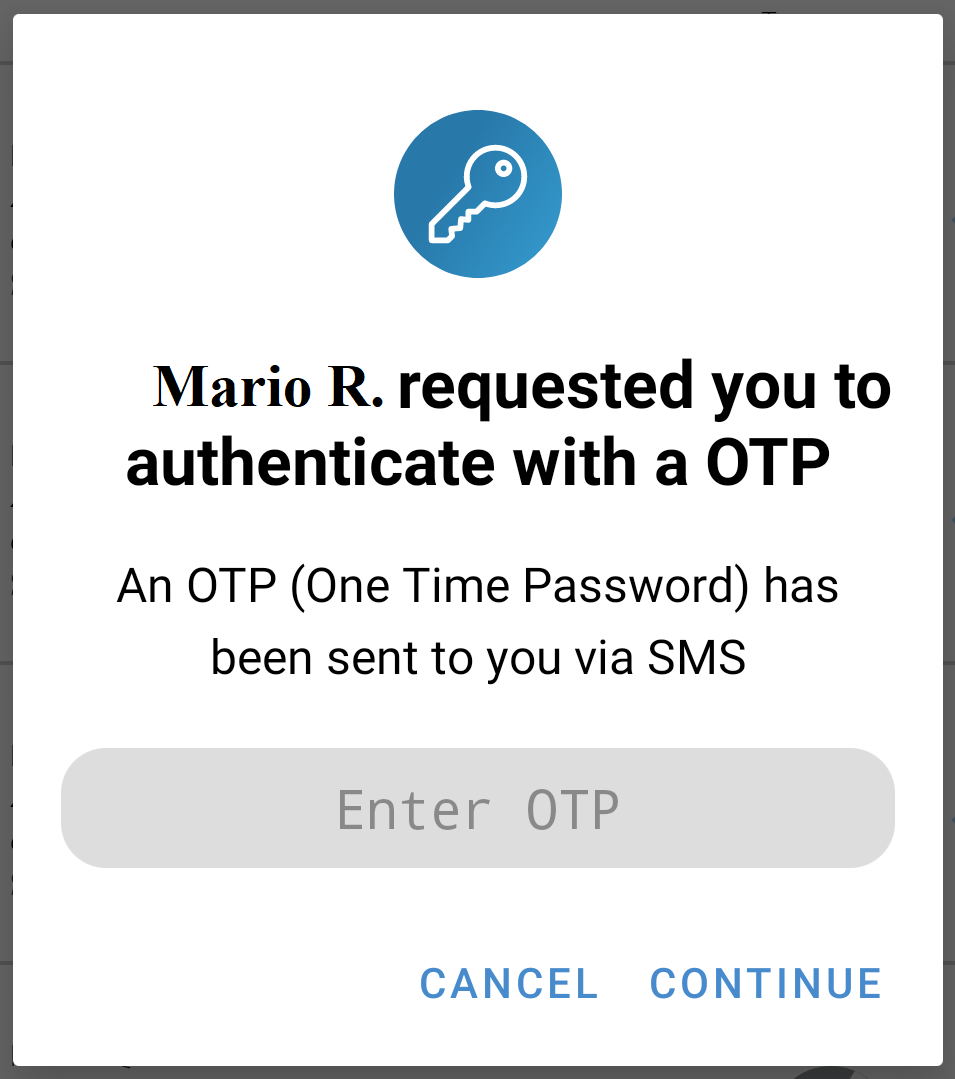
By clicking on the "CANCEL" button you have the option to cancel the operation.
After entering the OTP correctly, view the documents of the case:

By confirming the required slips, returning to the list of practices, and clicking on the signature button, the user will complete the signature process.
By entering an incorrect OTP, the user displays the message:

Closing the message will return to the list of practices.
Signing of the file with OTP EMAIL from the GS BUSINESS mobile app
The user who logs in from the GS Business App from mobile, displays the list of practices and clicks on the one of interest.
View the screen to enter the OTP, just received via EMAIL:
By clicking on the "CANCEL" button you have the option to cancel the operation.
After entering the OTP correctly, view the documents of the case:
By confirming the required slips and clicking on Signature, the user will complete the process and the processing of the file.
By entering an incorrect OTP, the user displays a message:
In the event that, among the types of signature in charge, you choose the simple signature with password, you will have to follow a different procedure. The simple signature with password requires, at the time of signing, the insertion of a password for an additional level of security. When this type of signature is selected, all recipients of that task must enter their password to authorize the signature. The password is provided for both standard users and GoSign stranger.
Once the signing is completed successfully, a message notifies the user of the completion of the operation. The user can at any time reset the password, this action deletes the existing password and allows you to re-enter it.
(If the user does not have a password, he can create one directly in the signature confirmation _dialog _. If the password is expired or not configured, the user is notified with a specific message. In the case of an incorrect password, the user is notified with specific message to submit.)
In the event that the SMS option is chosen, GoSign obliges whoever is completing the file to enter the stranger's mobile number, if it is not already present in the address book.
Once the stranger has received the SMS or e-mail with the password, he must enter the password and confirm the signing operation.
With this feature, the user who creates the dossier has the possibility to create a set of contacts by uploading a CSV file.
The creation of these contacts takes place in a massive way and they are only and exclusively STRANGER contacts.
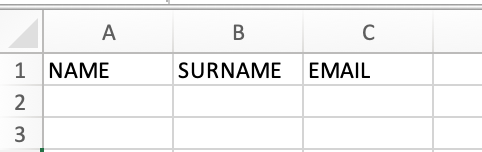
The .CSV file contains the information:
The items in point 4. and 5. are dependent on the enabling on the customer who carries out the import, respectively, authentication with smartcard and authentication with OTP for stranger.
The operation is available from:
The template can contain a maximum of 100 contacts, and cannot exceed the maximum size of 1Mb.
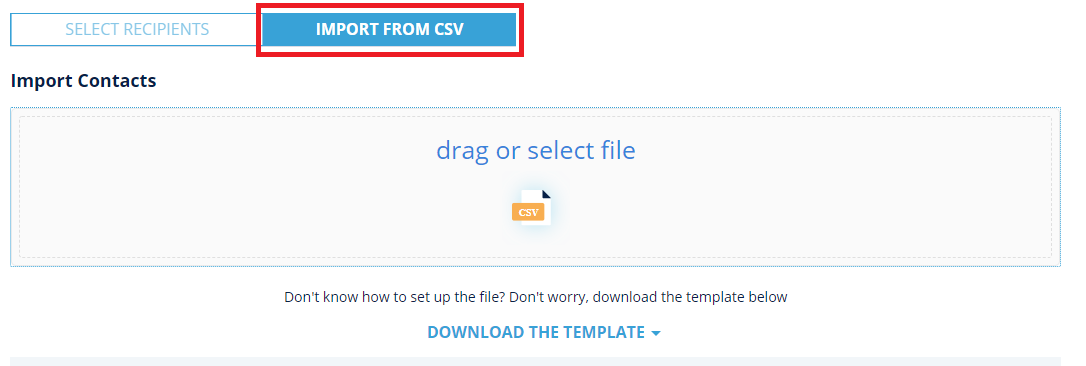
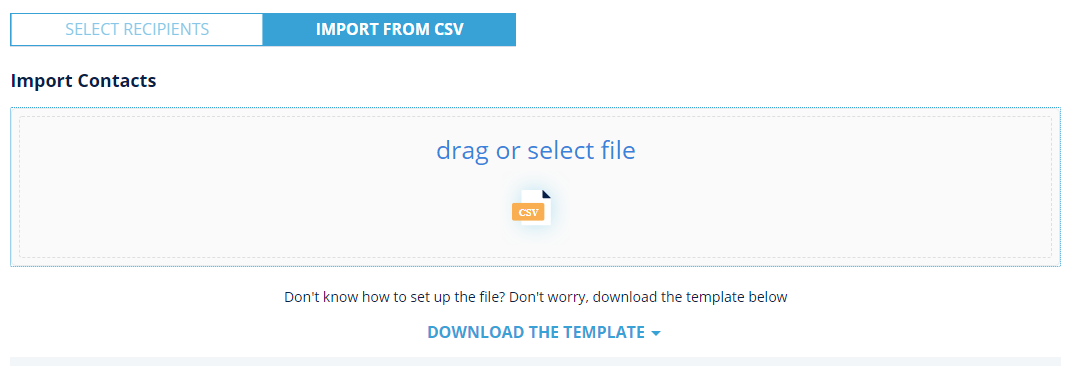
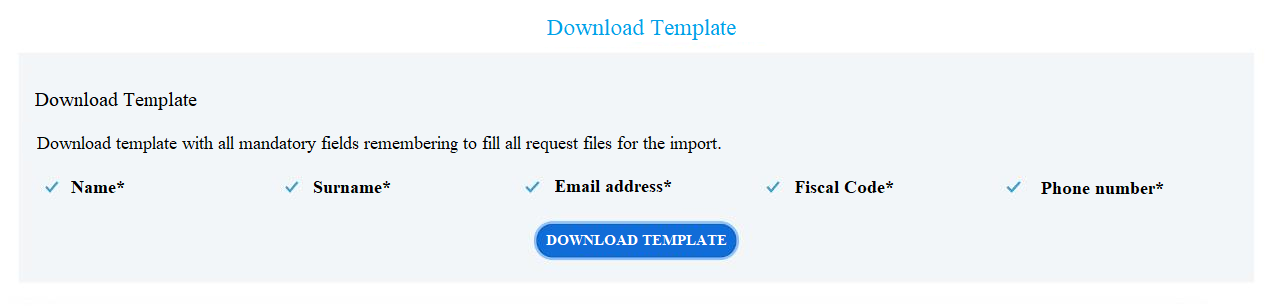
In the form for importing contacts, there will be a "DOWNLOAD TEMPLATE" button for downloading a template already pre-set.
And in the same section are indicated what information you need to enter in the template, so that the upload of STRANGER contacts is successful.
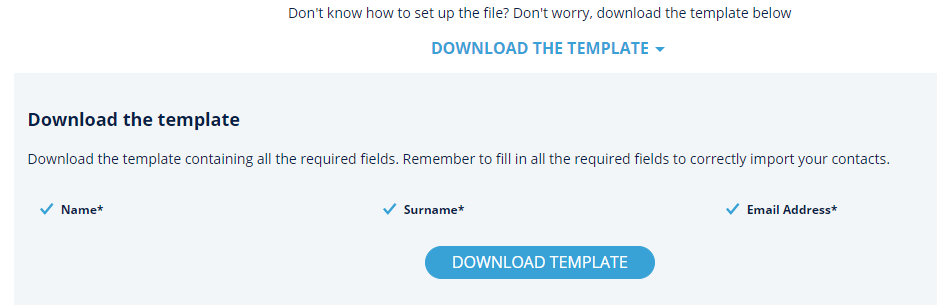
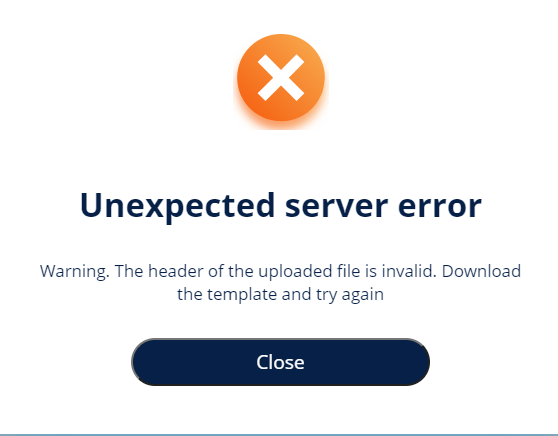
The file header must always be complete.
If the header is missing or incorrect, the import will fail and the error message will be displayed.
After logging in and selecting ADDRESS BOOK (accessible from the side menu), or REQUEST SIGNATURE (when selecting a recipient during the creation/modification of the file), click on "Import from CSV".
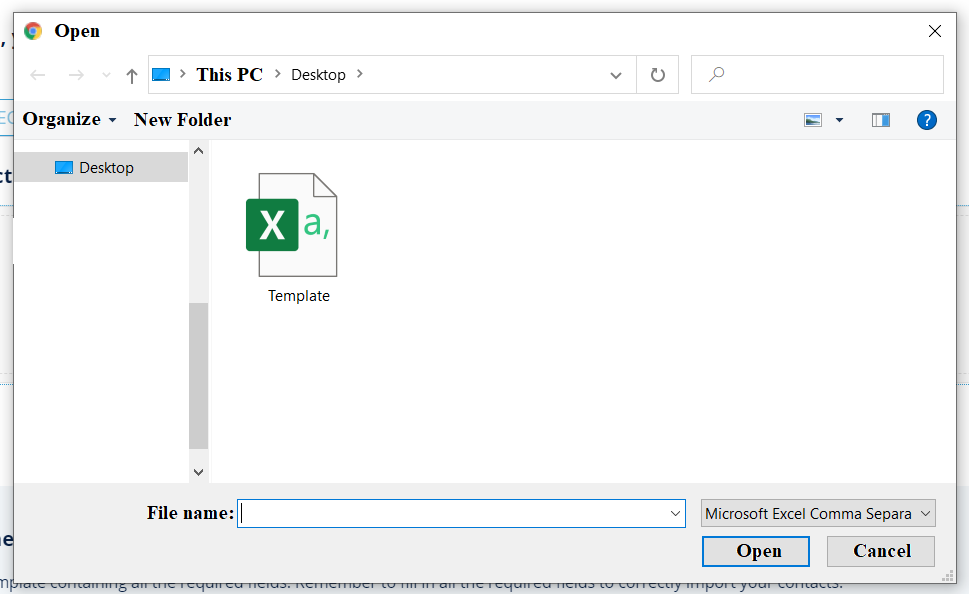
Download the template by clicking on "DOWNLOAD TEMPLATE", and fill it in with the user data to be imported, according to the file header.
Click on the "Drag or select file" link, then Upload the .CSV that you want.
It will see the following screen.
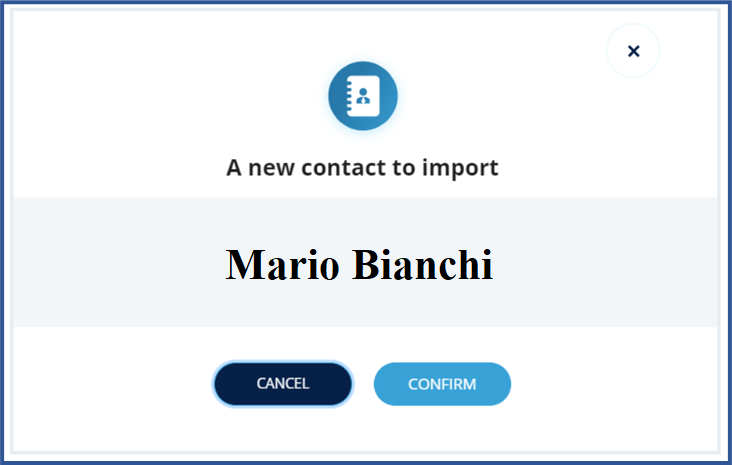
By clicking on "CANCEL", the screen will close. And you can repeat the operation.
By clicking on "CONFIRM", this message will be displayed.
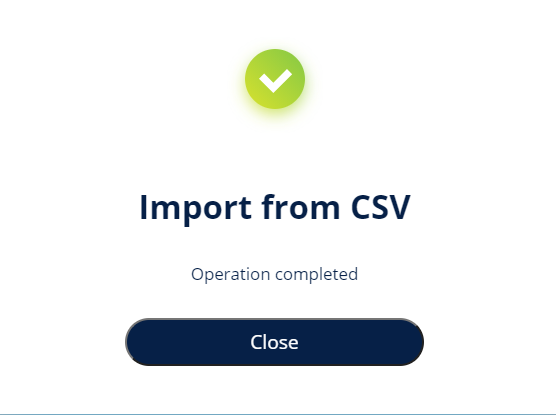
Click on "CLOSE" to close the message.
The imported contacts will now be present in the Address Book and can be selected.
ATTENTION:
Loading a CSV with email already present in the Address Book, an error message appears.
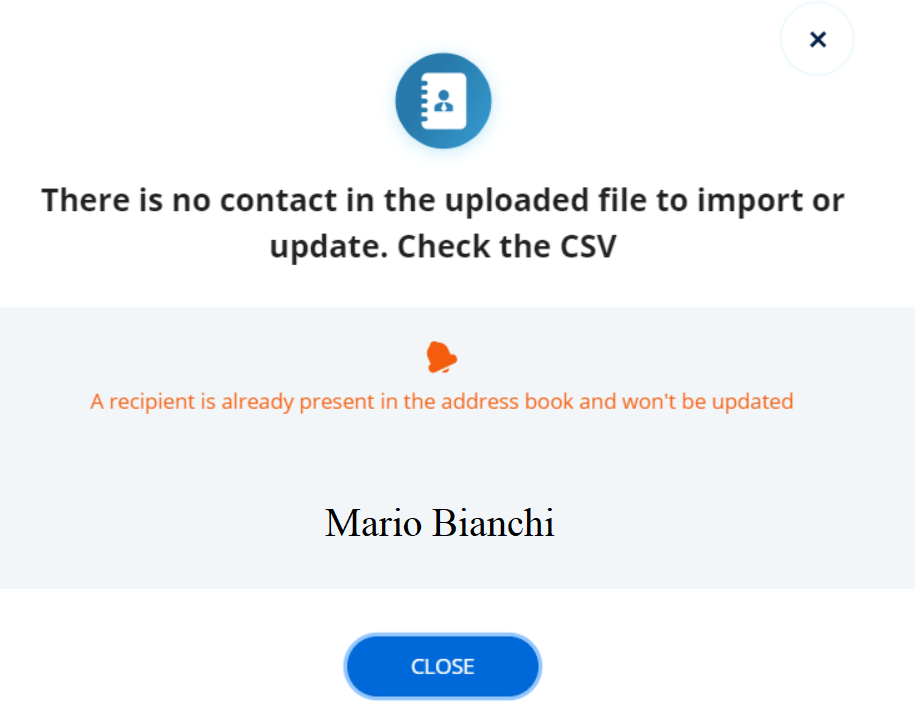
Click on "CLOSE" to close the message and return to the previous screen.
Loading a CSV with an email that is present several times in the file, it will appear:
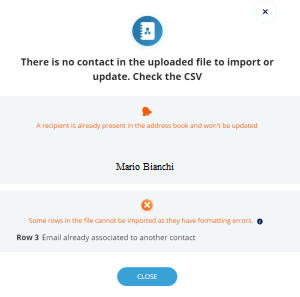
By clicking on "CONFIRM" the first contacts with different emails are loaded.
An error message is also visible that warns the user that some lines cannot be imported due to an error: in our example case, in line 3 there is a contact who has the same email as the first and therefore will not be registered.
By clicking on "CANCEL" the operation will be canceled and you will be returned to the previous screen.
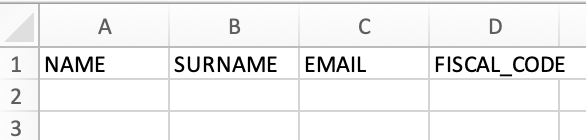
By selecting "Import from CSV", a fourth item TAX CODE will be available in the "Download template" section (in addition to NAME, SURNAME, EMAIL ADDRESS).

By downloading the template, the following will now be available.
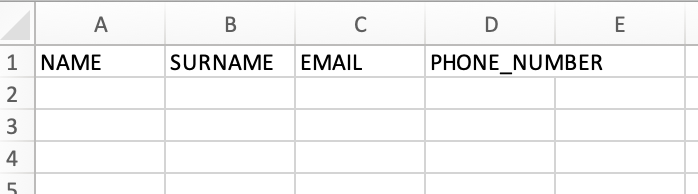
By selecting "Import from CSV", a fourth item PHONE NUMBER will be available in the "Download the template" section (in addition to NAME, SURNAME, EMAIL ADDRESS).
By downloading the template, the following will now be available:.
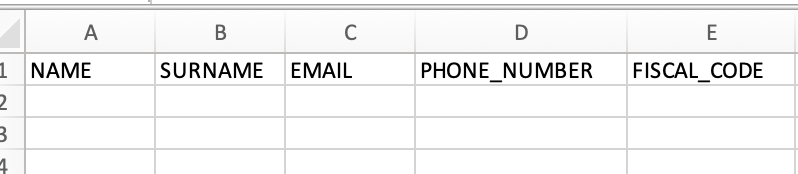
By selecting "Import from CSV", in the "Download the template" section, the following will be available: TAX CODE and TELEPHONE NUMBER (as well as NAME, SURNAME, EMAIL ADDRESS).

By downloading the template, the following will now be available.
The last configurations can also be enabled simultaneously.
It is possible to update the information of a stranger contact already present in the Address Book, if the corresponding email has not already been registered for the NAME, SURNAME, TAX CODE AND TELEPHONE NUMBER fields.
Therefore, for the operation to be possible, the superadmin must enable authentication with smartcard or authentication with OTP for strangers or both configurations at the same time.
Download the template by clicking on "DOWNLOAD TEMPLATE", and fill it in with the user data to be imported, according to the file header.
Click on the "Drag or select file" link, then Upload the .CSV that you want.

It will be displayed the message "the recipient is already in the address book and will be updated".
By clicking on confirm the contact will be updated and will be visible in the Address Book section.
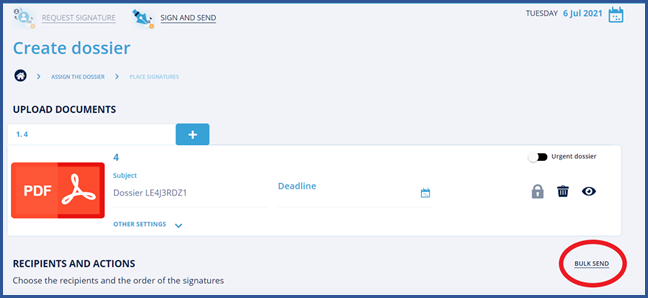
The "BULK SEND" function is available during the "REQUEST SIGNATURE", only if another task is not already defined, in addition to the first one in the process.
The user has the possibility to create a dossier for each of the contacts selected from the address book.
If more than one task has been defined in the process, the BULK SEND function is not available.
The import of the contacts takes place as described previously, through Import contacts.
The only difference is that in this case, the recipients simultaneously imported will already be selected in the address book to proceed with the definition of the recipients.
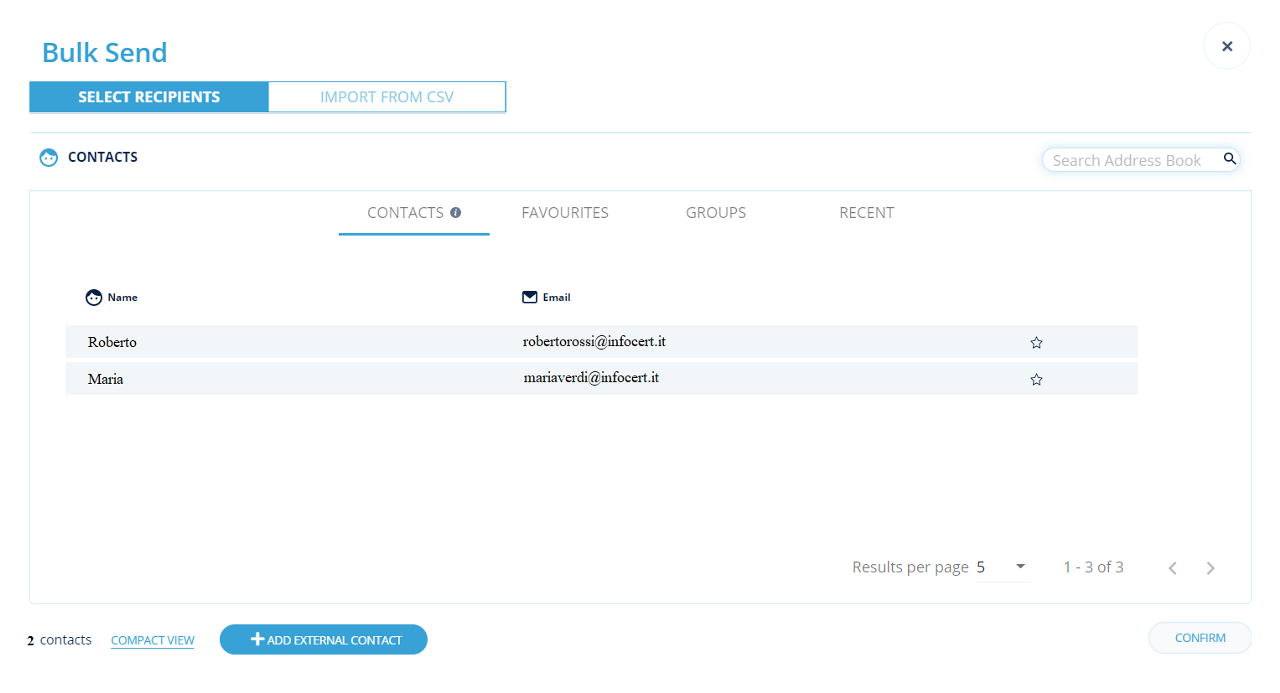
Click on "CONFIRM", in the "recipients" section of the task there will be a Group made up of the users just selected.
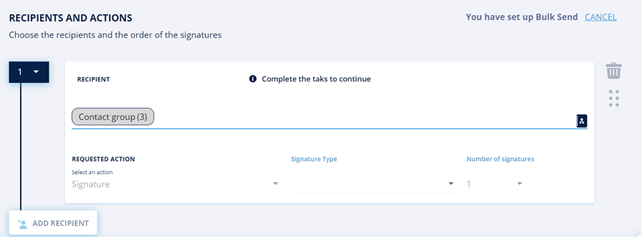
Click on "Next", insert the coupons of interest and send the dossier.
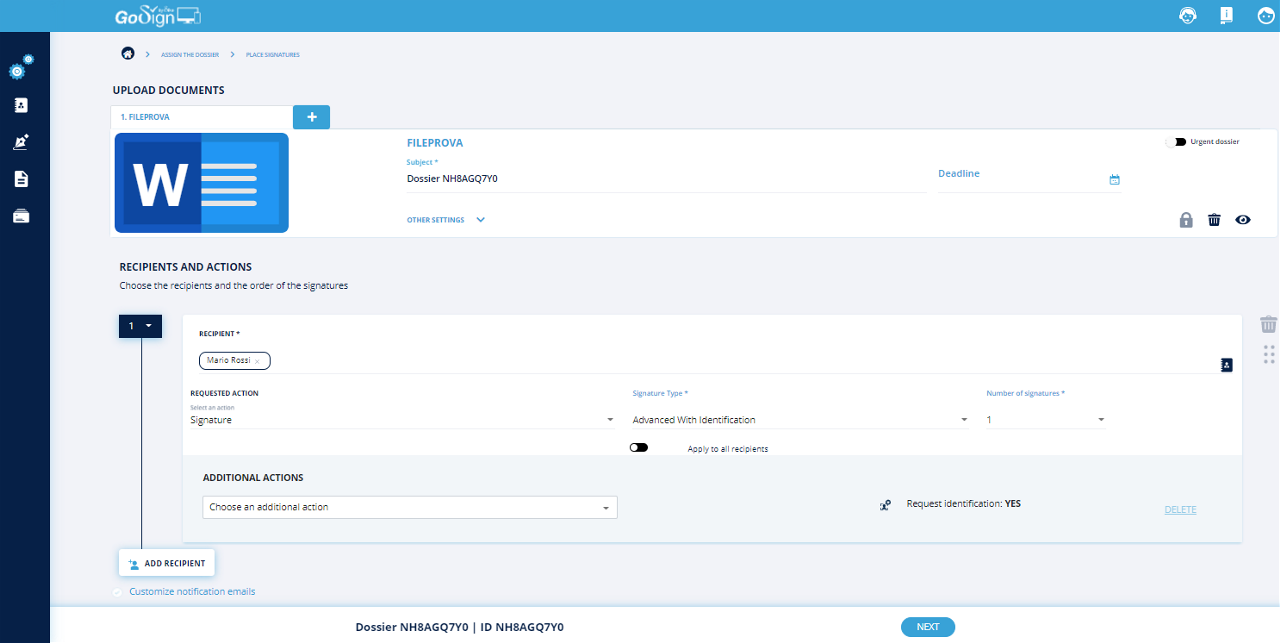
The Request Signature feature allows you to send documents to multiple recipients, to request their signature on the documents included in the dossier.

If you select the signature type qualified pdf in the section additional Actions you can choose the option request identification .
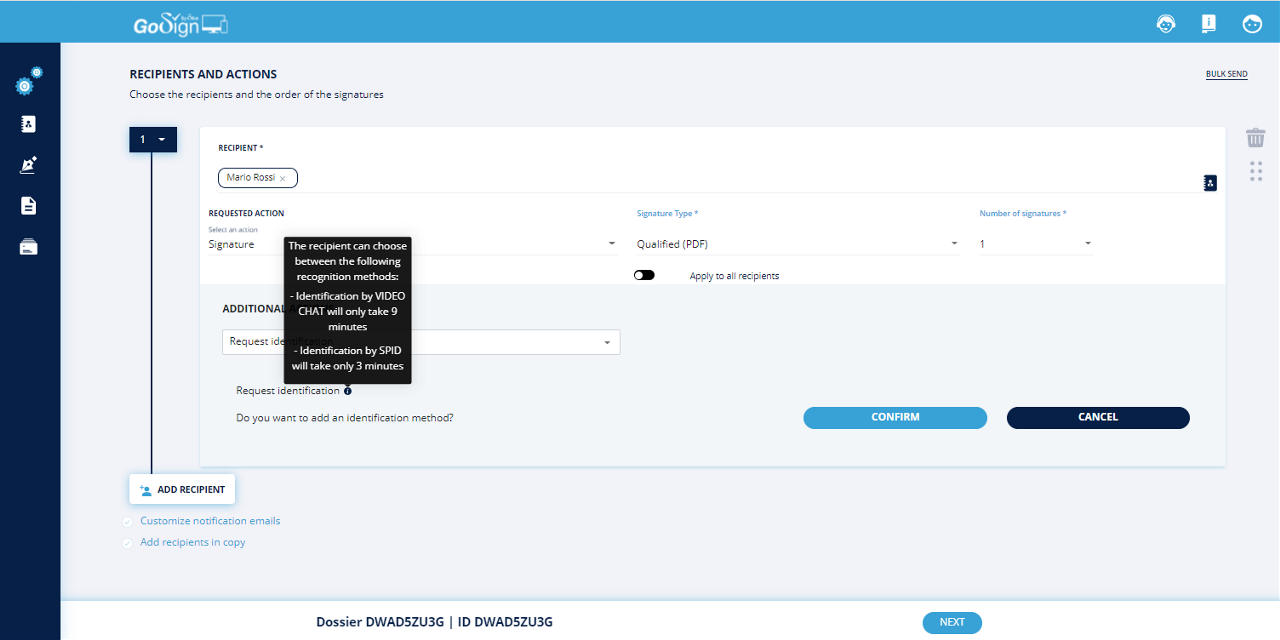
The system will notify you that the recipient can choose the method of identification, through video identification or Spid. The dossier creation process can continue as per standard procedure.
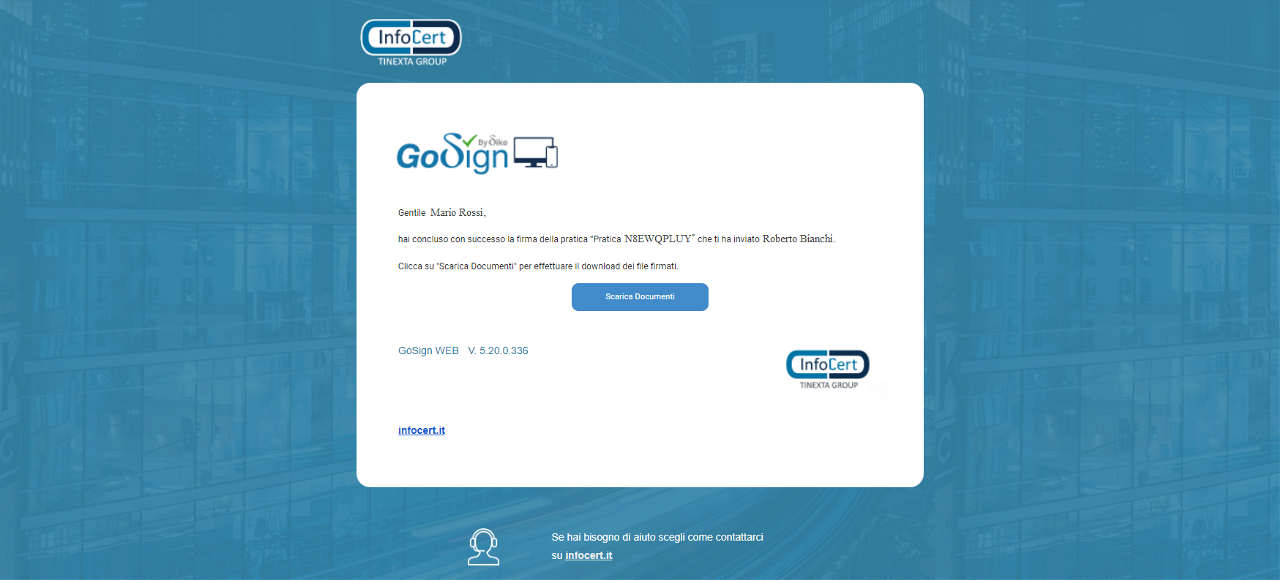
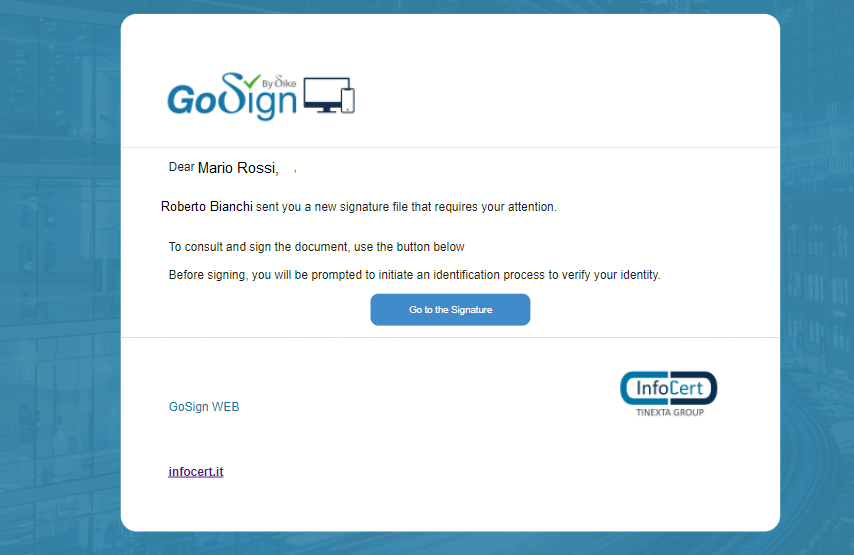
Once the file has been generated, the receiver, in this case registered as a Stranger or external contact, will receive an email inviting him to sign the file.
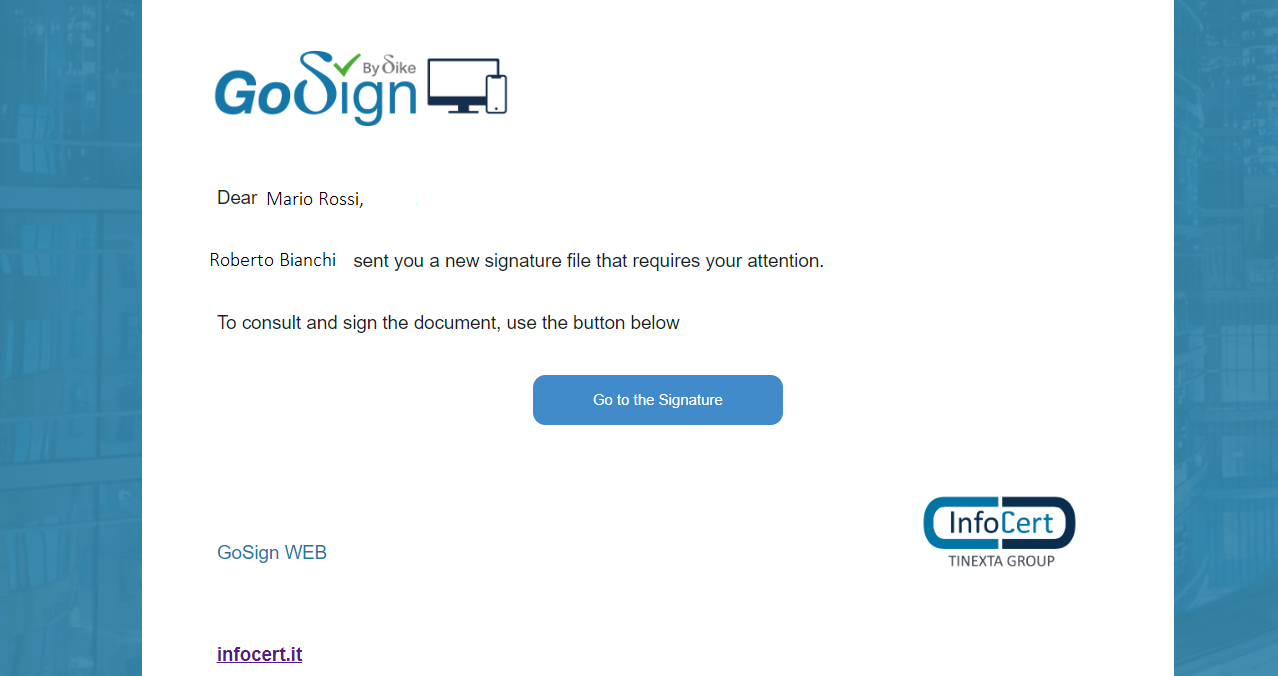
By clicking on Go to the signature the web page opens with the subscription procedure. The invitation email is sent to the e-mail address declared by the Customer.
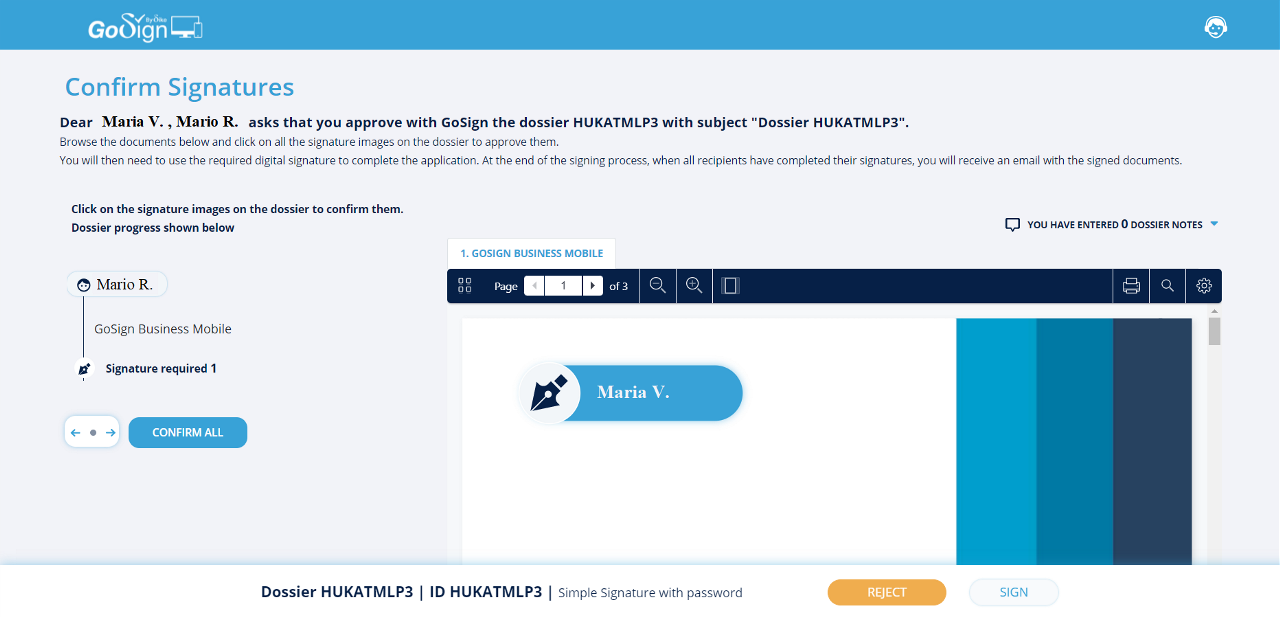
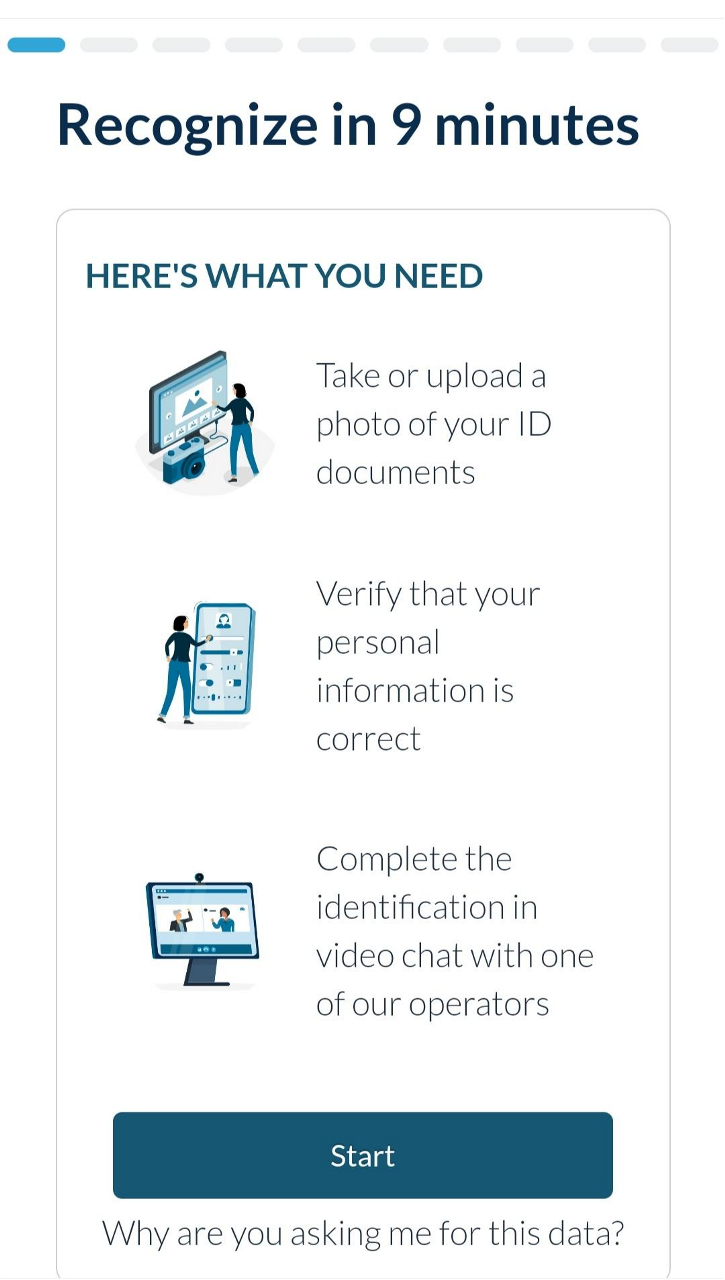
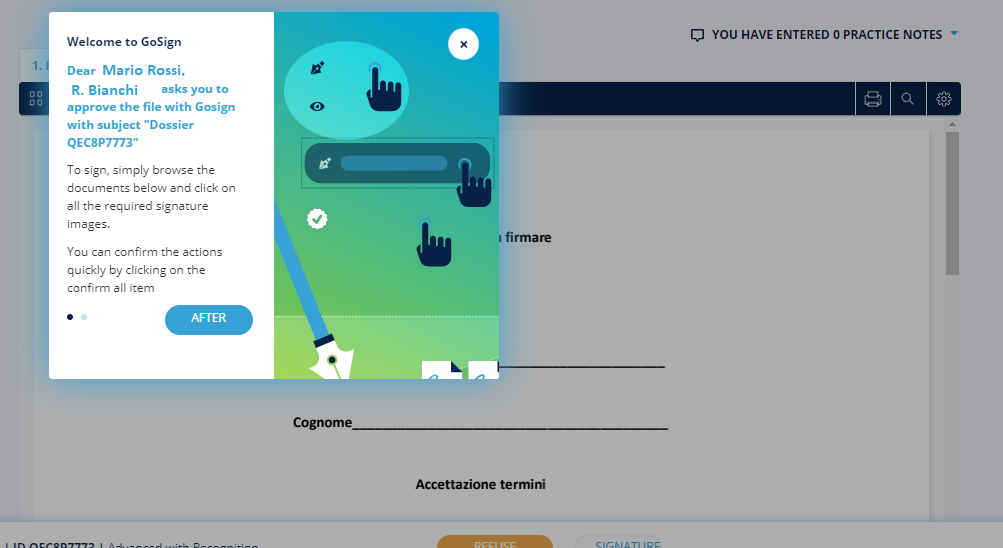
Before viewing the documents to be signed, a short tutorial explains to the user how to continue.
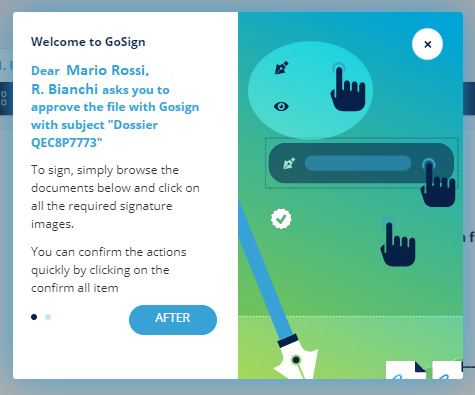

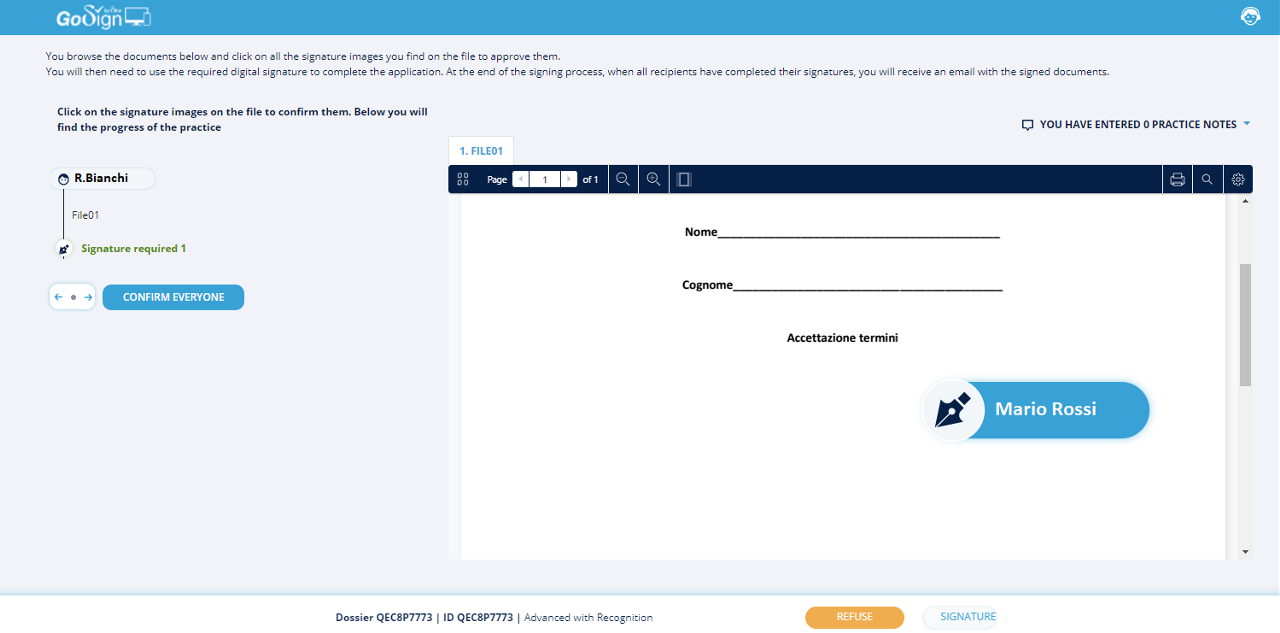
The user views the documents, can browse them and can accept their subscription or by clicking directly within the defined signature fields or by clicking on the _confirm everyone _button.

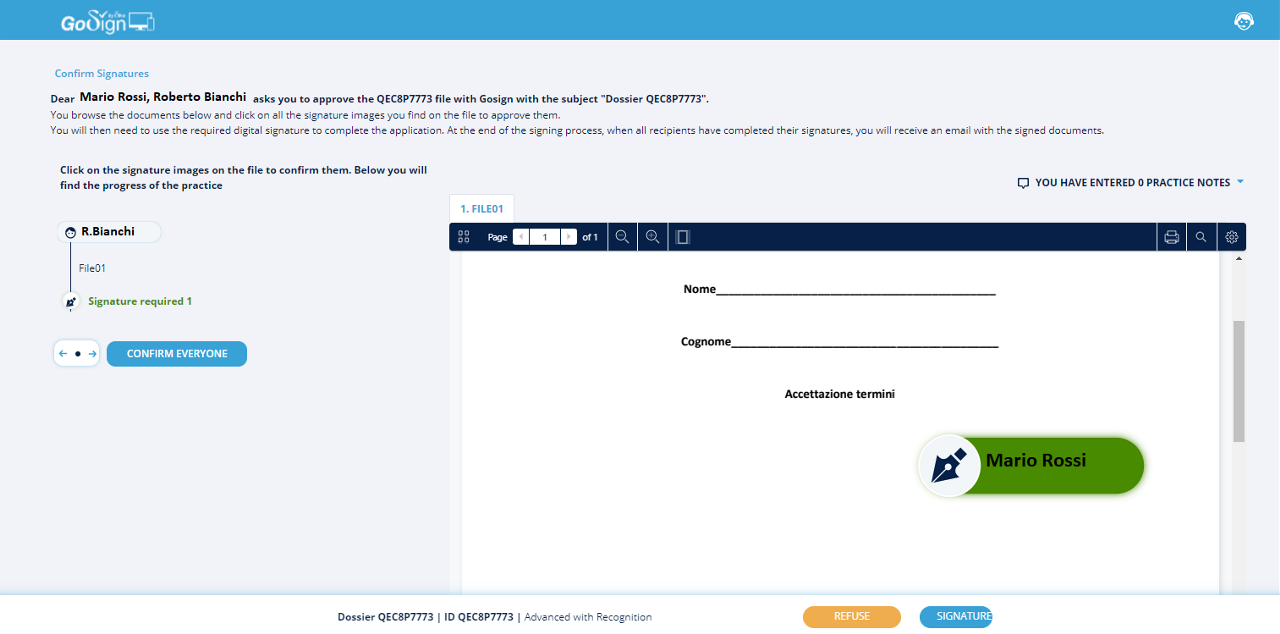
Once the sign is ready, the signature fields turn green. By clicking on the Signature button, he can proceed to the subscription.

Videochat identification
The user is offered the identification alternative, either with a VIDEOCHAT process or, if in possession of SPID, with recognition through this tool.
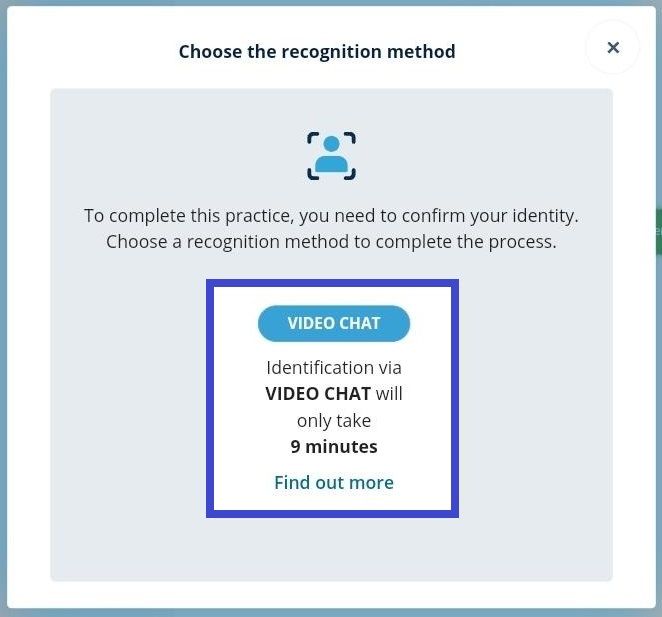
Choosing Videochat Identification, a window opens where is asked to confirm or enter the phone number to receive the link via sms.

The user accesses the recognition process with VideoChat by clicking on the link he received via SMS.
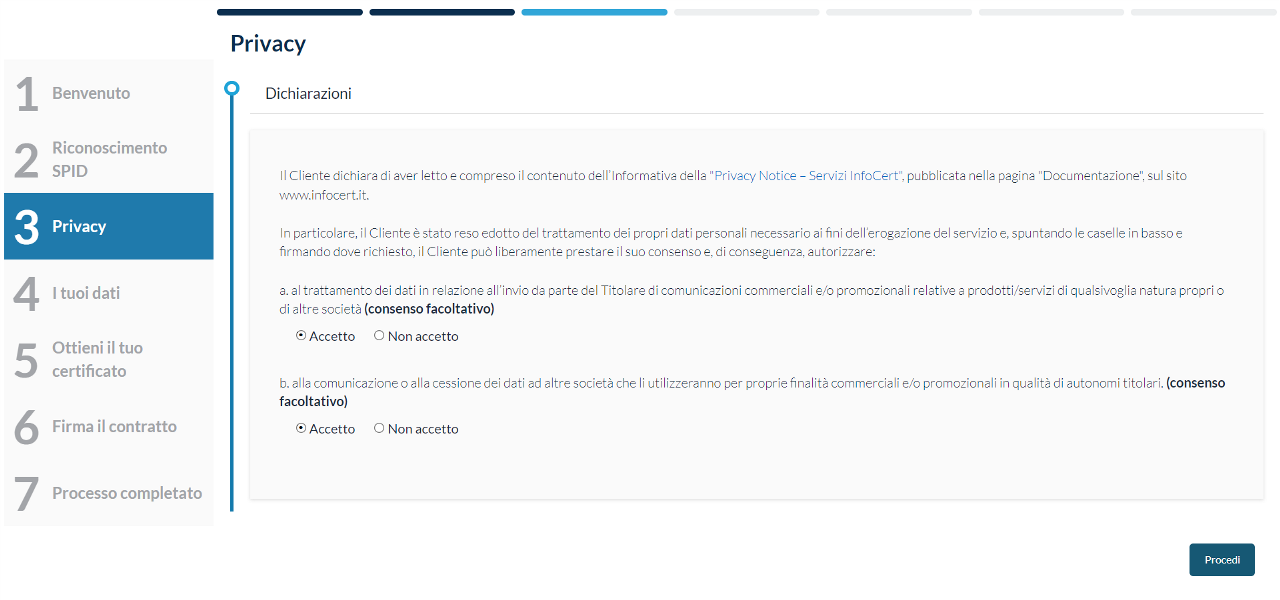
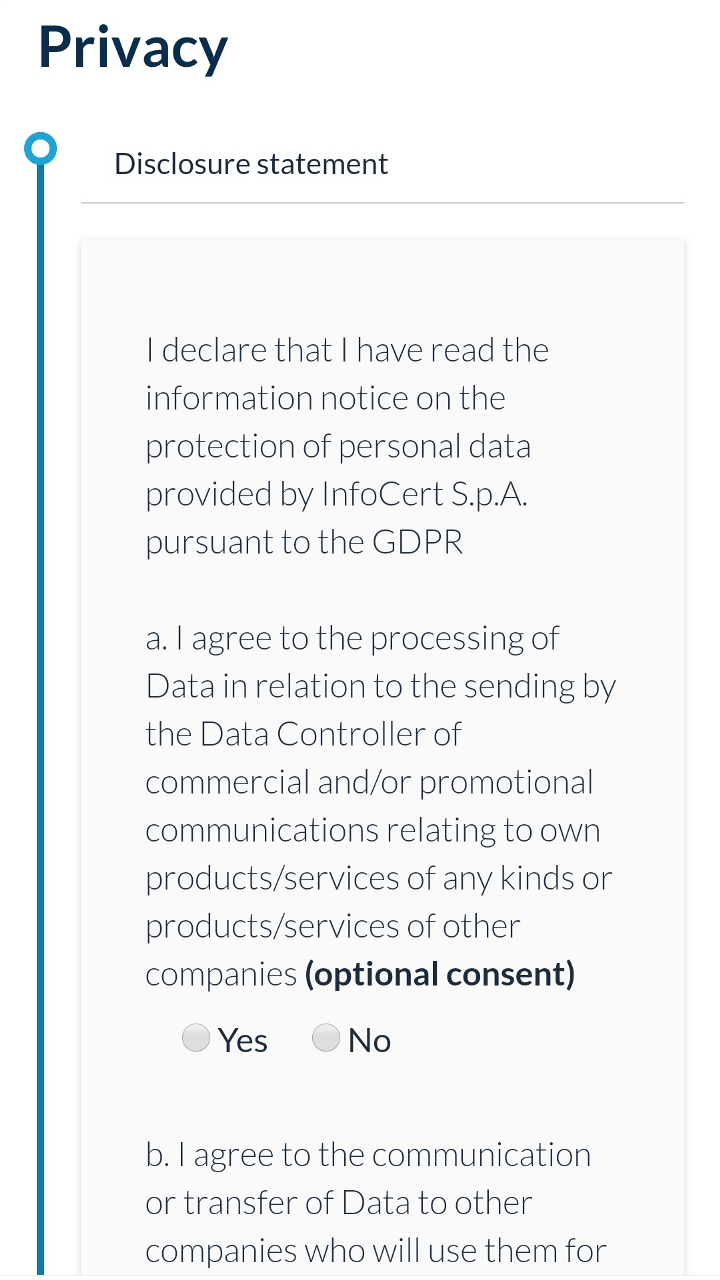
The user is called to read and accept the Privacy Policy.

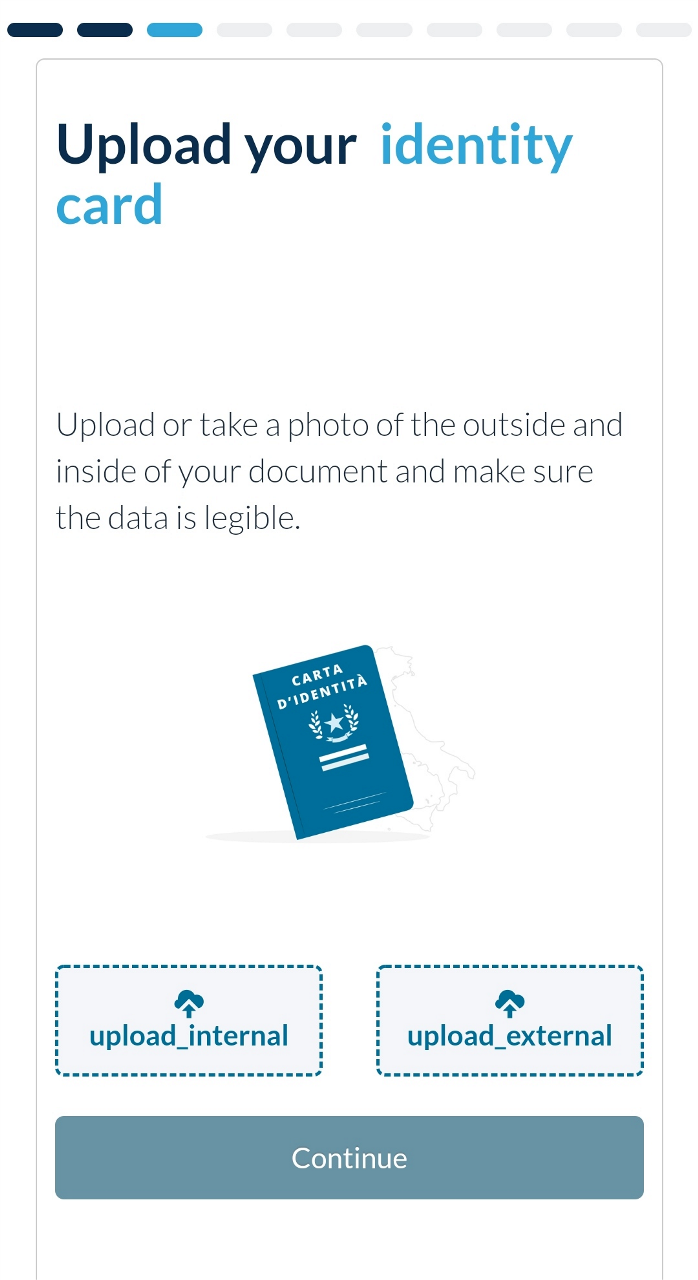
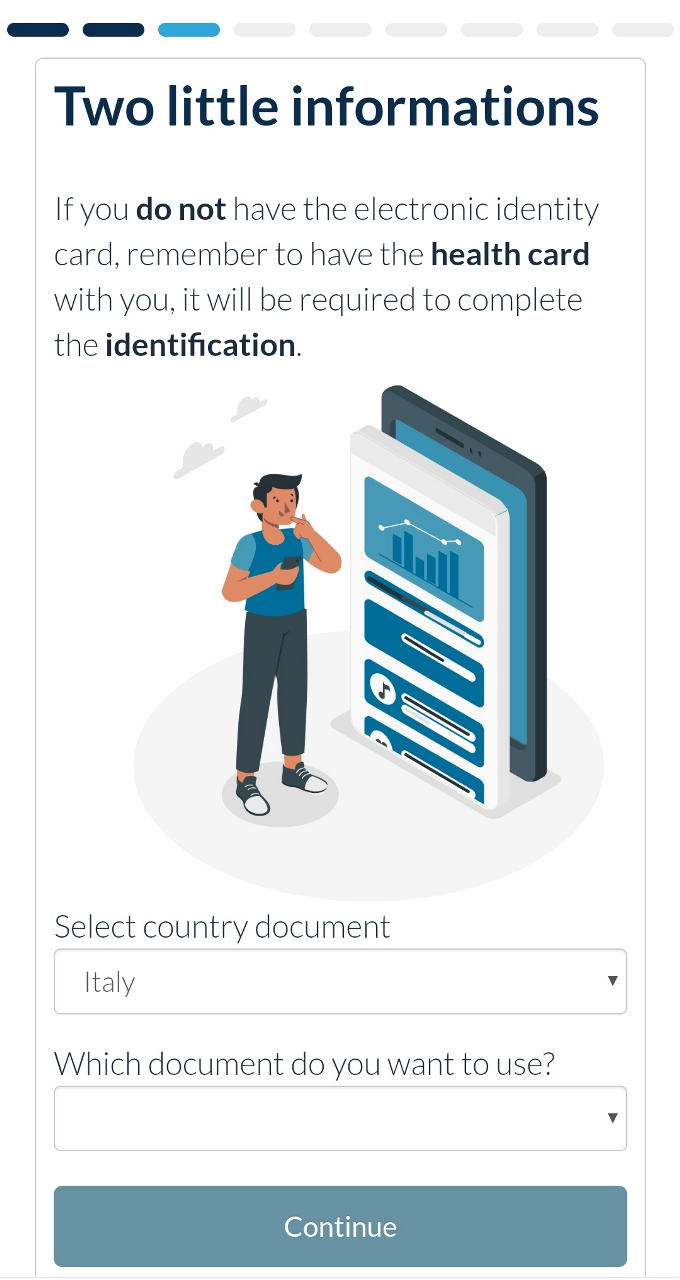
The user is going to select the type and nationality of the document. The types of documents you can choose are the follows:

The user proceeds to upload the document.
The user proceeds to load the health card.
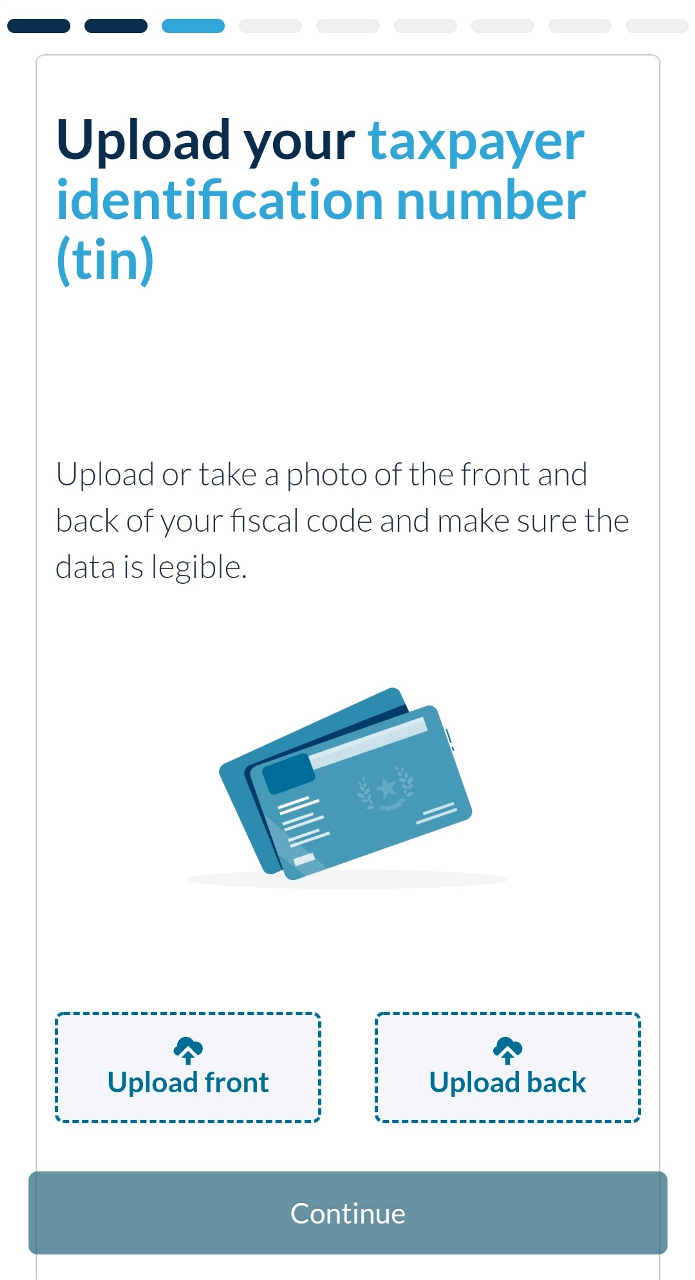
If you have chosen as a document to load an electronic identity card you will not be required.
to upload the health card as the CF is already present on the CI.
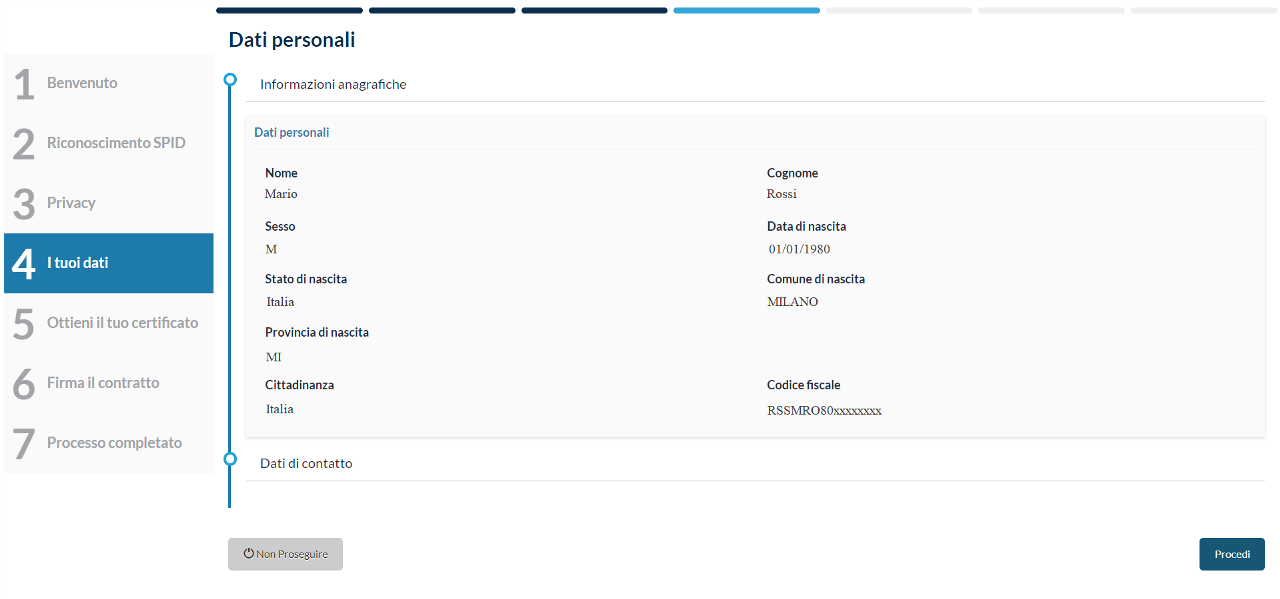
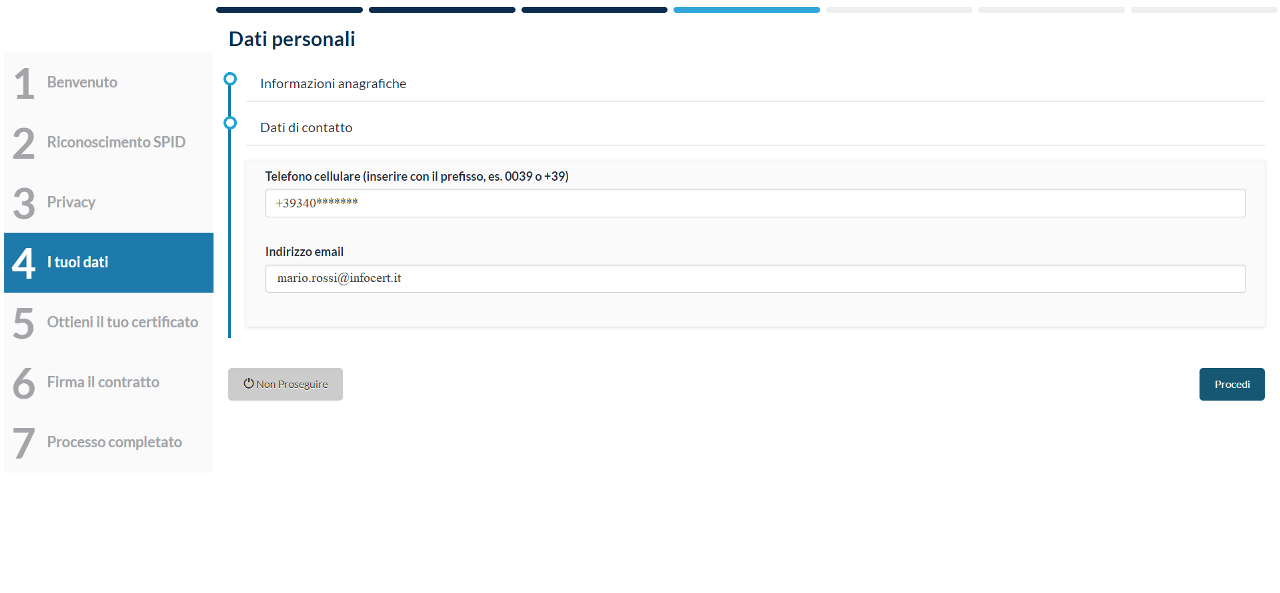
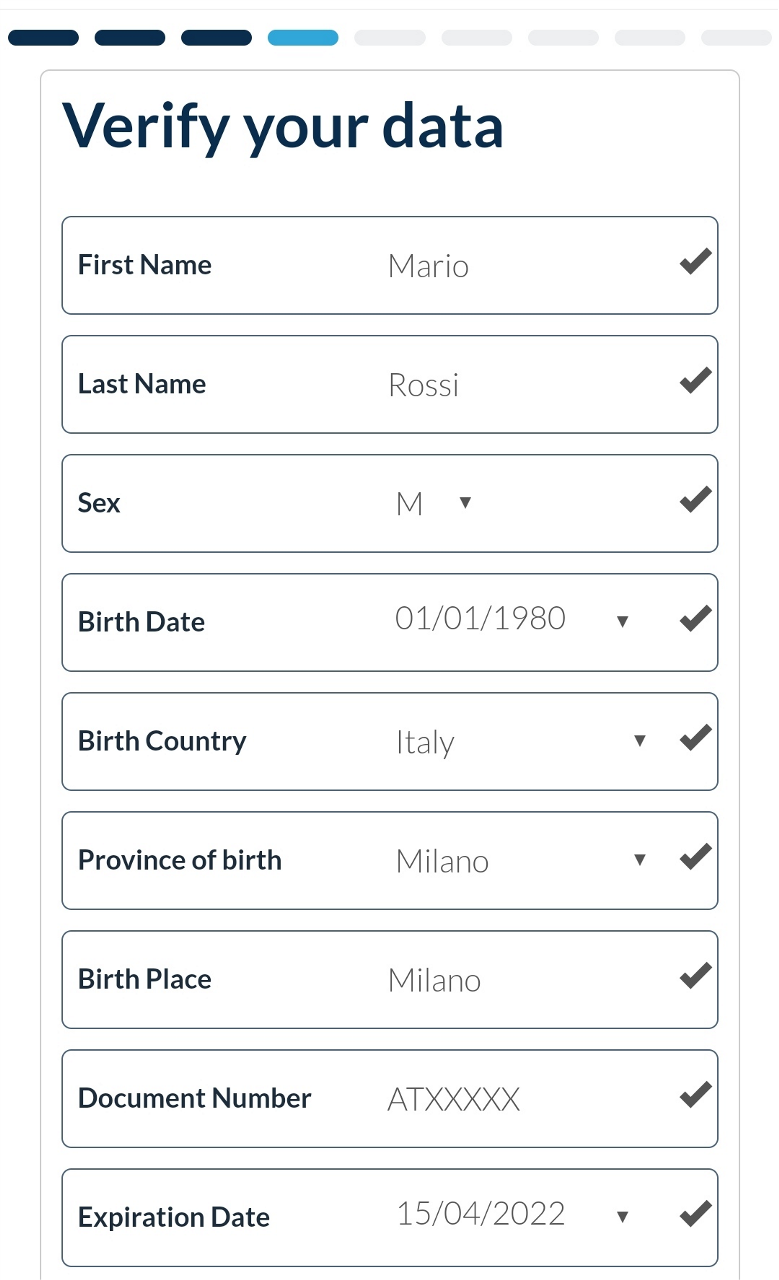
The user can now check the personal data and edit or validate it.

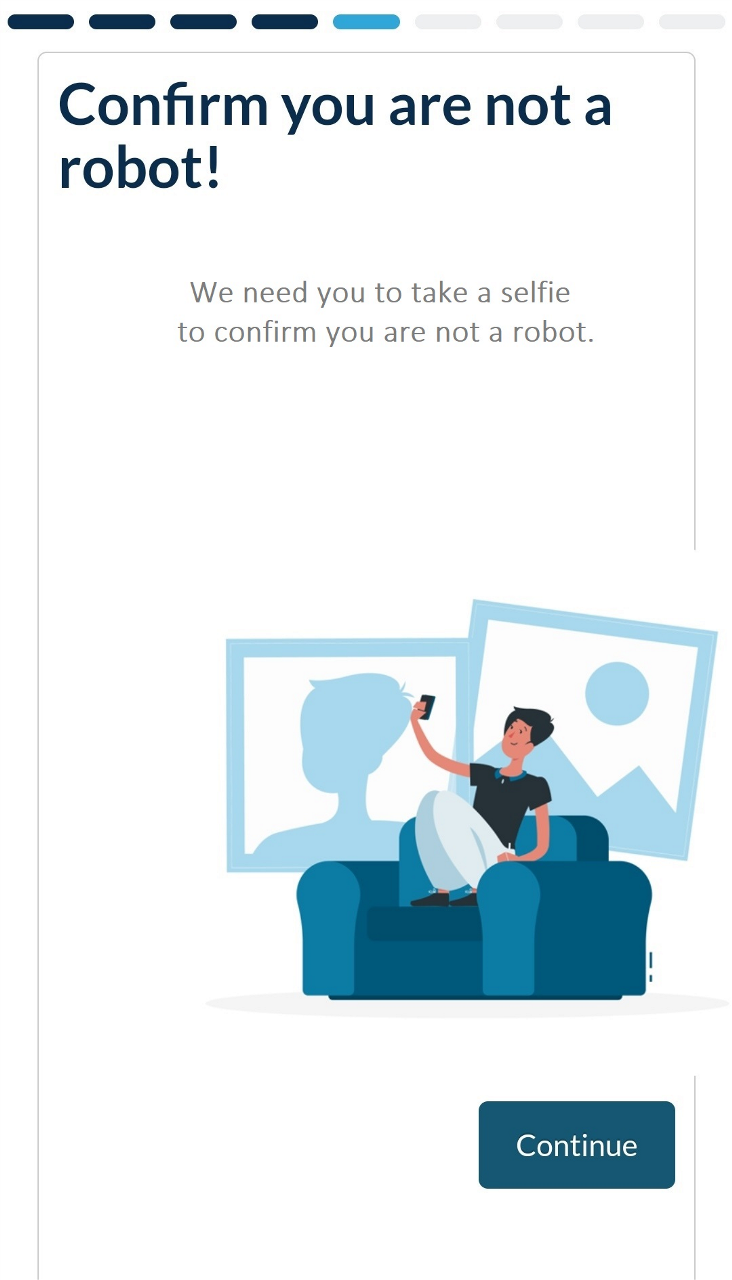
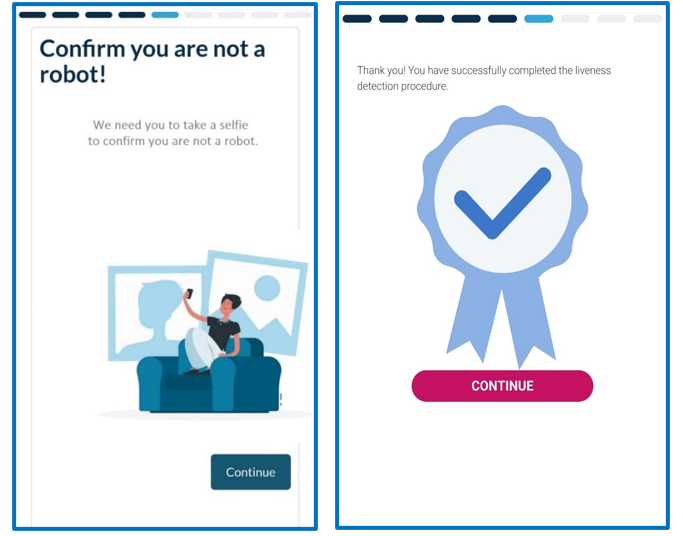
In order to confirm he is not a robot, the system will ask him to take a selfie.
You will proceed with the identification through an operator who will carry out the video recognition.
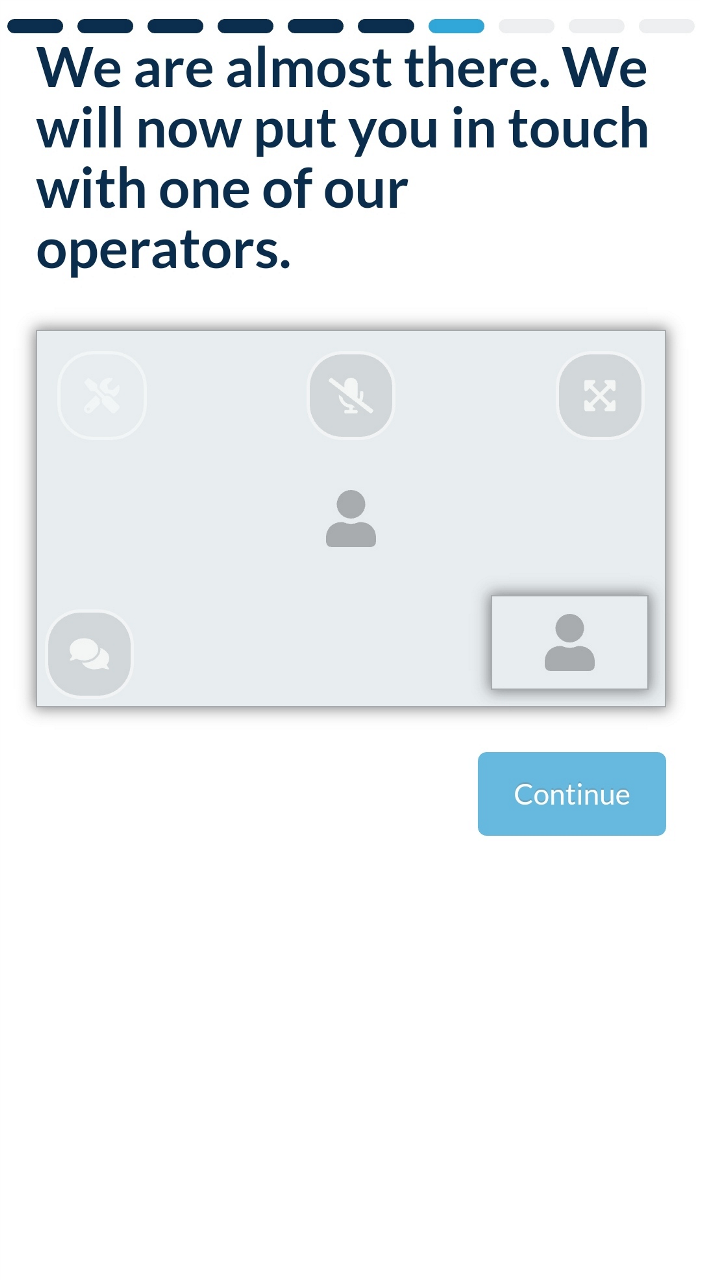
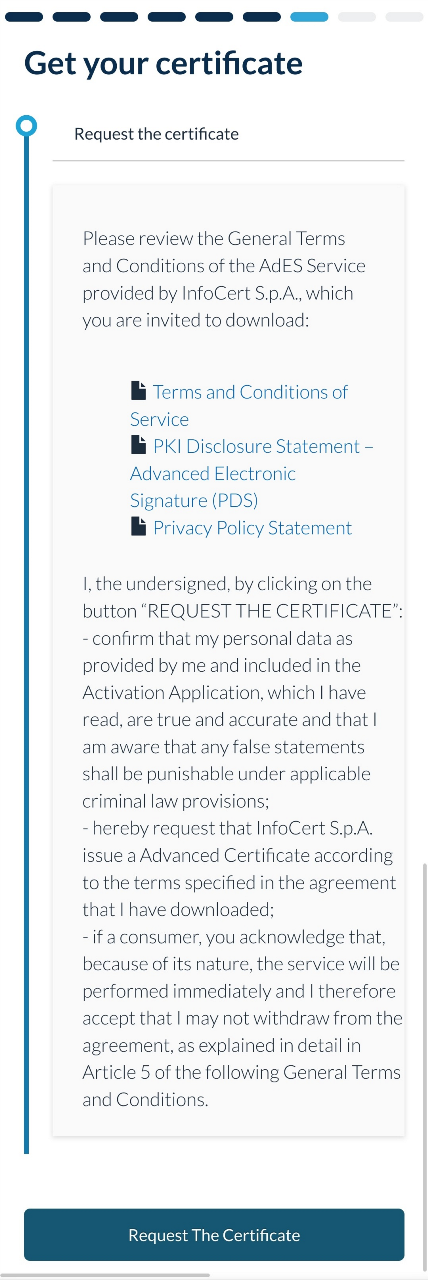
Once the recognition is complete, you will see the certificate request contract.

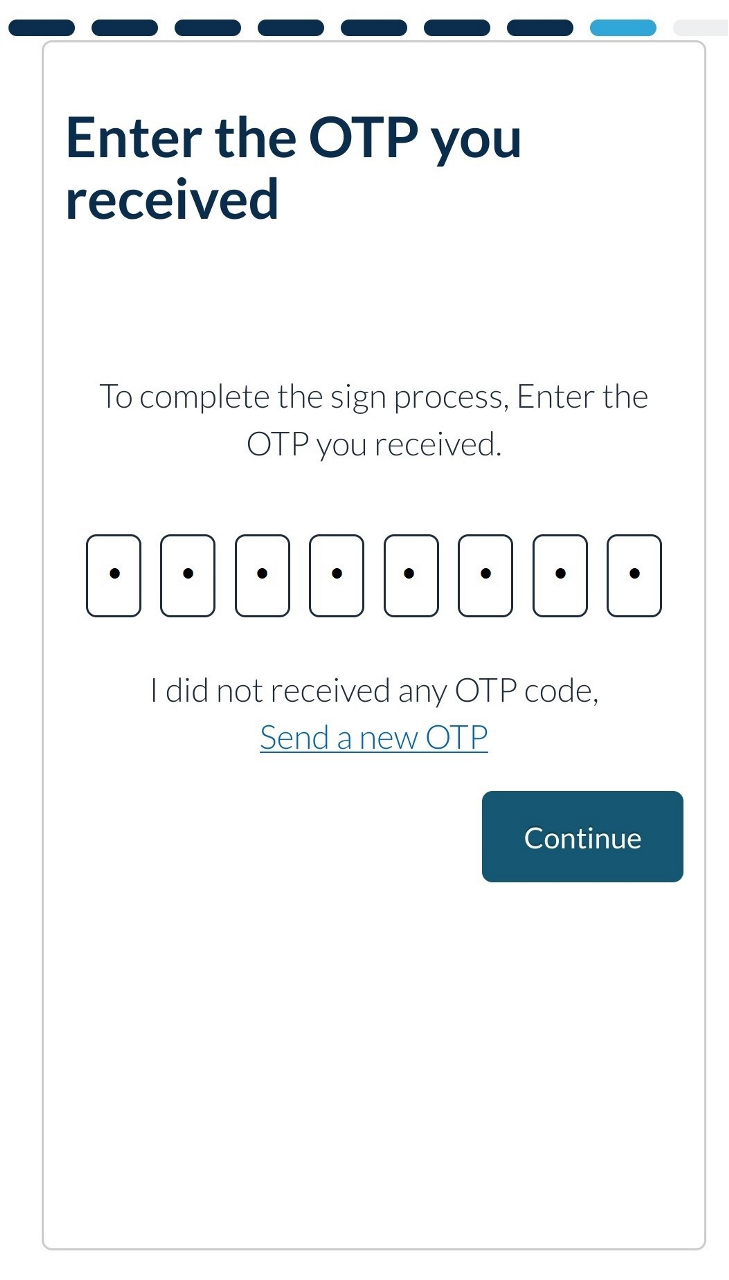
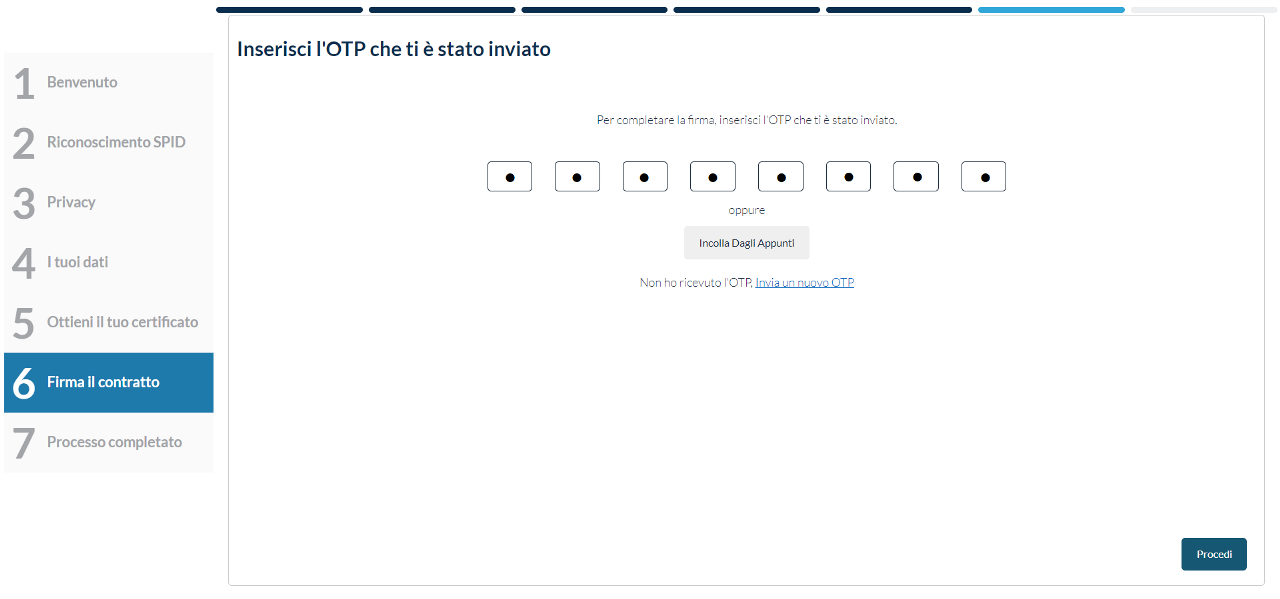
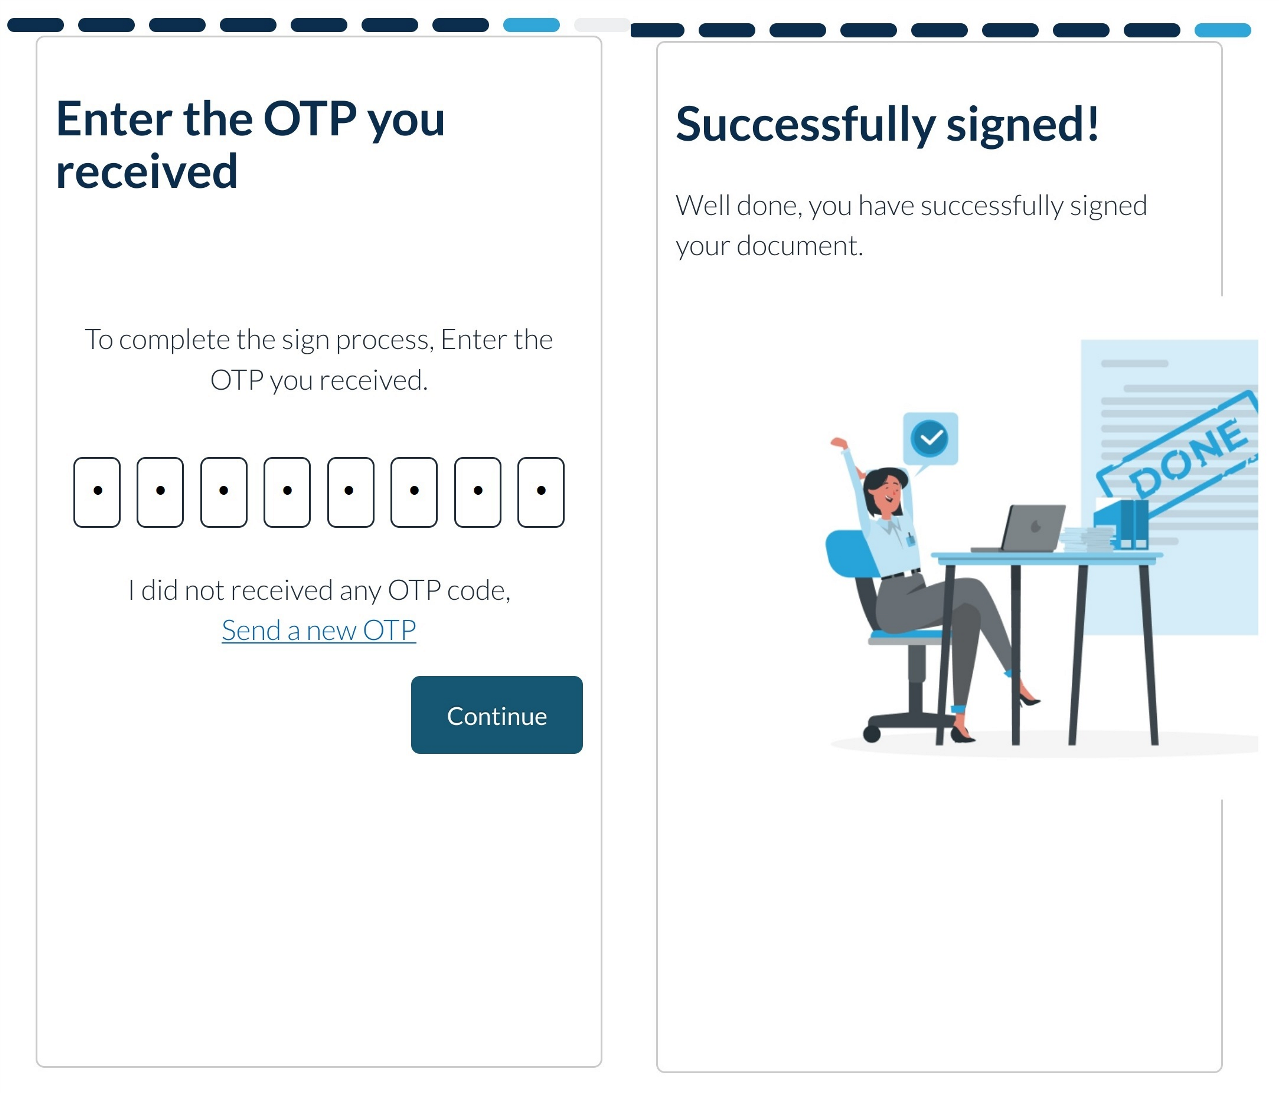
By clicking on "Request the certificate" an sms will be sent with an OTP code to be entered to proceed to the signature.
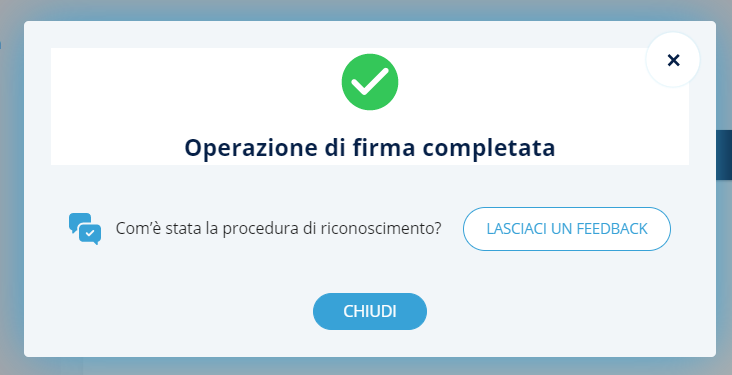
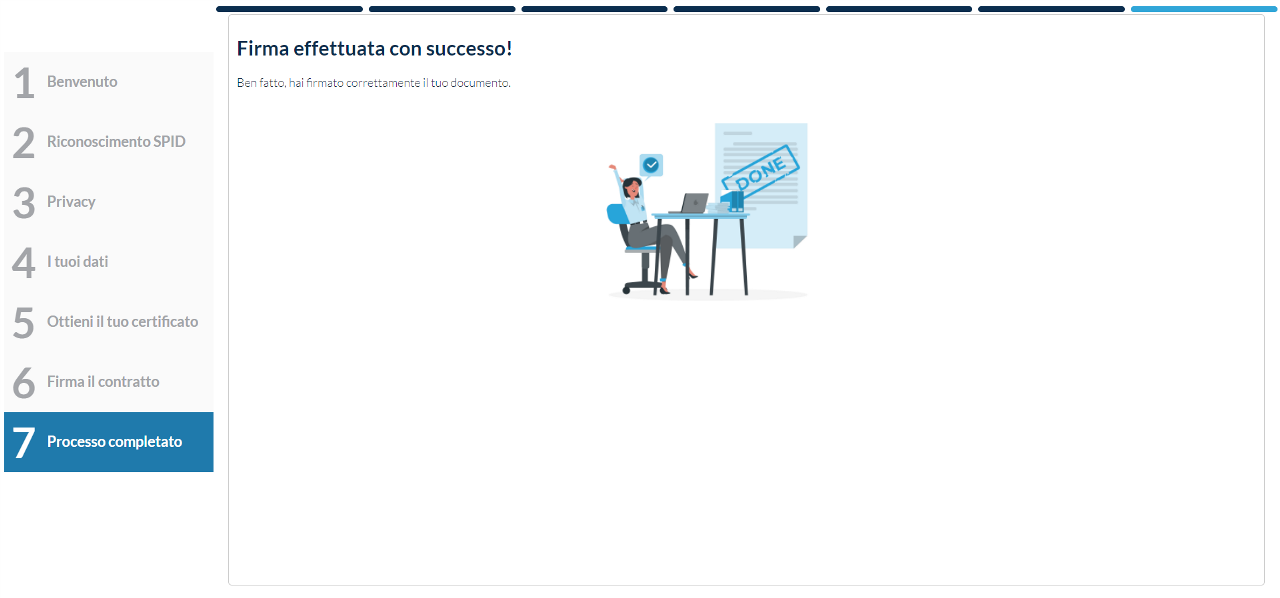
Once the identification process is complete, you will be redirected to GoSign.


Start the signature process as per standard procedure via the "REQUEST SIGNATURE" function. When you select "ADVANCED WITH IDENTIFICATION" signature types, the identification request will be entered by default. The process of dossier creation ends as per standard procedure.
Once the file has been generated, the Signatory user, in this case registered as Stranger or external contact, receives an email inviting the signing of the file.
By clicking on Go to The Signature, the web page opens with the subscription procedure. The invitation email is sent to the e-mail address declared by the Customer, but not yet certified.
Before viewing the documents to be signed, a short tutorial explains to the User how to continue.
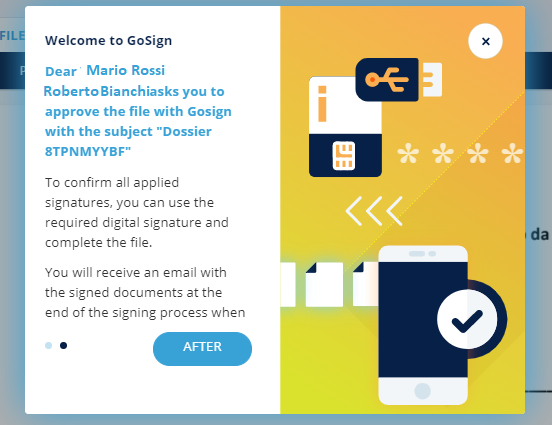
User views the documents, can browse them and can accept their subscription by clicking directly within the defined signature fields or by clicking on the CONFIRM ALL button
Once the sign is ready, the signature fields turn green. By clicking on the SIGNATURE button you proceed to the subscription.
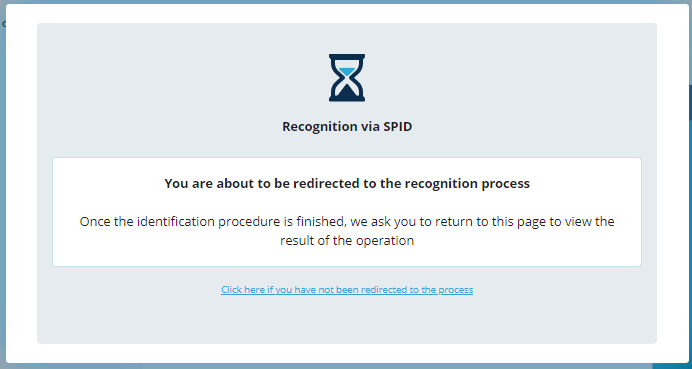
The user can proceed to choose only recognition via SELF ID.
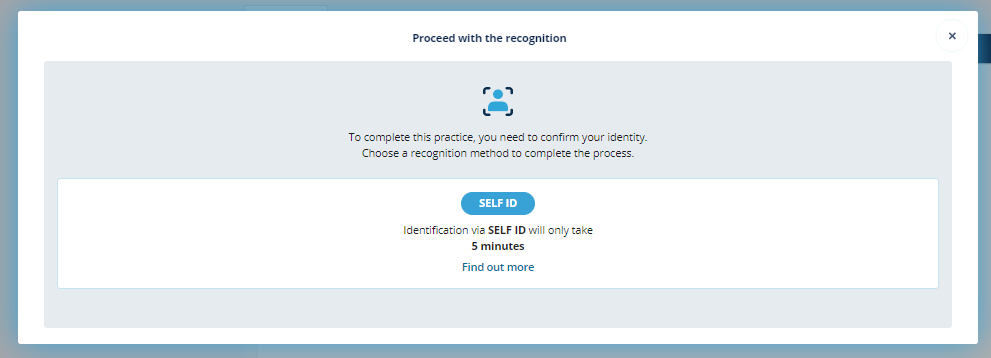
A window opens asking the recipient to confirm or enter the phone number to which a link will be sent via SMS.
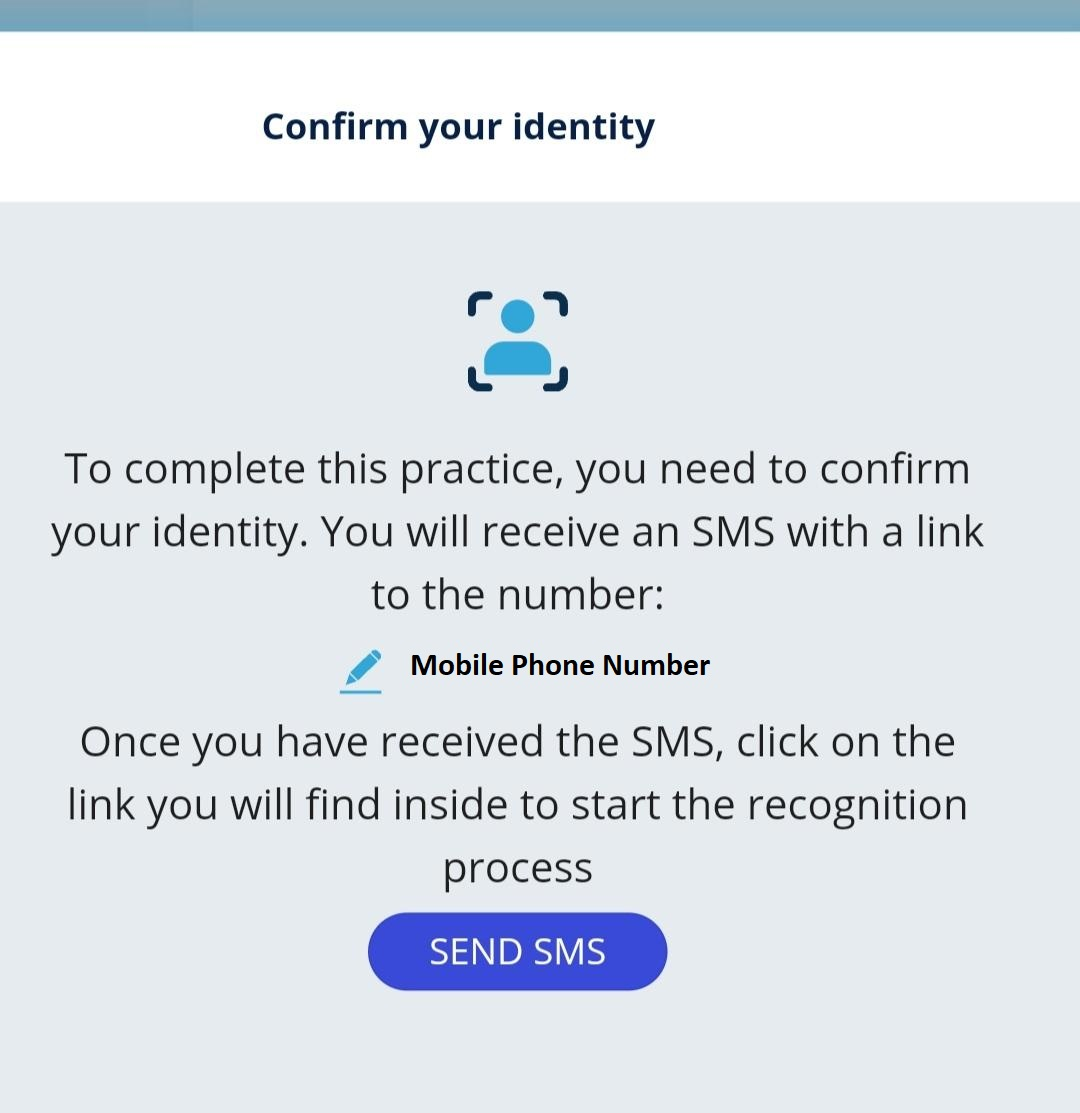
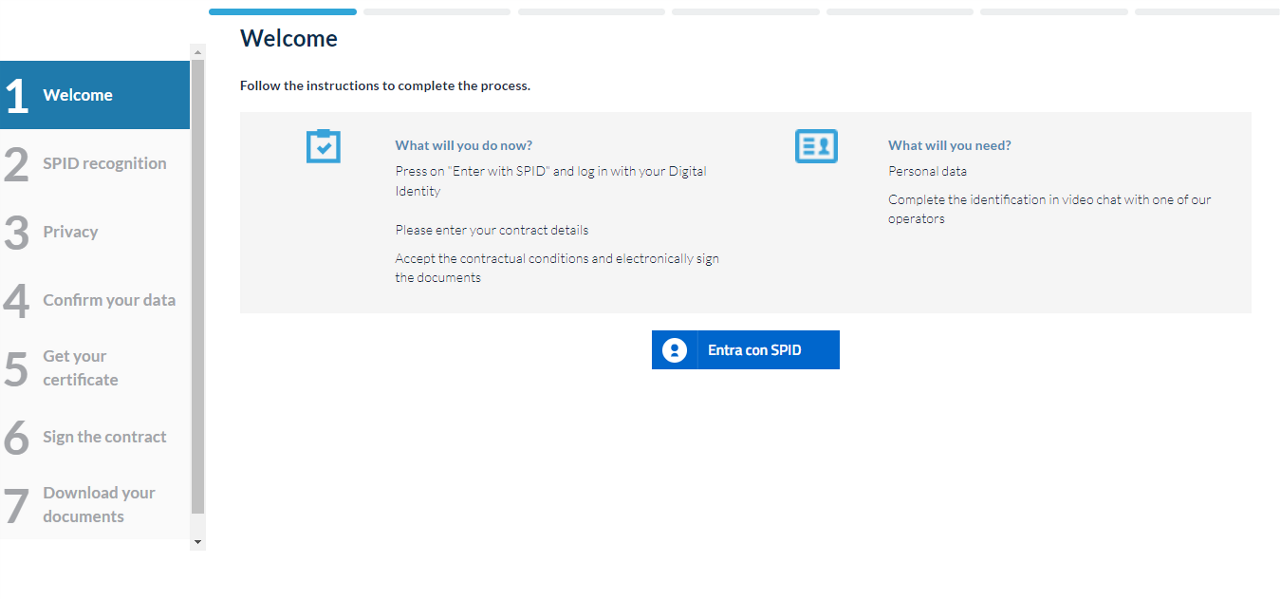
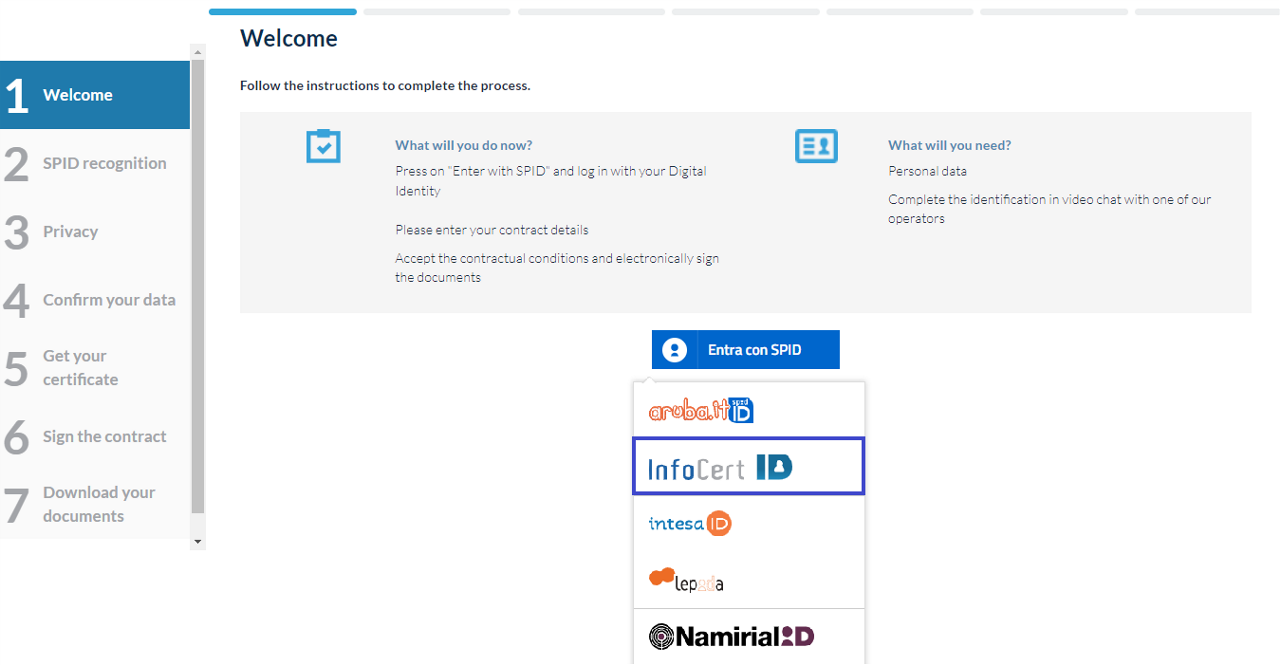
The user accesses the recognition process with SELF ID by clicking on the link he received via SMS, and will land on the welcome page.

The user must then read the privacy policy and accept it.
You will then need to select your nationality and document type. The types of documents you can choose are as follows:
The user can proceed with the loading of the document.

Afterwards it will be necessary to load the health card.
NB: if you have chosen as a document to load an electronic identity card you will not be required to upload the health card as the CF is already present on the CI.

The next step is to check your personal data and modify it if necessary or complete it.
The system will then ask you to take a selfie.
Once the recognition is complete, you will see the certificate request contract.
By clicking on "Request the certificate" an sms will be sent with an OTP code to be entered to proceed to the signature.
Once the identification process is complete, you will be redirected to gosign.
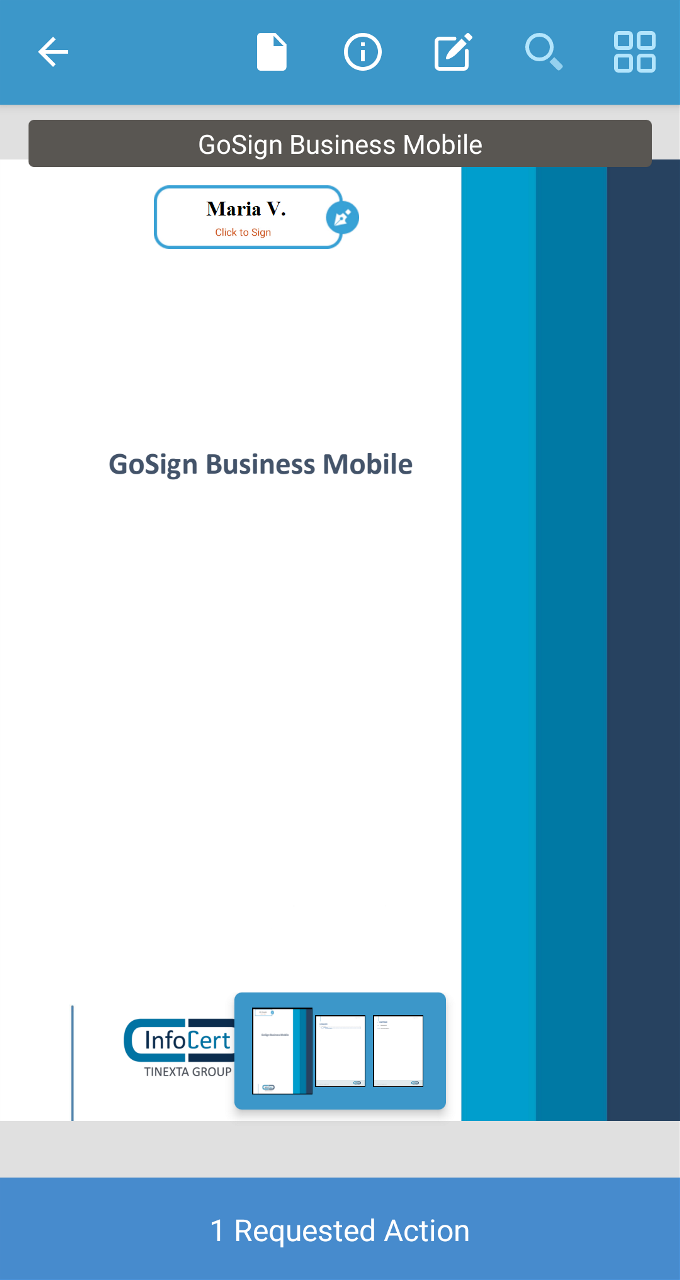
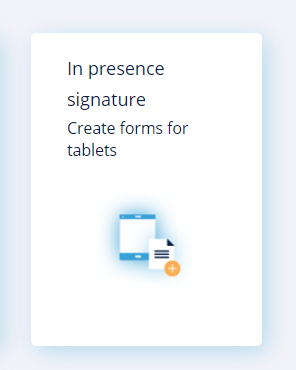
In presence signature function, allows you to configure documents and then be able to sign them with GoSign Grapho (i.e. via tablet device).
Upload document
To upload a document, click on the function icon on the home page.
With GoSign Web you have the possibility to upload any type of file (.pdf, .doc, .xls, .jpg, documents in .p7m format) and it is possible to upload multiple documents at the same time.
Settings
Once the document (or documents) has been uploaded, by default is set a dossier number; the deadline or the date by which the practice must be concluded (by clicking on the calender icon you can set the date) the trash icon allows you to remove the document; the eye icon gives you the possibility to view the loaded document.
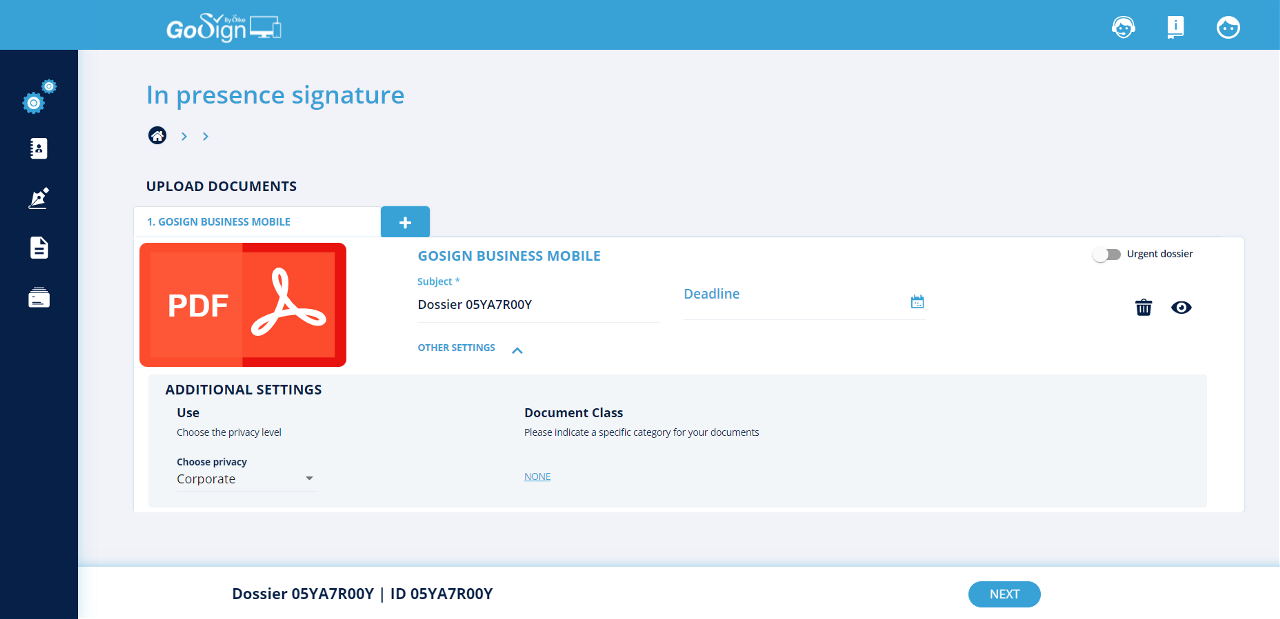
To add further priority to the dossier, you need to activate the Urgent case box.
By clicking on Additional settings, you change some parameters:
Privacy Level: privacy can be set as CORPORATE ((indicates that the file is for internal use); PUBLIC (which can also be viewed outside the company); CONFIDENTIAL; STRICTLY CONFIDENTIAL;
Document Class (available only for enterprise users): by clicking on "NONE→ SET DOCUMENT CLASS" the enterprise user can choose the type of document class between Customer Offer, RAO, RDA.
The next step is to set the section on the document where the signature will be displayed once the user signs via GoSign Grapho.
You can add as many signatures as you want (as needed) and each signature section must contain:
Name and Surname of the person who will have to sign, the email of the person who will have to sign and his / her Tax Code.
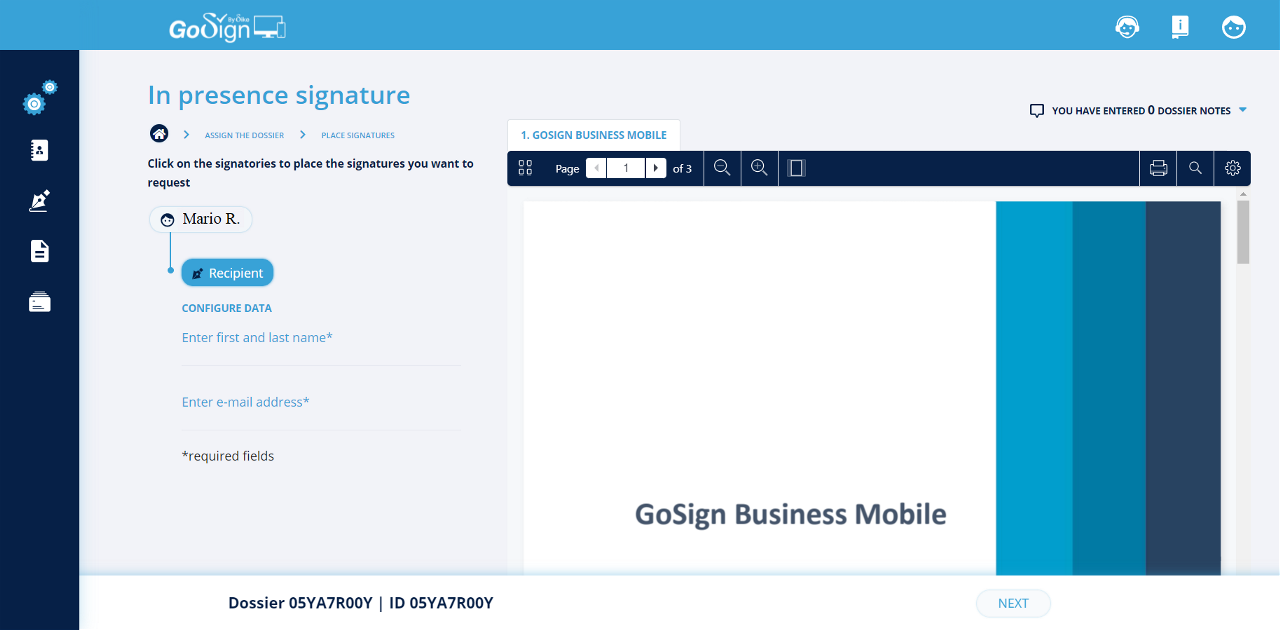
To conclude the practice, just press NEXT.
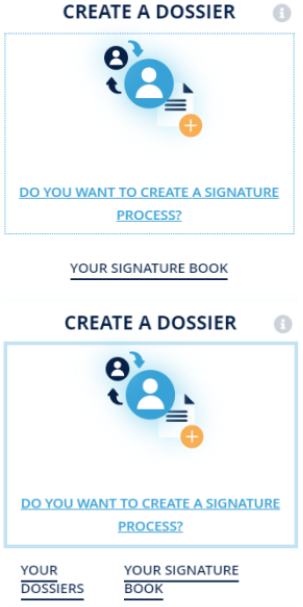
At the bottom of the screen, it will be displayed the count of the dossiers that have yet to be approved and the dossiers that have not yet completed the configuration and submission process.
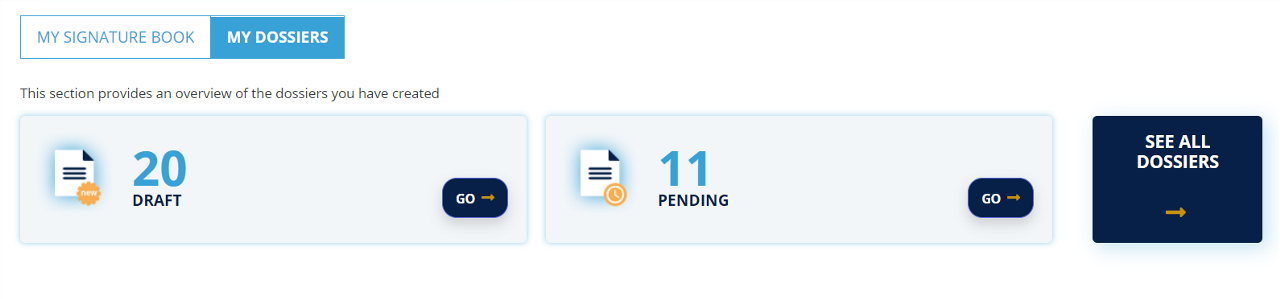
By clicking on the section SEE ALL THE DOSSIER, it will be shown all the dossiers created by the account. However, if you click on one of the buttons at the top right (Pending, Draft, Completed, Archived), you will be redirected to the same screen, with the dossiers already filtered.
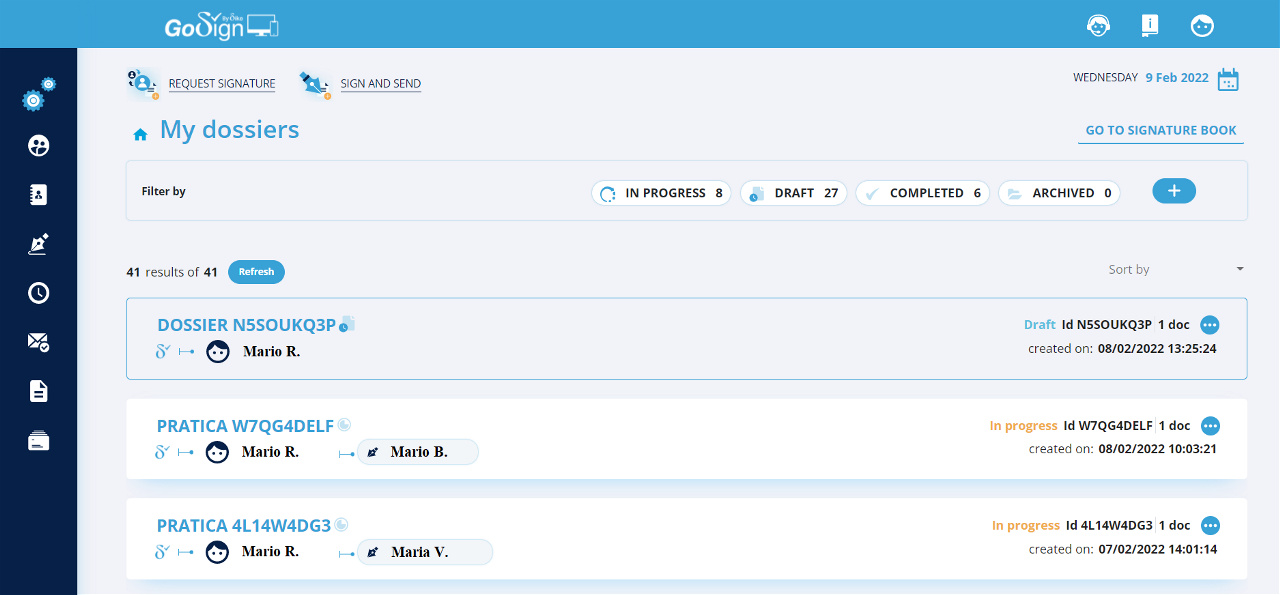
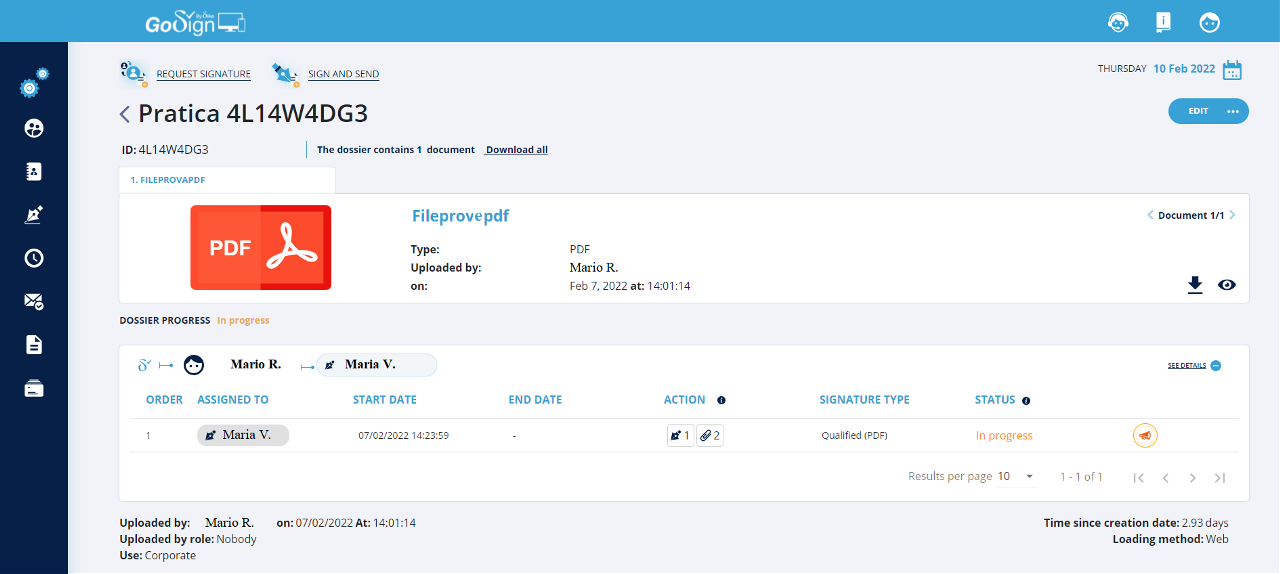
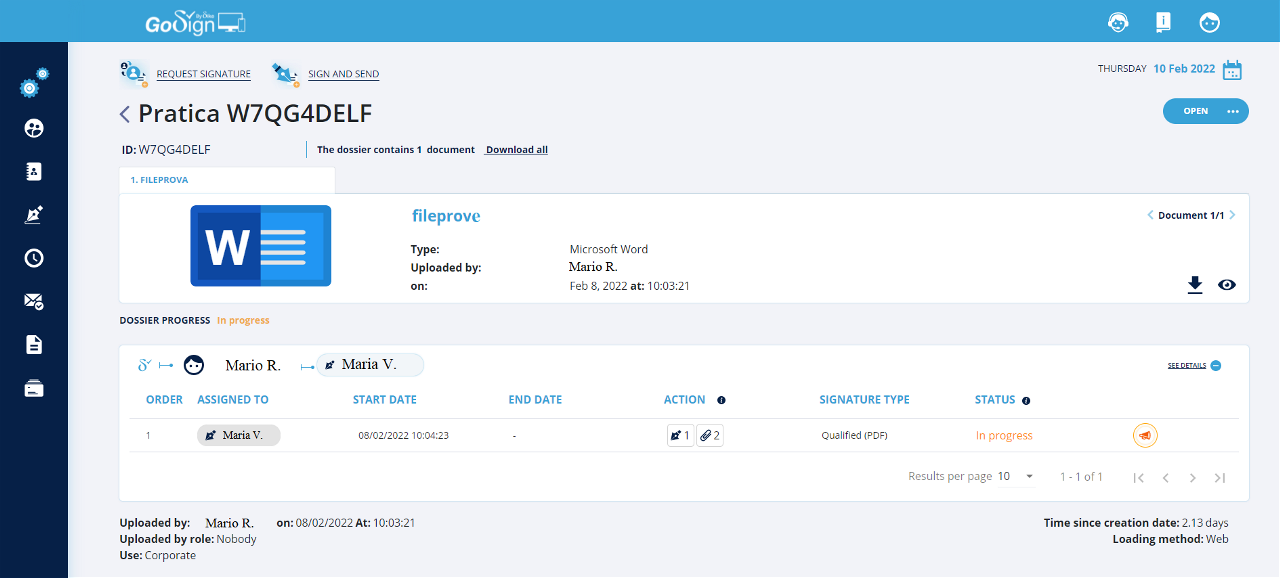
Details
The list of dossiers presents some details, such as the dossier number, how many documents it contains, the date and time of creation, who created the dossier, and who will have to countersign the document, and the progress of the dossier.

Actions on dossiers
By clicking on the three dots icon, on the right side of each dossier section, a drop-down menu will open and it will indicate all the actions that can be carried out on a dossier:
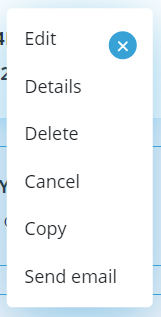
Edit
Allows you to reconfigure the dossier, it is like retracing the entire path for configuring the dossier.
Details
Clicking on Details you are redirected to a page where you can see more specifically the practice details. Then you have the possibility to download the document, clicking on the down arrow icon, or view it by clicking on the eye icon. When the practice are going to expire, through the red megaphone icon, a reminder email will be sent to the one who has to countersign the document.
Delete
With this action the dossier is permanently deleted and removed from the list. Before permanently deleting the dossier, you are asked to confirm the action via a popup.
Copy
With this action, a copy of the dossier is created; once the copy has been created, you will be redirected to the dossier configuration screen. The copy will have the same ID as the original dossier, but it differs from the original one as there is a copy icon.
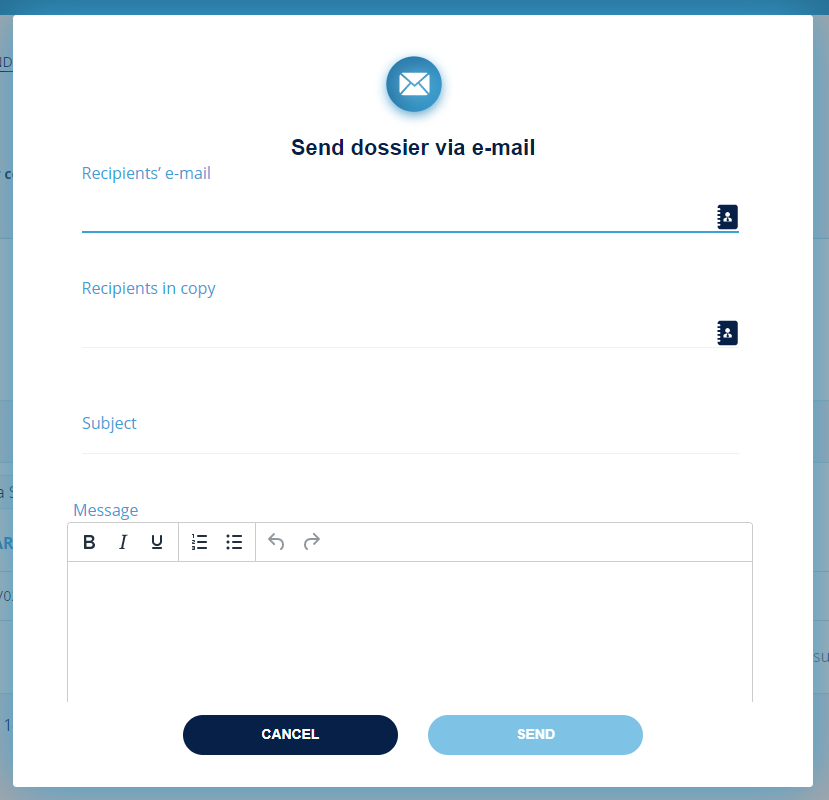
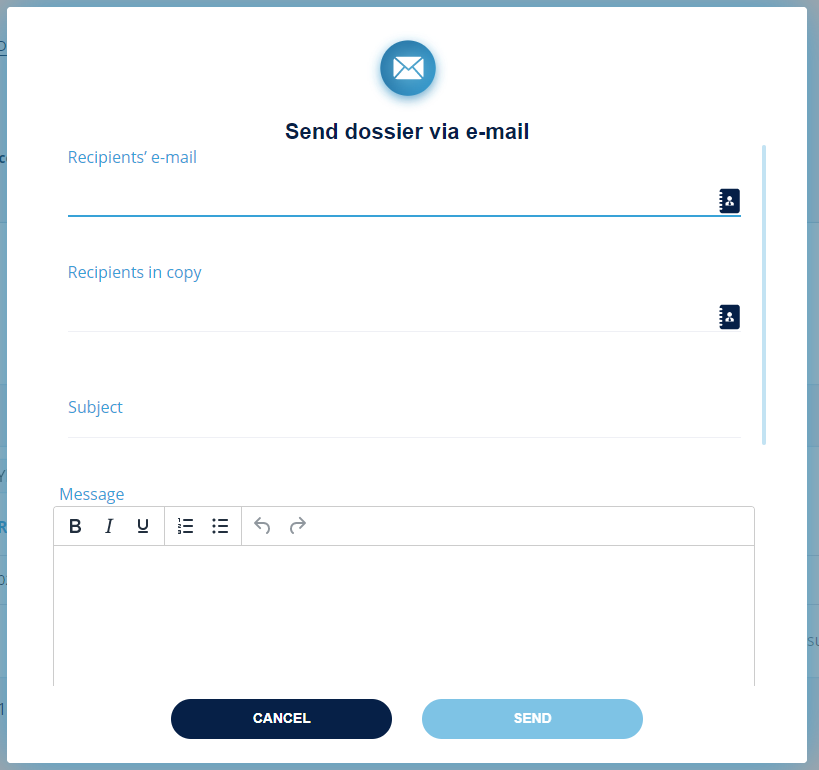
Send Email
With this action, the dossier is sent and via email. A pop-up window will open in which it will be possible to select the recipient, any co-recipients, the subject, and the body of the message.
Once the email has been completed, to send it, press the SEND button.
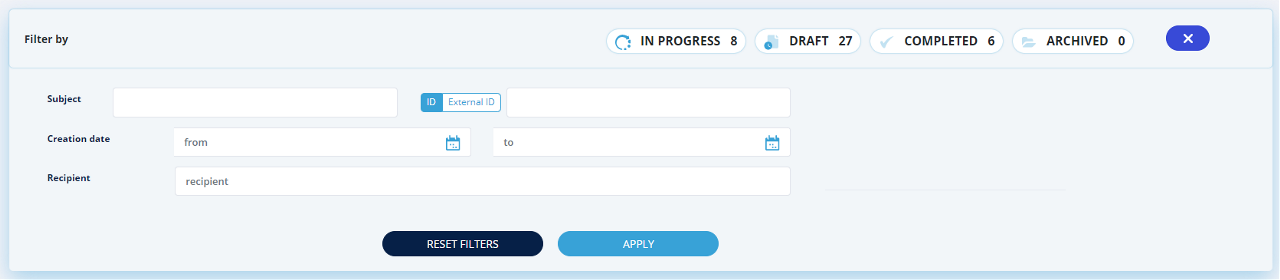
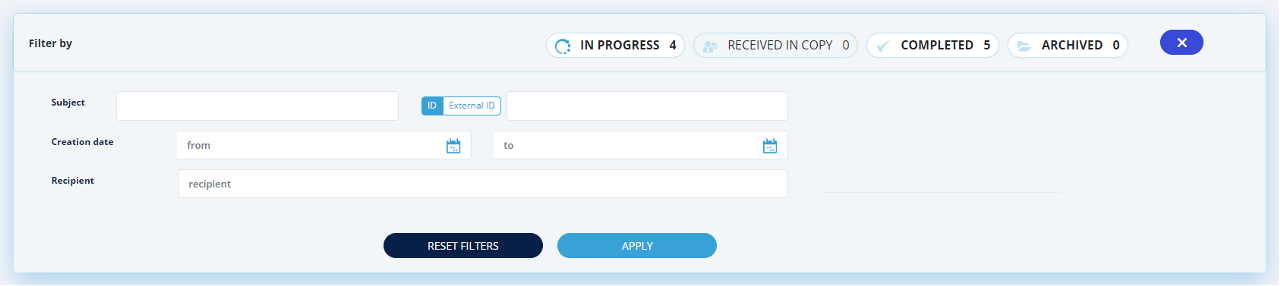
The research of the dossiers can be done by applying different filters such as Subject of the dossier, the code of dossier, the time interval in which the practices were created or even those who will have to approve the practice.
Once the various filters have been selected, to apply the search, press the APPLY button.
The count of signed documents that have yet to be completed and the documents that have completed the signing process are displayed at the bottom of the screen.

By clicking on the SEE ALL DOSSIERS section, the new SIGNATURE BOOK screen will show in full all the signature processes created by the account. However, if you click on one of the buttons at the top left, you will be redirected to the same screen but with the documents already filtered showing only the documents that have yet to complete the signing process or those already completed.
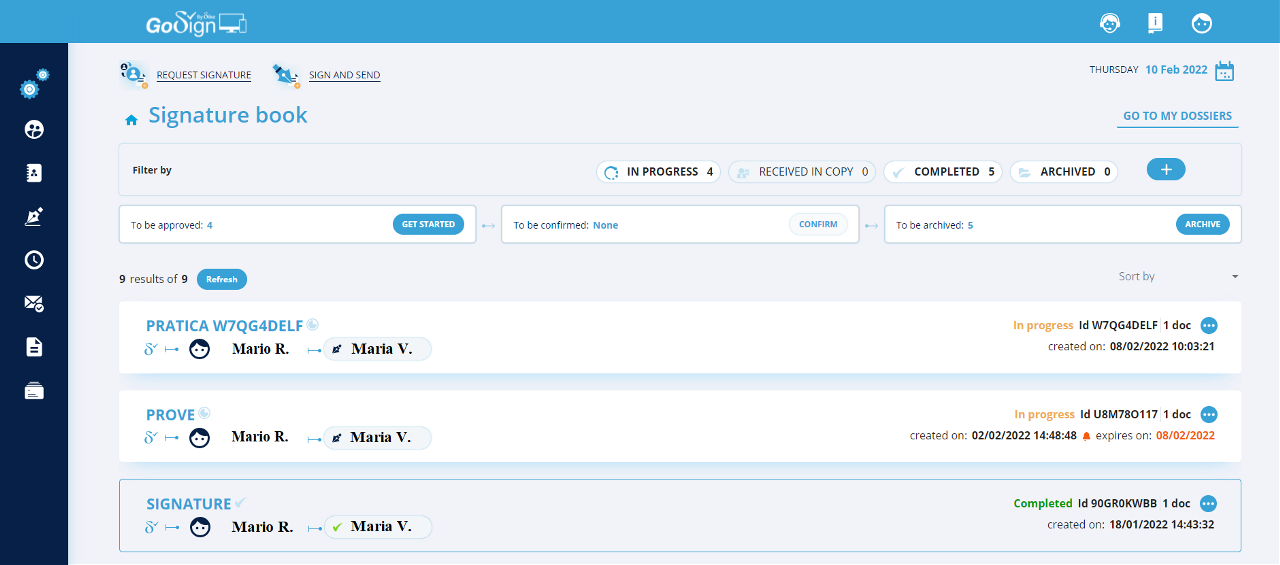
Details
The list of signature files shows the details of the case such as the dossier number, how many documents it contains, the date and time of creation, who created the dossier and who signed the document, and the progress of the dossier.

Actions on practices
By clicking on the three dots icon on the right side of each dossier section, a drop-down menu will open that will indicate all the actions that can be carried out on a dossier.
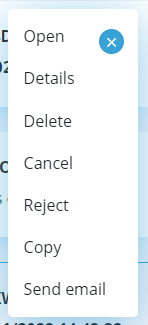
Open
Allows you to reconfigure the dossier, it is like retracing the entire path for configuring the dossier.
Details
You are redirected to a page in which the details concerning the dossier are shown more clearly, with the possibility of downloading the document by clicking on the download icon (down arrow), or viewing the document by clicking on the icon eye. If the deadline for the practice is approaching, via the red megaphone icon, a reminder email will be sent to the person who must countersign the document.
Delete
With this action the dossier is permanently deleted and removed from the list. Before permanently deleting the dossier, you are asked to confirm the action via a popup.
Cancel
Allows you to cancel the current case. Before canceling it permanently, you are asked to confirm the action via a popup.
Reject
Allows you the reject the practice.
Copy
With this action, a copy of the dossier is created; once the copy has been created, you will be redirected to the case configuration screen. The copy will have the same ID as the original dossier, but it differs from the original one as there is a copy icon.
Send Email
With this action the dossier is sent and via email. A pop-up window will open in which it will be possible to select the recipient, any co-recipients, the subject and any part of the message.
Once you have completed the email to send it you have to press the SEND button.
Search and Filters
The research of the dossiers can be done by applying different filters such as Subject, the time interval in which the practices were created or even those who will have to approve the practice.
Once the various filters have been selected, to apply the search, press the APPLY button.
4 types of signatures are possible, however only 2 of these have legal value.
Simple signature
The Simple Signature is the simplest method that can be implemented but it must be remembered that it has no legal value.

Once the recipients have been chosen, clicking on the SEND button will display the preview page of the document on which it will be sufficient to choose from the available actions. Once all the necessary actions have been completed, the procedure can be concluded by clicking on the NEXT button.
The possible actions are:
Signature: clicking on the preview of the document will place an icon on the preview and it will be possible to set whether or not you want to make the signature visible on the document.
Intials: clicking on the preview of the document will place an icon on the preview and it will be possible to set whether or not you want to make the signature visible on the document;
Approve: clicking on the preview of the document will place an icon on the preview. This icon allows you to indicate that the document has been approved by the user who is sending the case.
Acknowledgement: clicking on it you can choose if the acknowledgement has to be visible on the file or not.
Additional Actions
You can add more information if you consider it useful for the clarity of the signature.
Once you have clicked on NEXT you will be asked to confirm the type of signature previously chosen (in this case it will only be possible to confirm the simple signature). The signing process will be concluded and then added to the list of completed signature files by clicking on the NEXT button.
Qualified electronic signatur
The qualified electronic signature is the method of signing with legal value. It can be done in two ways: by means of a signature device or with a remote signature certificate. GoSign Web allows this type of signature if we decide to sign with the type of digital signature pdf or with digital signature p7m.
Qualified signature (PDF)
Once the recipients have been chosen, clicking on the SEND button will display the preview page of the document on which it will be sufficient to choose one of any action. Once all the necessary actions have been completed, the procedure can be concluded by clicking on the NEXT button. The possible actions in this case are:
Signature: clicking on the preview of the document will place an icon on the preview and it will be possible to set whether or not you want to make the signature visible on the document;
Initials: clicking on the document preview will place an icon on the preview and it will be possible to set whether or not you want to make the signature visible on the document;
Approve: clicking on the preview of the document will place an icon on it. This icon allows you to indicate that the document has been approved by the user who is sending the case.
Acknowledgement: clicking on it you can choose if the acknowledgement has to be visible on the file or not.
Qualified signature (P7M)
Once the recipients have been chosen, clicking on the SEND button will display the preview page of the document on which it will be sufficient to choose one of any action. Once all the necessary actions have been completed, the procedure can be concluded by clicking on the NEXT button.
The actions available in this case are three: Sign, Approve and Seen.

Once you have chosen the type of signature to continue, click on the NEXT button.
If you have decided for Remote Signature, you will receive a notification on your mobile phone relating to the GoSign Free App to authorize the signature (by entering the remote signature Pin and the code received via SMS, while with the Device Signature, you will need to make sure that the device is correctly connected to the terminal and you will be redirected to the application to authorize the signature by entering the PIN.
Advanced Electronic with certificate
Once the recipients have been chosen, clicking on the SEND button will display the document preview page, on which it will be sufficient to choose any action. Once all the necessary actions have been completed, the procedure can be concluded by clicking on the NEXT button
The possible actions are:
Signature: clicking on the preview of the document will place an icon on the preview and it will be possible to set whether or not you want to make the signature visible on the document. You can also add additional information such as the Title, Organization, Company, Title or Organization or Company or the date of the transaction and if you want the signature to be visible on the document;
Initials: by clicking on the preview of the document an icon will be placed and it will be possible to set whether or not you want to make the signature visible on the document;
Approve: clicking on the preview of the document will place an icon; this icon allows you to indicate that the document has been approved by the user who is sending the case.
Acknowledgement: clicking on it you can choose if the acknowledgement has to be visible on the file or not
Additional actions
You can add more information if you consider it useful for the clarity of the signature

Once you have clicked on NEXT you will be asked to choose the type of electronic signature you want to use. With this option you can sign in two ways:


